Congratulations to vtecmec for winning May/June's Lude Of The Month, with his DIY Turbo BB1 build.

>>> Click Here For Profile <<<

Image

T's 1992 BB2

Tell us all about your Lude, you know you want to ...
frenchnickers
Posts: 28
Joined: Tue Jul 10, 2012 7:55 pm
My Generation: 4G
Location: Cheshire

T's 1992 BB2

Post by frenchnickers » Sat Jul 21, 2012 3:07 pm

Bit of a cheat here, but copied and pasted the history from PUK, before adding the update! :oops:

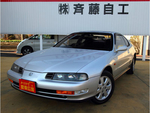
After owning a 93 bordeaux red 2.3 10 years ago, and unfortunately getting rid of it due to lack of space with kids. I saw on the offchance what looked like a well kept example of an identical looking car last year.

I went to view it the next day, and fell in love all over again, it was after all without doubt the nicest car I had ever owned or driven.

So I just had to buy it to own a prelude again. It was identical, a bordeaux red 2.3i 4ws, but this was a 92 with aircon, which my old one never had.
It was a well looked after one with no rust and very little wrong with it and only 84k on the clocks. It even still had a complete never used toolkit with it!

I want to start a thread on it, if not only so I can look back on it in years to come hopefully as it changes. It is never going to turn into a major performance upgrade thread, because I'm happy with it for what it is, but I do want to keep doing bits to it, and upgrading certain things!

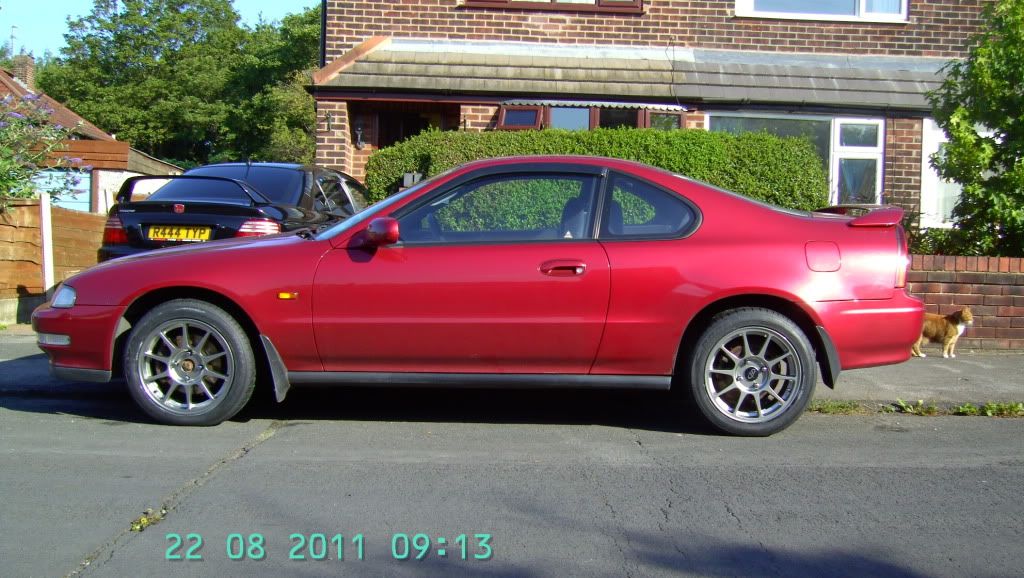
This is how it was when bought in Oct 2010.
Image
Image

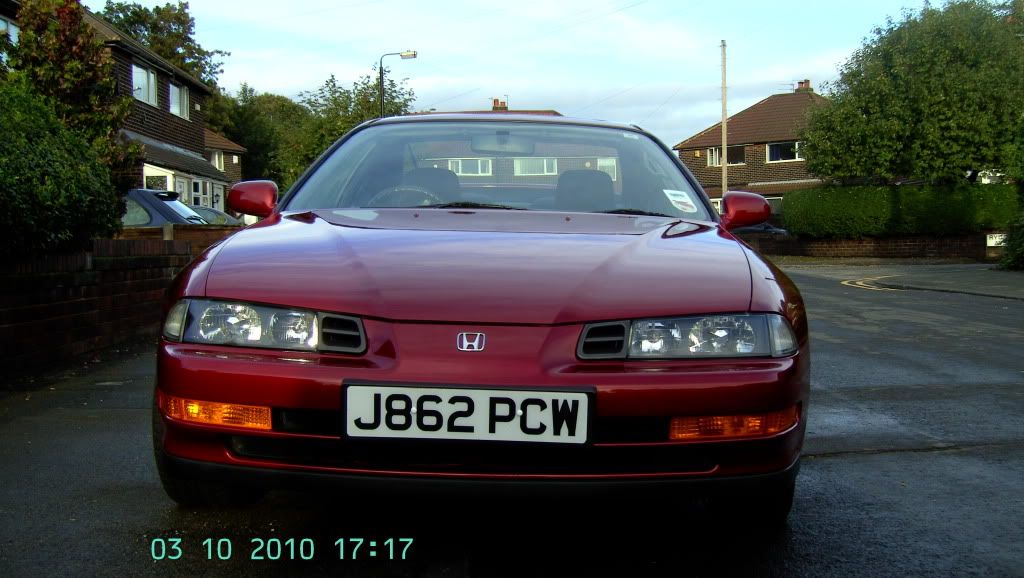
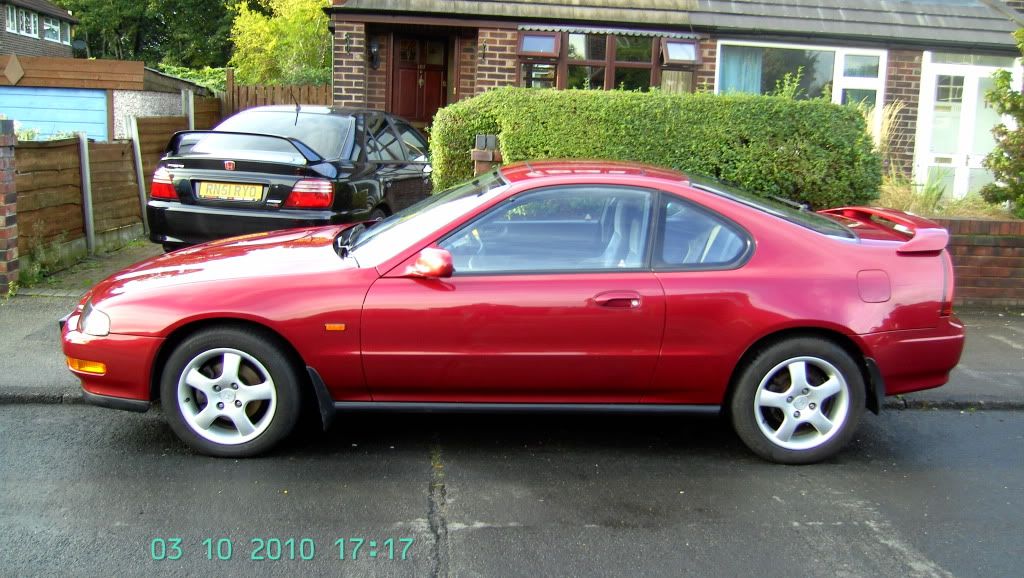
It needed a few bits of attention straight away:

It was bought knowing there was a problem with the rad, turned out to be a small hole, but the matrix was rotting near the bottom anyway. So fitted a new one, and new thermostat to be sure.

The digital clock didn't work, so my other half changed this for an ebay bargain.

Clutch fluid changed for RBF600.

Gearbox fluid changed for Redline MTL

K&N filter panel put in.

Also needed a handfull of various little clips to secure a few interior panels and a couple of clips and bolts to the plastic undertrays gone missing over the years.

Rear washer didn't work, so cleaned up the one way valve to fix it.

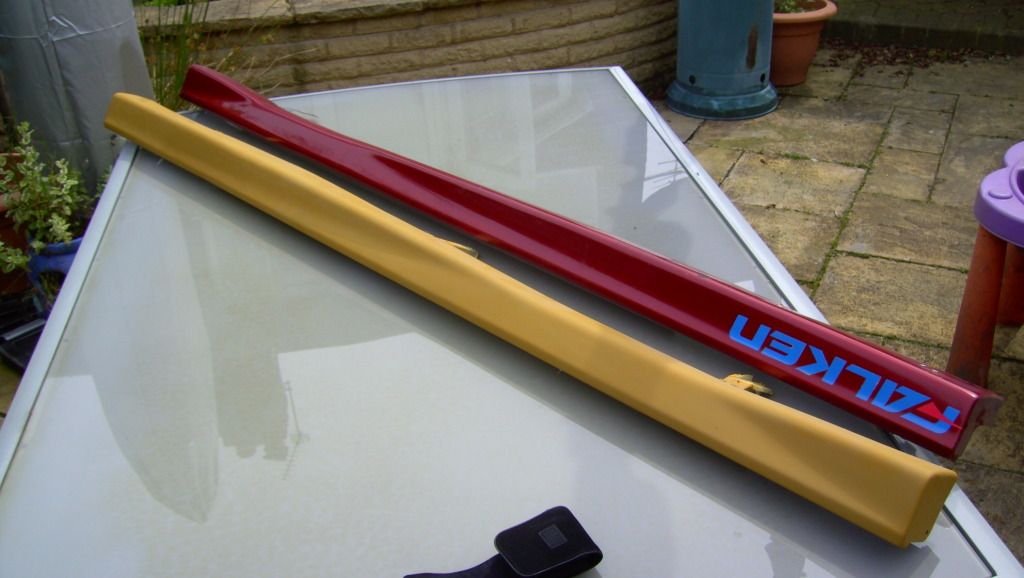
Ordered new window trims for the outside between the top of the door and the window from Honda, as both sides had holes/cracks in. (ouch, they were expensive)

New key ordered, as it only came with one, and the rubber was missing off that.

Set of 'Mugen' pedals fitted (Cheap from ebay, so bound to be copies, but they look alright and work fine)

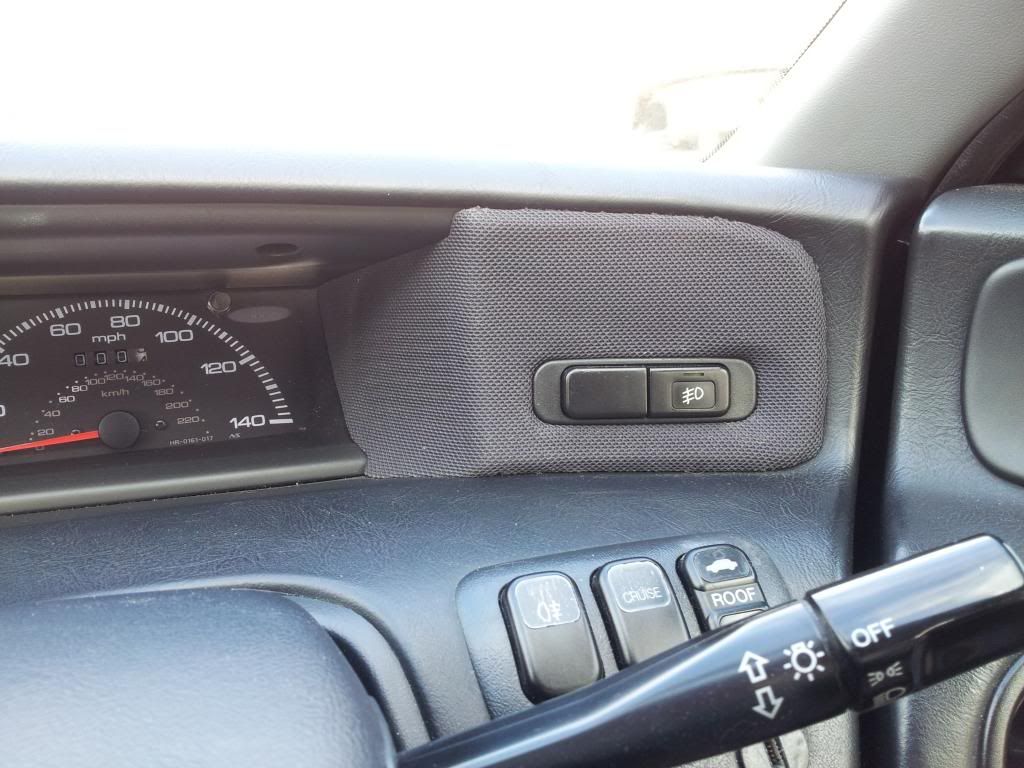
First upgrade came from ebay in the form of a OEM fog light kit, that was still boxed never been used. Again my other half fitted it, but then struggled with the switch as there was no wiring at the centre console for it. Found out eventually that the switch was from a facelift, and the pre has the switch in the drivers tweeter cover. (Should have become a forum member earlier to get this info :oops: )
So it took a long time, but he eventually managed to find someone willing to part with one and post from America, seems they are like gold dust out there too! A bit of cutting out and grafting from a LH drive to a RH drive tweeter cover, and it looks like it grew there. And working front fogs at last!

Image

Image
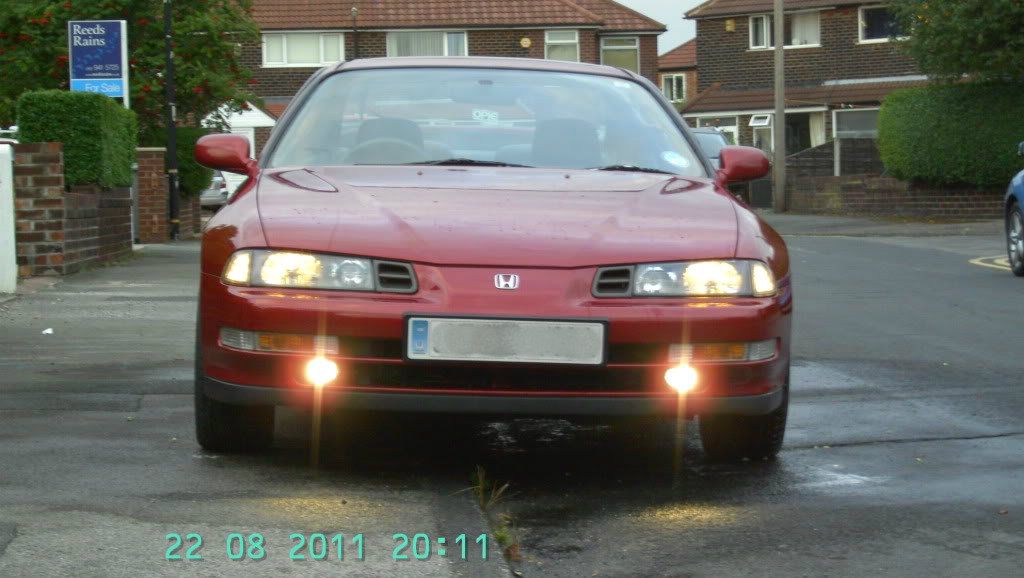
Also fitted were clear indicators and reflectors from a facelift, because I prefer the look, and think it ties in better with the headlamps and foglamps.

OEM wind delectors from ebay fitted.

Set of new red floormats.

Bargain new japspeed manifold and downpipe. Not sure how good they are, but it was a real bargain. And then custom built stainless catback exhaust with 200cell sportcat.

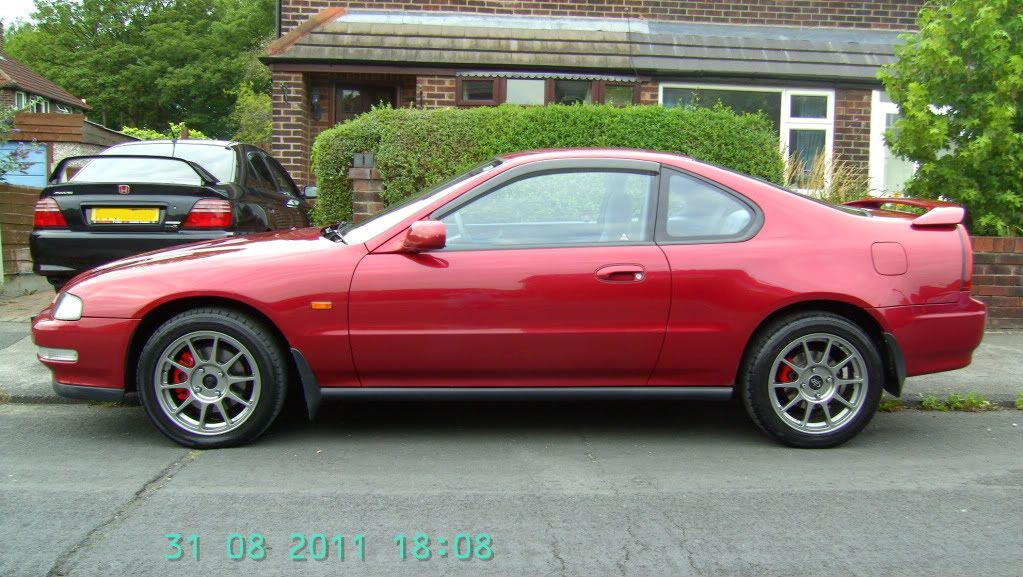
Next upgrade was to sort the wheels out as I wasn't that keen on what was on it. I did get the original alloys with it aswell, and was going to get them refurbed and new tyres, but when comparing the cost, it wasn't much more to get a new set.
So ended up with a set of Rota spec R's in gunmetal, with toyo proxes tr1's. Only slight dissapointment was that they came with rota centre caps, and not the red 'H' as shown. (the front two didn't fit anyway over the hub bolts)
Image
Finally got sent a set of deeper centre caps that fit, so just need to spray and fit 'H's.

It was MOT time a couple of weeks ago, so booked a trip to VTEC direct. A big thankyou to Andy for sorting out a load of other jobs I wanted doing to make sure it is right, and ensure it flew through:
Service inc fuel filter.
New cambelt and tensioner.
New rear discs
Refurbed rear/front calipers.
Painted calipers red.
Change brake fluid to RBF600
New cam seal and cam gasket.
VC's adjusted.
4ws ECU changed (again, because I had already fitted another scrap one a few months back, because it read codes that the ECU was kaput)
4 wheel alignment.
Professional rust master underseal treatment. ( Really pleased with this as it looks great, and both Andy and the guy from treatment place both commented on how good condition it was in underneath anyway :D )

And this is how it looks now.

Image
Image
Image
Image

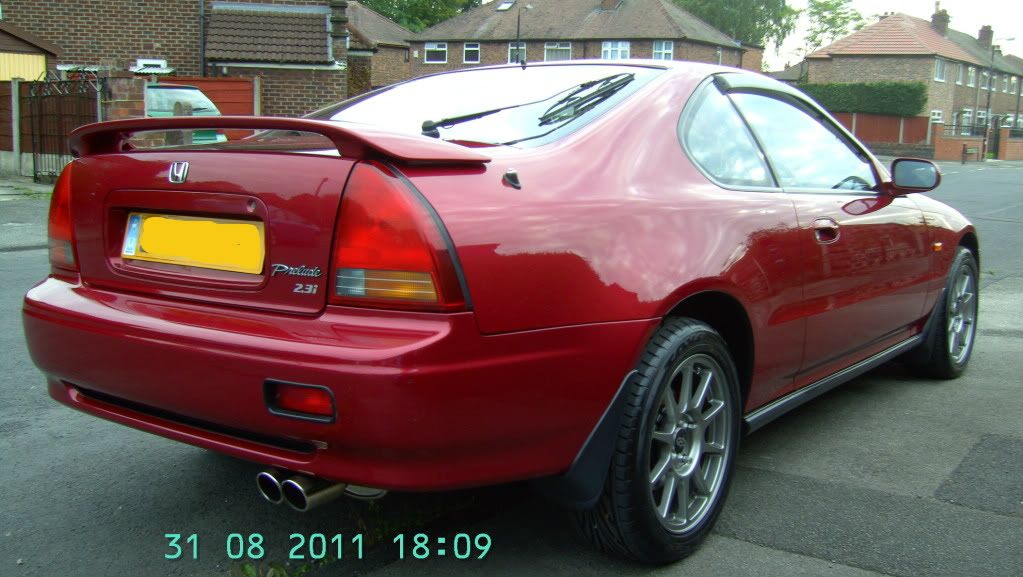
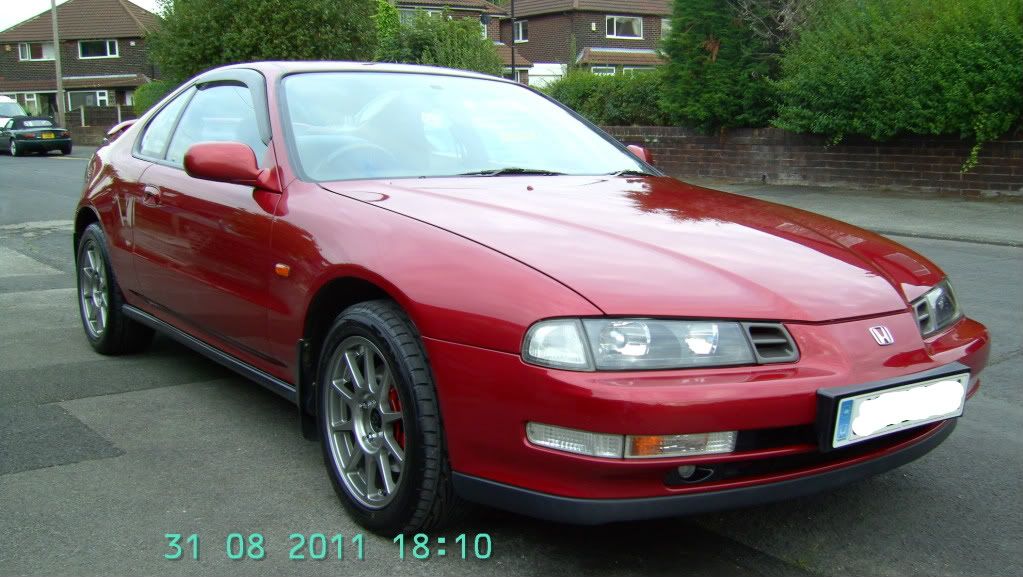
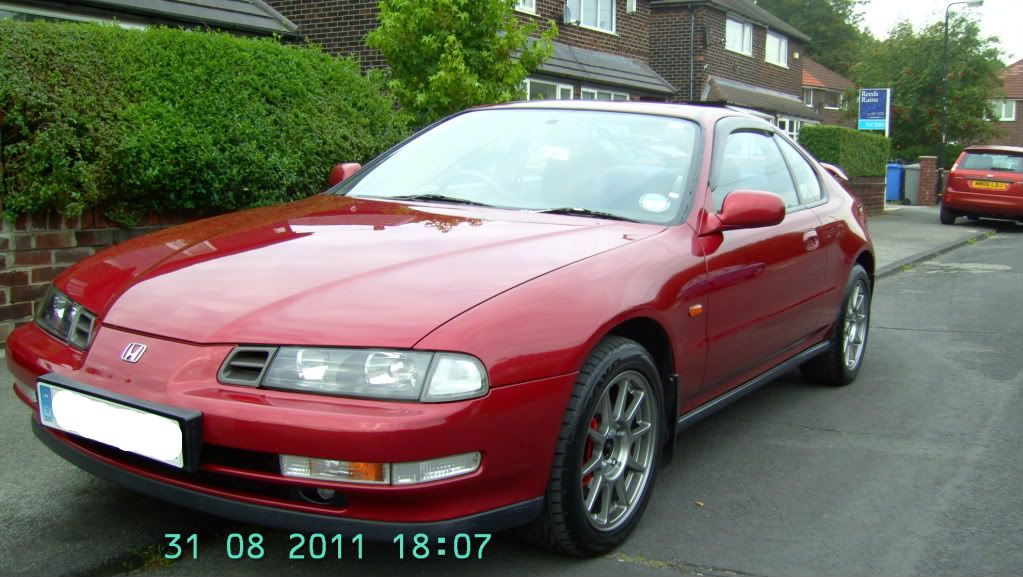
So I've hopefully got a good base to work on, with a lot of maintenance jobs out of the way.
There is a very minor bit of bubbling on the passenger side bottom of the sill near the rear wheel which I'm getting sorted.
And the latest project is to fit a pair of folding mirrors, I have a set with the looms and relays.
I want to put heated glass in aswell
(Does anyone know a part number for heated mirror glass to order from Honda?)

Sorry for the long winded intro, but this is just to get it up to speed before adding new mods on!!!

Thanks, T. :P :P
Last edited by frenchnickers on Fri Aug 30, 2013 8:34 am, edited 1 time in total.

frenchnickers
Posts: 28
Joined: Tue Jul 10, 2012 7:55 pm
My Generation: 4G
Location: Cheshire

Re: T's 1992 BB2

Post by frenchnickers » Sat Jul 21, 2012 3:08 pm

Well I thought it about time for a bit of an update on the lude so far.

Dan's now managed to get alot of bits and pieces sorted that have been hanging about for a while now. :wink:

First on the list was stripping down the folding mirror set to put in my casings and get them wired up.
At the same time he's managed to strip the heated mirror panels out of set of mirrors for an accord, and install these.
So I now have folding, heated mirrors. :D

Image

Many thanks to Dino, I now have a few niceities added to the baby.

Rear strut brace

Image

FM cooling plate,

Image

And puddle lights fitted.

Image

Also fitted is the spoon front strut brace

Image

and a set of chrome door handles.

Image

I did have rear black leather seats fitted, and was going to go down the S2000 route for the fronts.
But evetually came across an original cream leather 4th gen interior complete, and bought this instead.
It has now been fully restored and recoloured, and even had heated panels installed, because I need my heated seats in winter. :lol:

Image

Image

Image

So still left to do is fit the mugen side skirts (thanks Dino), Dan's repaired and prepped one , but the other still needs doing.

Image

And also thanks to Mercutio, I now have a 4th gen map light to replace the interior one. :P

User avatar
bennyboy
Art Mechanic
Posts: 2825
Joined: Sat Aug 20, 2011 11:59 am
My Generation: 4G
PSN GamerTag: OCbennyboy
Location: St Albans, Herts.
Has thanked: 7 times
Been thanked: 21 times
Contact:

Post by bennyboy » Sat Jul 21, 2012 3:13 pm

Looks FANTASTIC. Well done 8-)

Would be interested in a few more details about the heated mirrors, I've been thinking about that as the Mrs' aerodeck has them and its pretty handy.
UKDM BB1 H22A8 NH561P 244bhp 173lbft

'Nigella'

www.benaskem.co.uk

User avatar
nickyboy
Posts: 784
Joined: Thu Jun 21, 2012 11:54 pm
My Generation: 4G
XBOX GamerTag: nickCTR
PSN GamerTag: nickyboyUK
Location: near Inverness

Post by nickyboy » Sat Jul 21, 2012 3:18 pm

Oh, my, god! What a beautiful car :)

Love the interior especially.

Usually I don't give the 2.3 a second glance but this certainly got my attention. Lovely

frenchnickers
Posts: 28
Joined: Tue Jul 10, 2012 7:55 pm
My Generation: 4G
Location: Cheshire

Re: T's 1992 BB2

Post by frenchnickers » Sat Jul 21, 2012 3:50 pm

The heated mirrors were fairly simple addition, when putting in the folding mirror stuff.
I'll get Dan to do a proper 'how to', but don't think he took many pics :oops:
Apparently briefly, it's 2 wires pushed through the mirrors following the existing wiring, one for power and one earth.
Then through the door panel into the car, and take the earths to any point by the footwell or centre console, and join the 2 power wires together and then splice it into the power wire to the rear demister, through a fuse.
They are then controlled by the rear demist button.
We used the heated panels off accord 6th gen, because couldn't get hold of the original prelude ones. So these went through a 7.5A fuse.
The power wire to the rear demister was a thick green/black one found at the connector blocks behind the glovebox.

User avatar
rob quilter
Supporter 2014
Posts: 5331
Joined: Mon Aug 09, 2010 1:40 pm
My Generation: 5G
PSN GamerTag: robquilter
Location: Derby

Post by rob quilter » Sat Jul 21, 2012 4:05 pm

Very nice! Those wheels that yours originally had fitted are the same as what my 5th gen had when I first got mine. Like a numpty I gave them away for free.

:facepalm:
PERFORMANCE PARTS FOR JAPANESE CARS - http://WWW.TOKYOSQUAD.COM

FOLLOW US ON FACEBOOK - http://WWW.FACEBOOK.COM/TOKYOSQUAD

User avatar
mercutio
LotM Winner
Posts: 14958
Joined: Sun Aug 08, 2010 8:45 pm
My Generation: 5G
Location: Sunny Manchester
Has thanked: 1 time
Been thanked: 4 times
Contact:

Post by mercutio » Sat Jul 21, 2012 4:56 pm

great idea with the heated mirrors will have to do that to my ludes. Car is looking great though 8-)
bristol_bb4 wrote:ahhh a 5th gen, i love 5th gens :D :lol:
Dino wrote:I loves the 5th gen really.... just dont quote me on it... ;)
4thgenphil wrote:Mines 4 1/4 unches mate, sorry

http://www.ludegeneration.co.uk/profile ... -t618.html

User avatar
knightmare
Posts: 159
Joined: Sat Aug 14, 2010 9:43 pm
My Generation: 4G
XBOX GamerTag: Knightmaredef
Location: Southampton

Post by knightmare » Sat Jul 21, 2012 6:51 pm

Dam that Lude is lush, absolutely love it.. If you ever decide to sell gives us a call...

Paul
'04 Audi A6 3.2 V6 Quattro
'04 2.4 Type S Accord Saloon Sold
'92 bb2 2.3i 4ws June 2000 R.I.P :(
'95 bb1 (June 2009) Sebring Silver. RIP

Image

preludebaz1977
Posts: 143
Joined: Sat Jul 14, 2012 9:27 pm
My Generation: 5G
PSN GamerTag: itr16v
Location: newbury,berkshire

Post by preludebaz1977 » Sat Jul 21, 2012 10:03 pm

very nice gen4 , looks great
Looking for a Gen5 Lude very soon....
Image

User avatar
Merlin
Moderator
Posts: 12394
Joined: Fri Aug 06, 2010 9:04 am
My Generation: 5G
PSN GamerTag: Merlinbadman
Location: Edinburgh
Has thanked: 70 times
Been thanked: 304 times

Post by Merlin » Mon Jul 23, 2012 9:44 am

Lovely looking car!!
Image
BA8......... BB4......... BB8.........The JDM Muscle Bus

Post Reply

Return to “Lude Profiles”