
Congratulations to vtecmec for winning May/June's Lude Of The Month, with his DIY Turbo BB1 build.
>>> Click Here For Profile <<<

>>> Click Here For Profile <<<
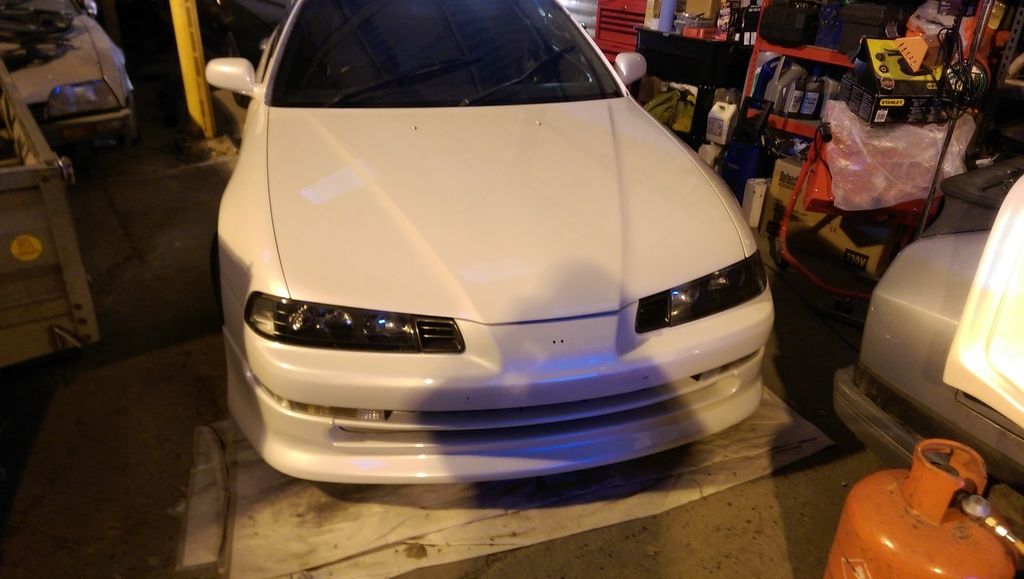
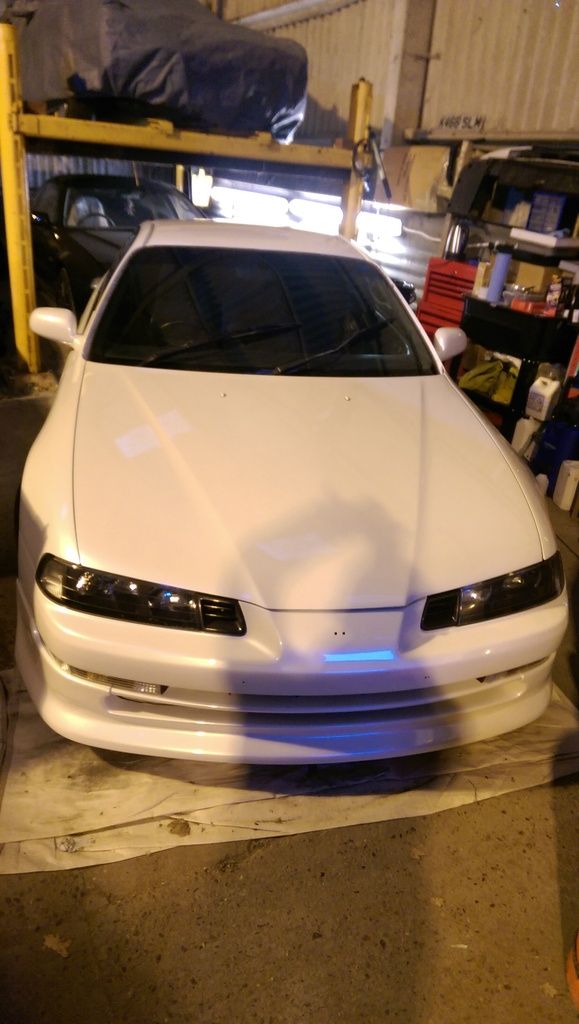
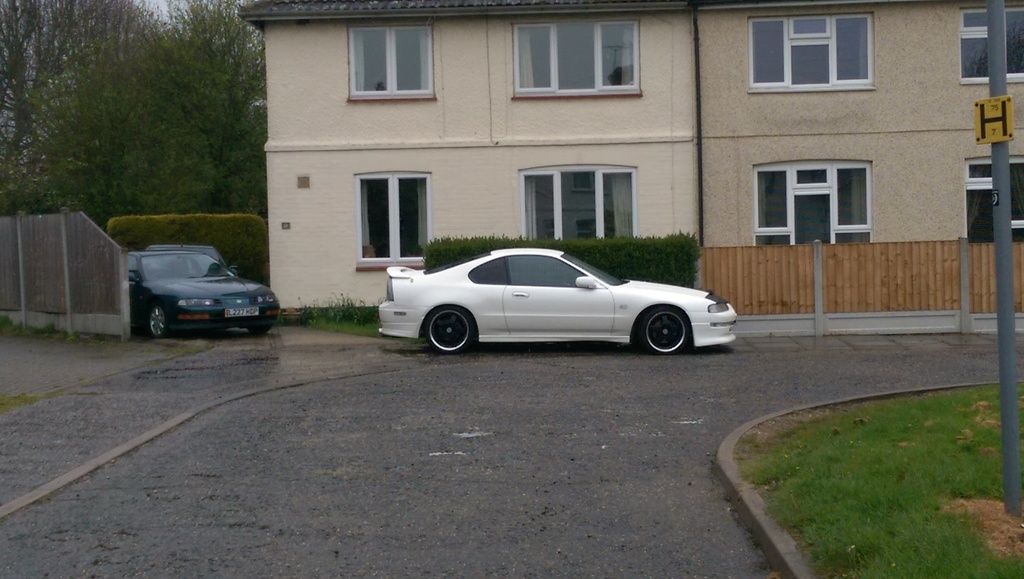
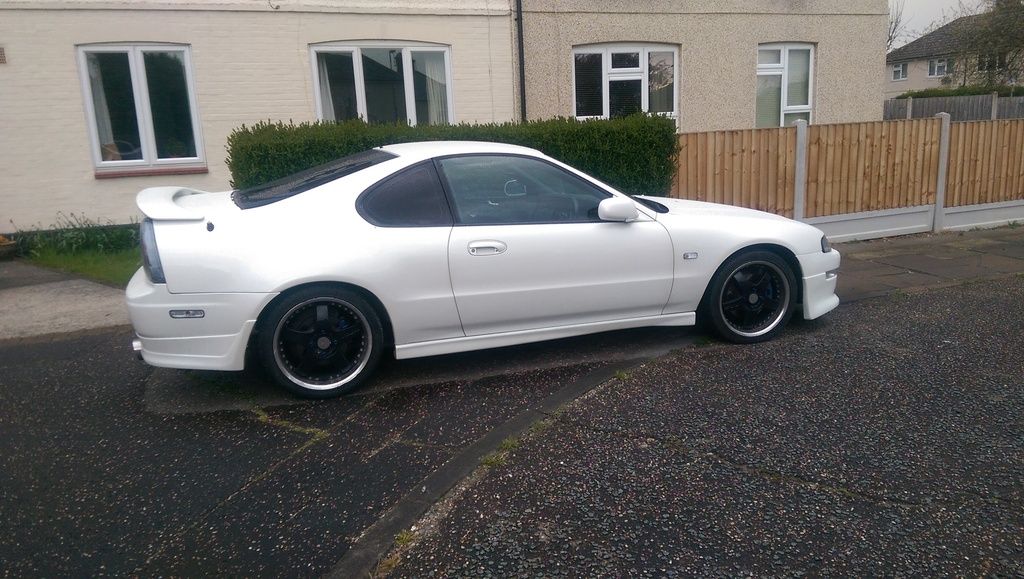
1995 White BB4 Si Vtec - starting to update the profile...

-
NafemanNathan
- LotM Winner
- Posts: 20144
- Joined: Sun Aug 08, 2010 9:37 pm
- My Generation: 0G
- Location: Yeovil, Somerset
- Has thanked: 8 times
- Been thanked: 124 times

-
wurlycorner

- Ye are glad to be dead, RIGHT?
- Posts: 21511
- Joined: Sat May 19, 2012 3:33 pm
- My Generation: 4G
- Location: Chelmsford, Essex
- Has thanked: 2507 times
- Been thanked: 317 times
Re: 1995 White BB4 Si Vtec - belated update (not finished)
Yeah you can use aerosol cans as well, though the spray pattern won't penetrate quite so for down the box sections as with the proper spray gun (should be fine for the arches though).bb1boy wrote:Super job, dude. I want to put that stuff in my DC5 where the importers missed, i.e. inside the rear arches!! Do you think an aerosol can of their stuff would be suitable for me? I've never used it before.
You'll need more than one can I expect.
--
Iain.
Iain.
Super Secret 1G (not really super secret!)
-
mercutio

- LotM Winner
- Posts: 14958
- Joined: Sun Aug 08, 2010 8:45 pm
- My Generation: 5G
- Location: Sunny Manchester
- Has thanked: 1 time
- Been thanked: 4 times
- Contact:
you could always warm the can in some hot water before spraying might make the penetration better?
bristol_bb4 wrote:ahhh a 5th gen, i love 5th gens
Dino wrote:I loves the 5th gen really.... just dont quote me on it...
4thgenphil wrote:Mines 4 1/4 unches mate, sorry
http://www.ludegeneration.co.uk/profile ... -t618.html
-
wurlycorner
- Ye are glad to be dead, RIGHT?
- Posts: 21511
- Joined: Sat May 19, 2012 3:33 pm
- My Generation: 4G
- Location: Chelmsford, Essex
- Has thanked: 2507 times
- Been thanked: 317 times
Re: 1995 White BB4 Si Vtec - belated update (not finished)
Penetration of the 3125 into the seams isn't a problem, it runs lovely at room temperature (one of the things that's so good about it). I mean the spray won't physically travel/reach as far down into the box sections from an aerosol.
--
Iain.
Iain.
Super Secret 1G (not really super secret!)
-
wurlycorner
- Ye are glad to be dead, RIGHT?
- Posts: 21511
- Joined: Sat May 19, 2012 3:33 pm
- My Generation: 4G
- Location: Chelmsford, Essex
- Has thanked: 2507 times
- Been thanked: 317 times
Re: 1995 White BB4 Si Vtec - belated update (not finished)
Then I started re-building 
(exciting, huh? )
)
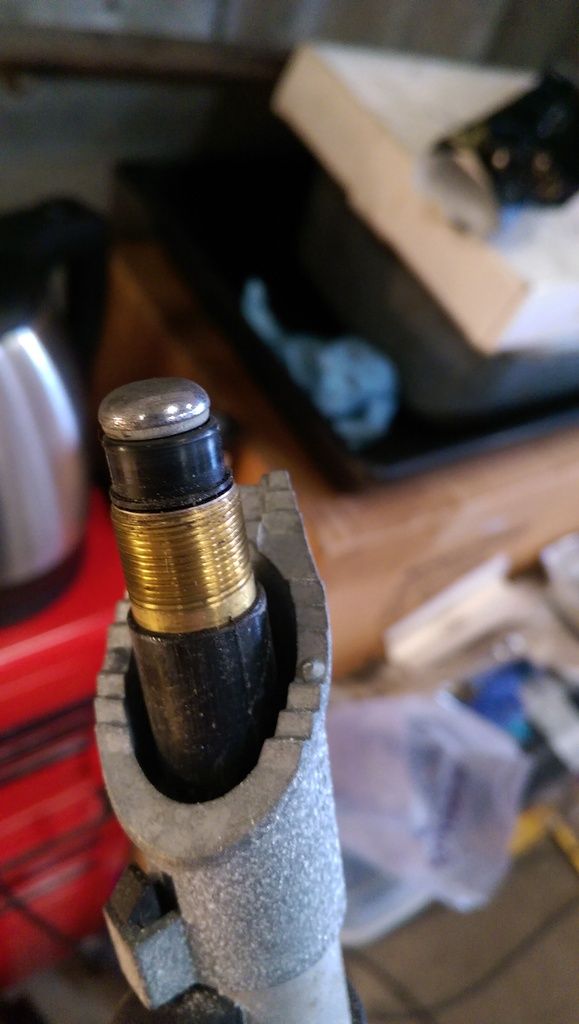
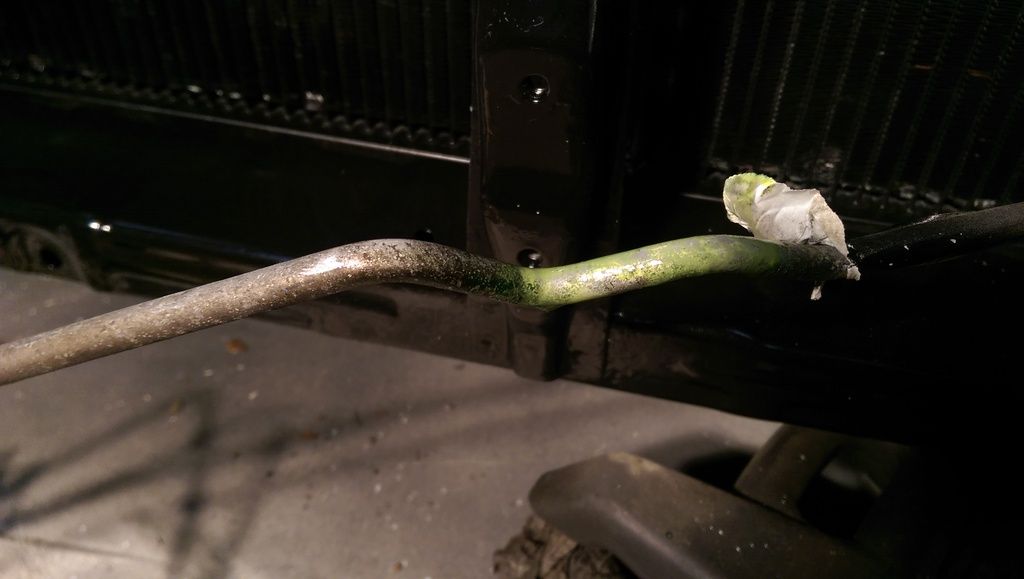
Anyway, dug out the aerial that came off it. Was well pleased with the condition - these are usually corroded at the bottom of the mast shroud/motor top cover and the top thread can be a bit manky.


And we want it to stay that way, so...
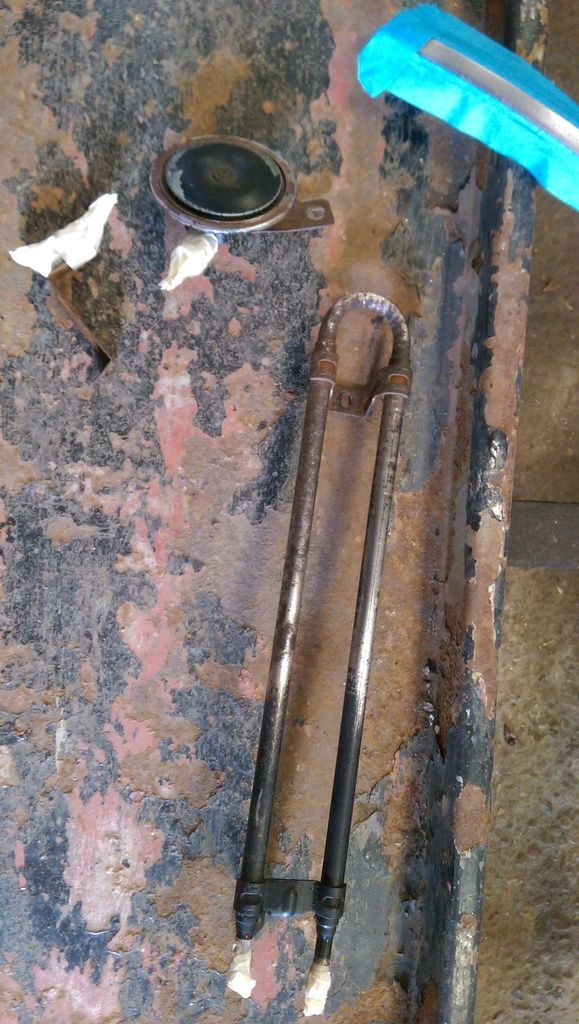
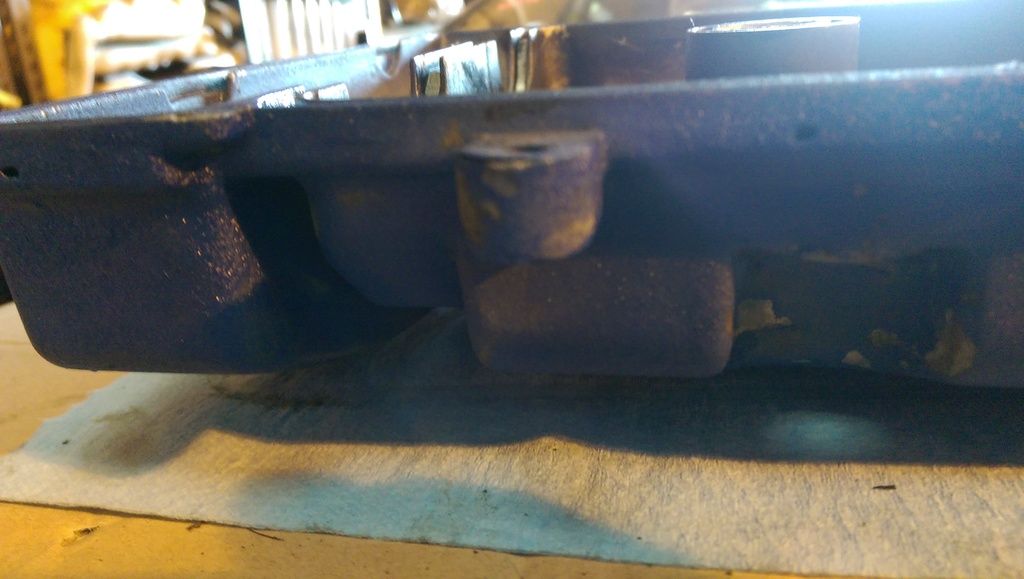
These bits came off the car to be sorted out (plus others - I didn't photograph everything, but basically every bracket etc. has been done);
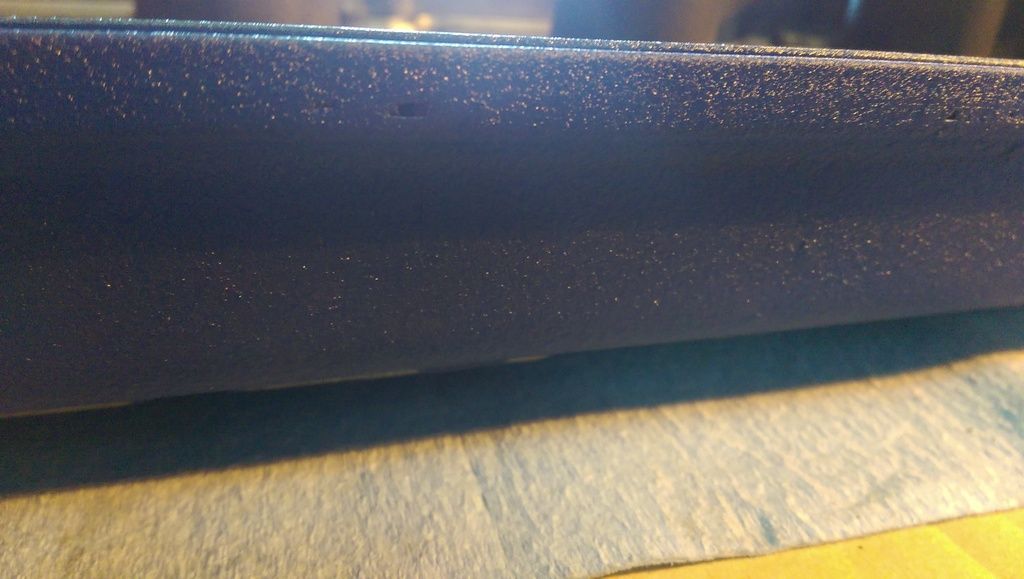
Scraped off the loose rust, rubbed down with emery cloth on the rusty metal and scotchbrite over the remaining painted sections. Then etch primed and coats of satin black (baked under IR lamp);
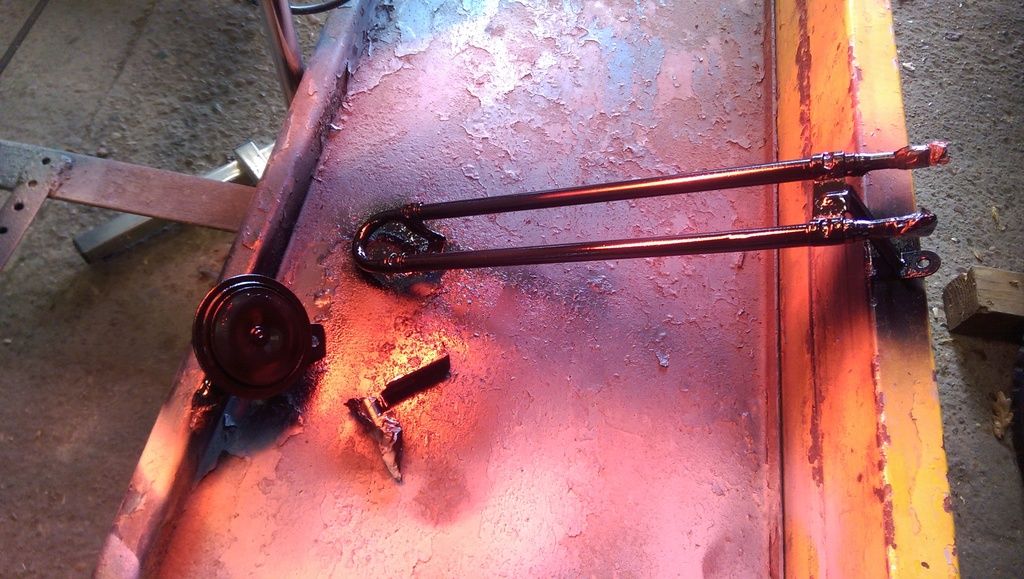
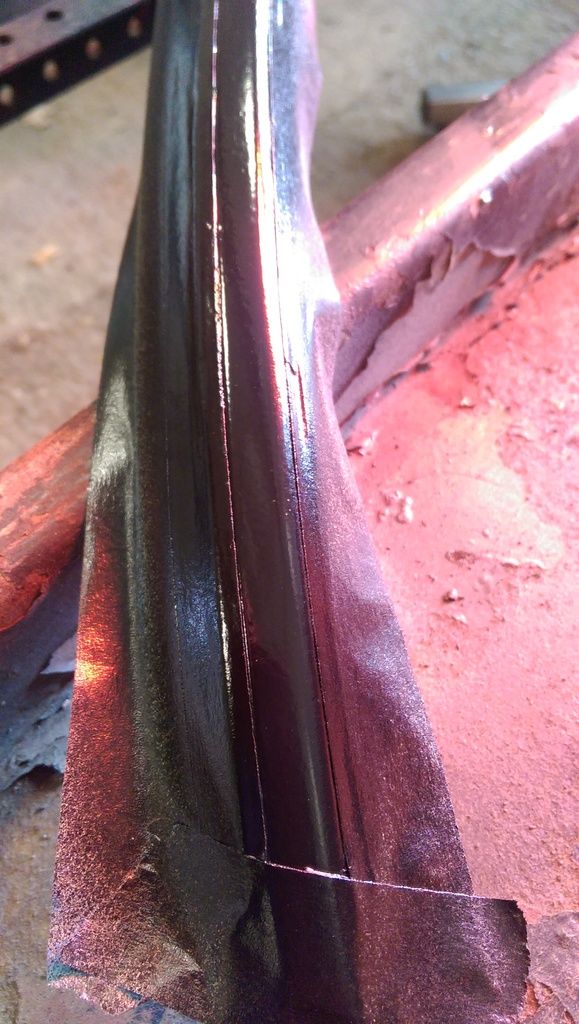
And I had previously put 2 brand new rear window strips on mine and Lisa's BB1 but have not been at all impressed how they last (3 years and they are already deteriorating ) so decided to refurb an old one.
Scraped off the plastic paint covering, then sanded back to clean bare metal and masked around, over the rubber edges;
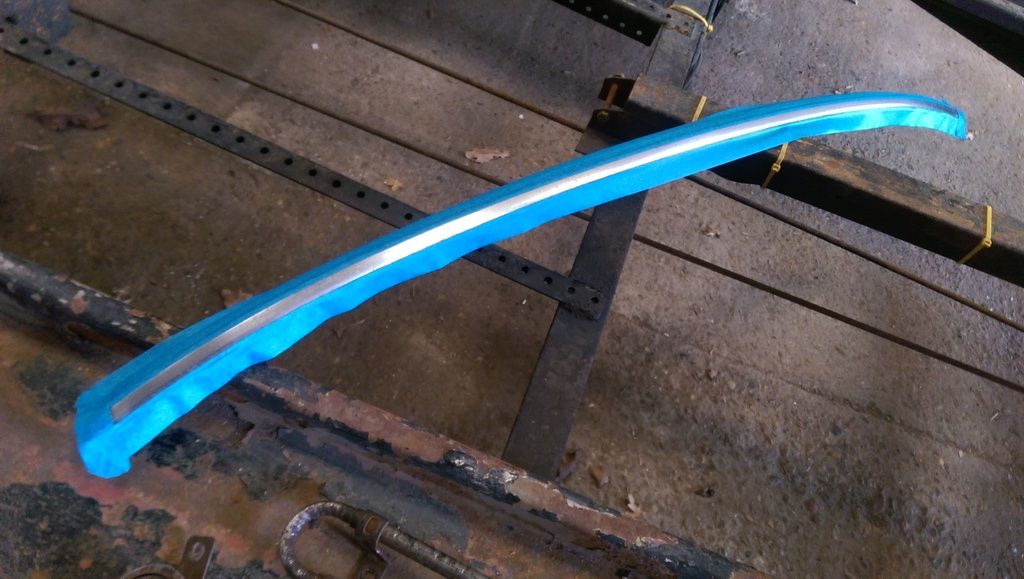
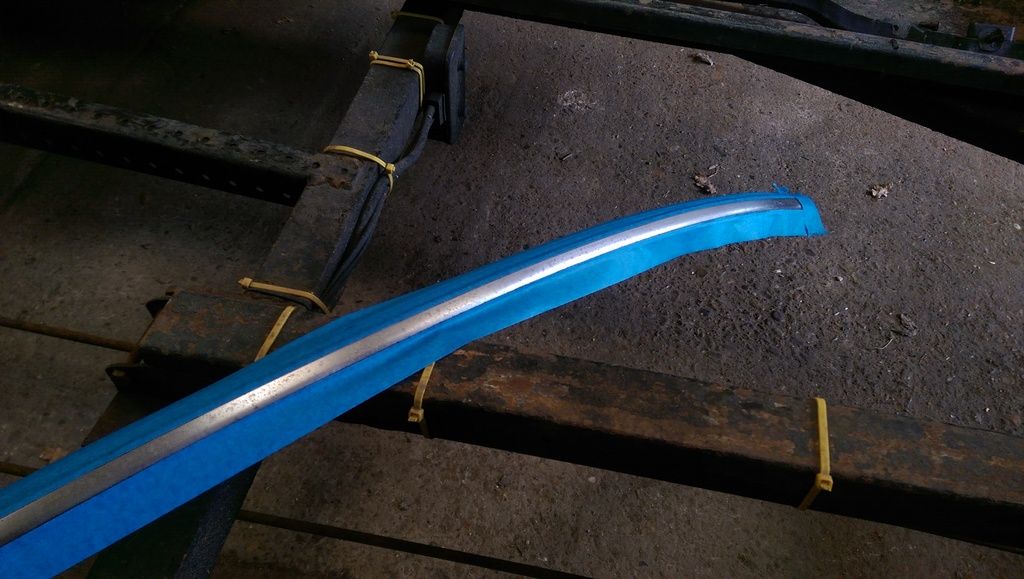
Some pitting still evident;
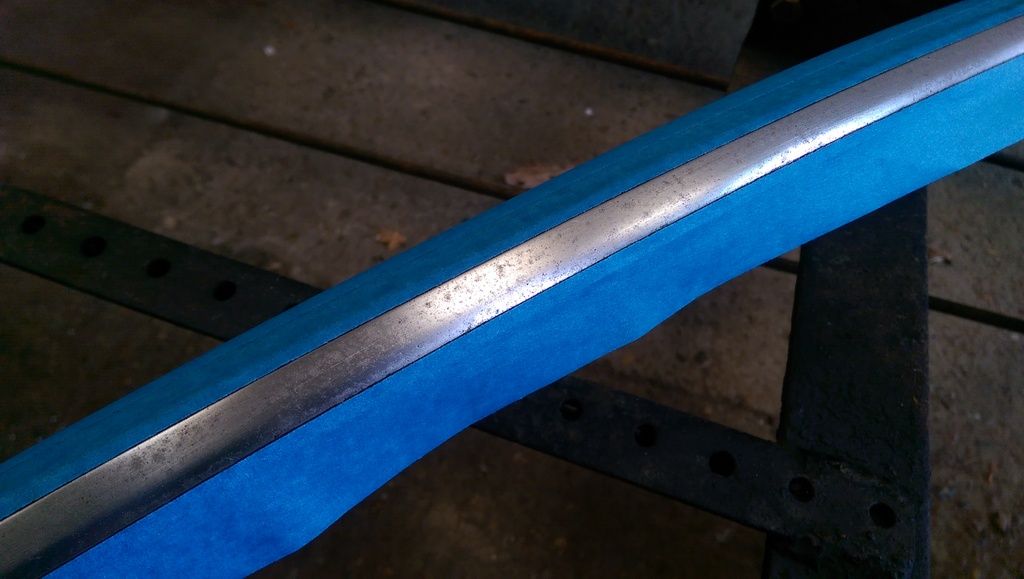
Etch primed, then over coated with satin black, flashed off with IR lamps in between each coat;
I found it was really easy to overheat this item, because it's so thin/has absolutely no mass (so heats up incredibly quickly)
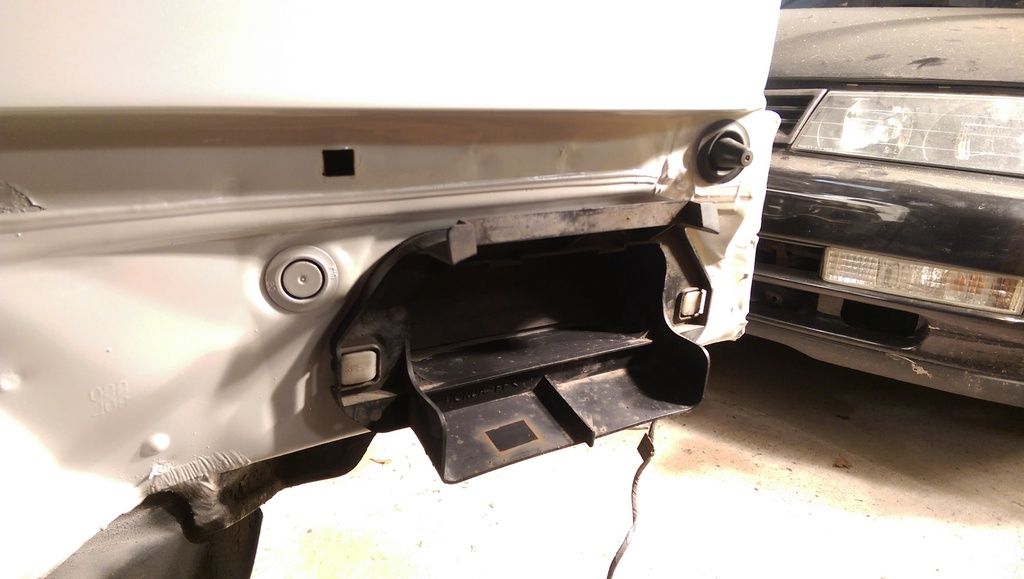
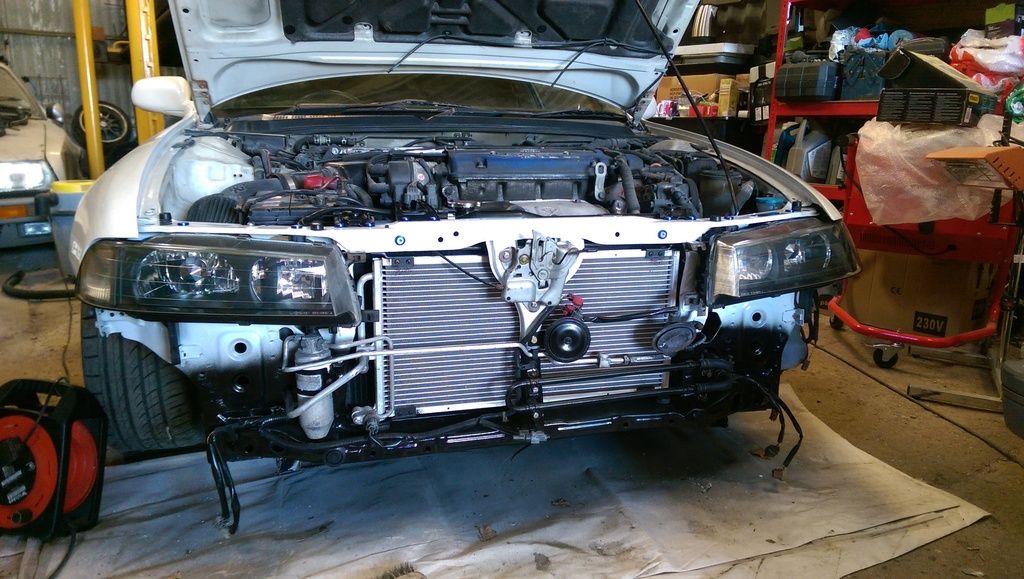
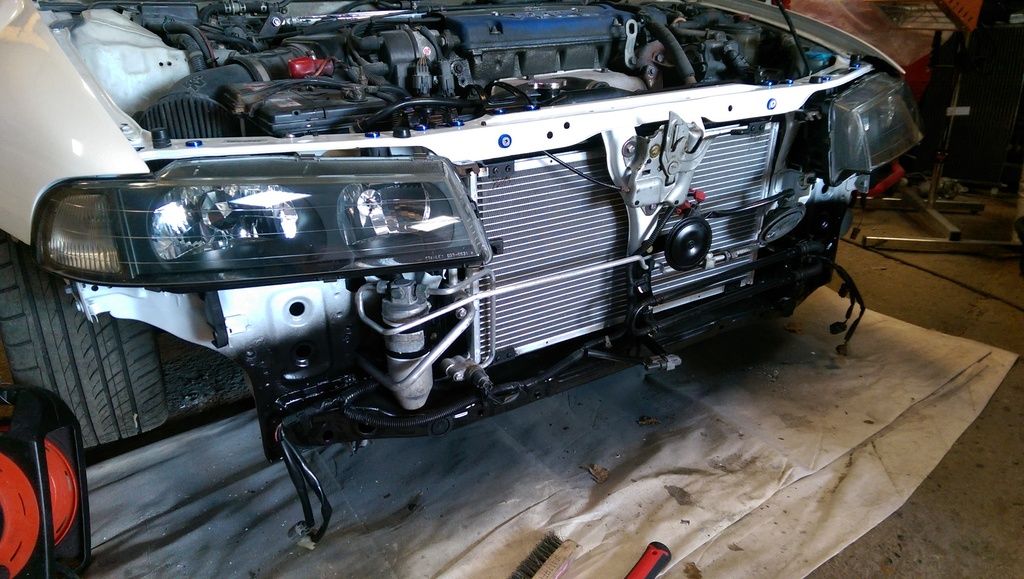
Went to start putting the a/c back together and after taking the masking off the pipes, spotted this;

Bloody hole in the straight pipe, where the clip holds it onto the bonnet latch upright!
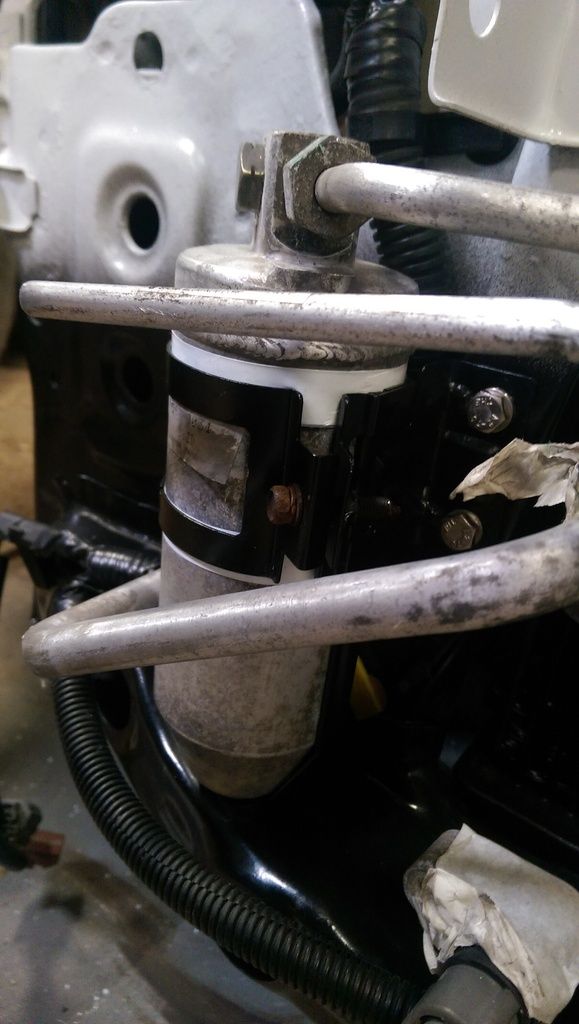
I have a couple of spares of course, but it was a complete dancer to take off. The 2 unions either end were completely solid and started to round off. I gave up with the drier end (decided to just swap that with a spare) so I only had to argue with one end.
After taking it apart, turns out it looks like the someone had previously crossed threaded them
That meant the female end at the other end was drokked too - that's the pipe that loops through the front panel and back over the passenger inner wing back to the bulkhead. *REALLY* didn't fancy taking all that out, so set to work with a bradawl trying to clean it up
I forgot to take any pics, but after an hour or so, it looked good to go, so I gave it a try... and it worked (though we'll find out if it's really sealed ok when I get it all gassed up  )
)
So, some refreshed jobby went back on;
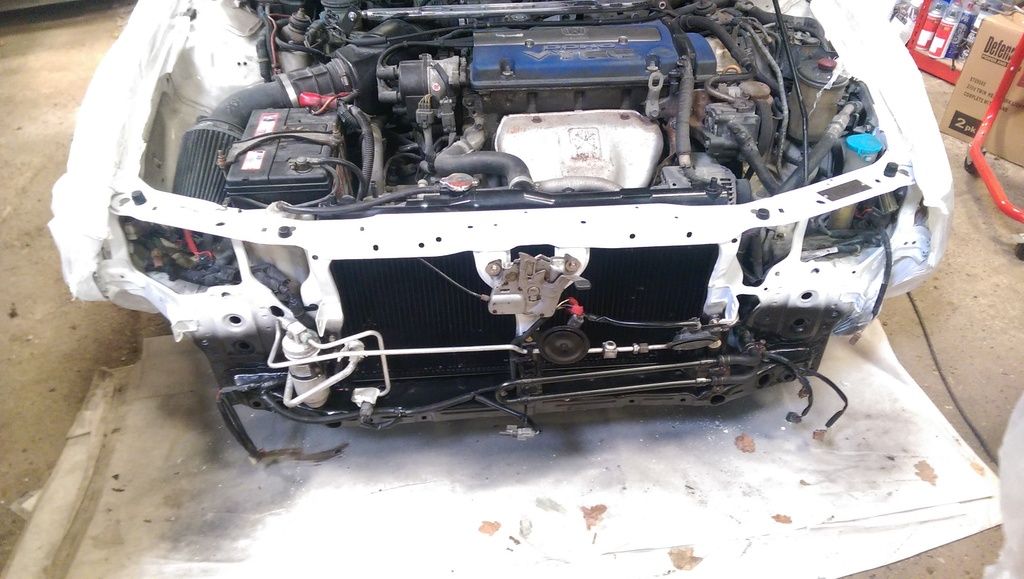
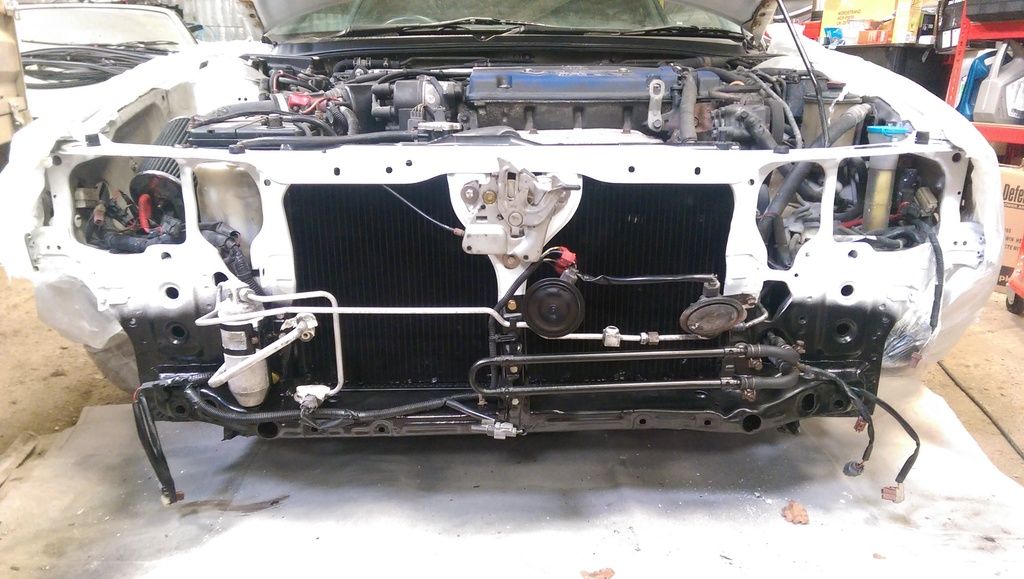
All stainless bolts used everywhere, except for on the drier clamp, because it's an unusual size that I didn't have 'in stock'.
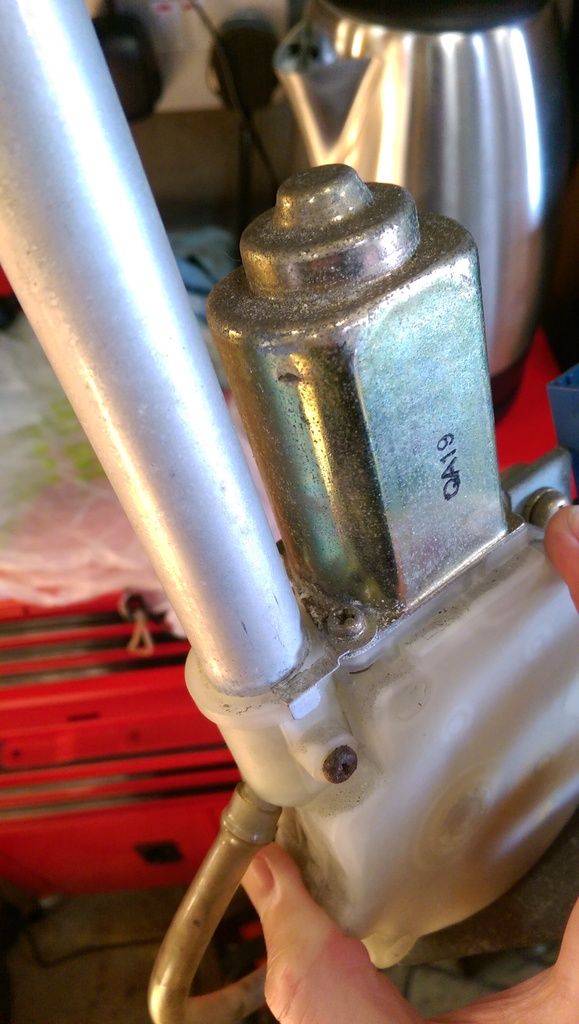
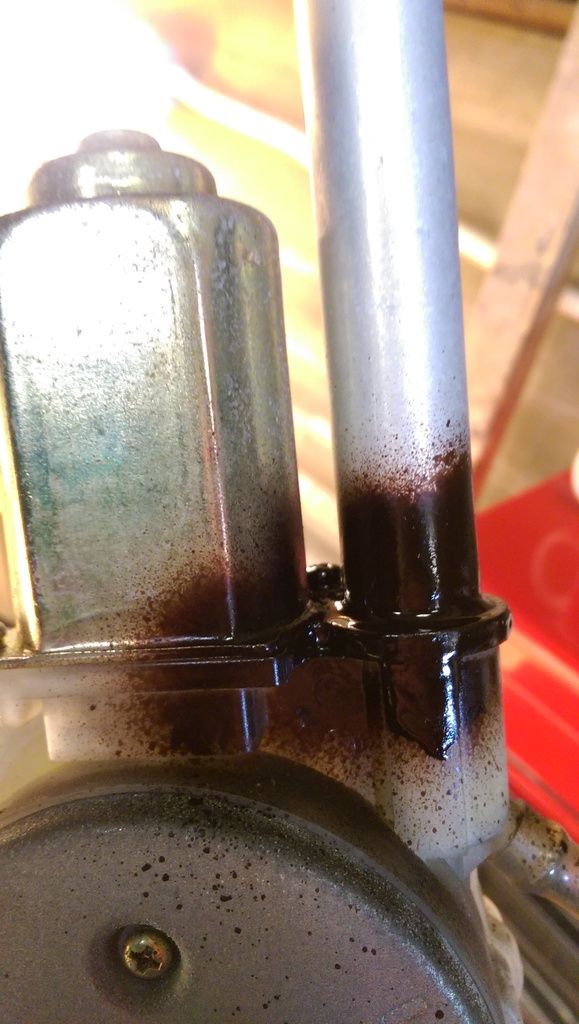
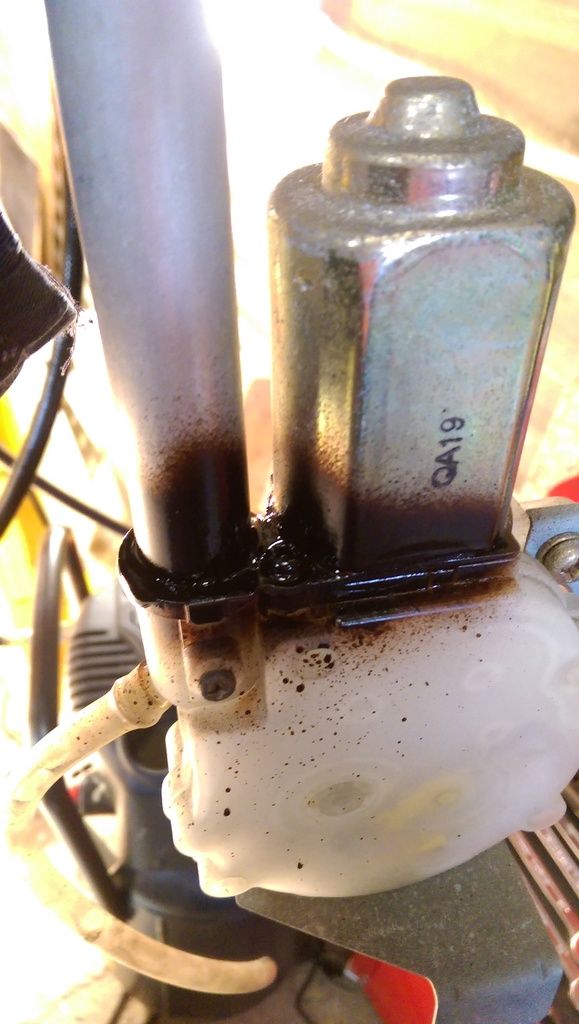
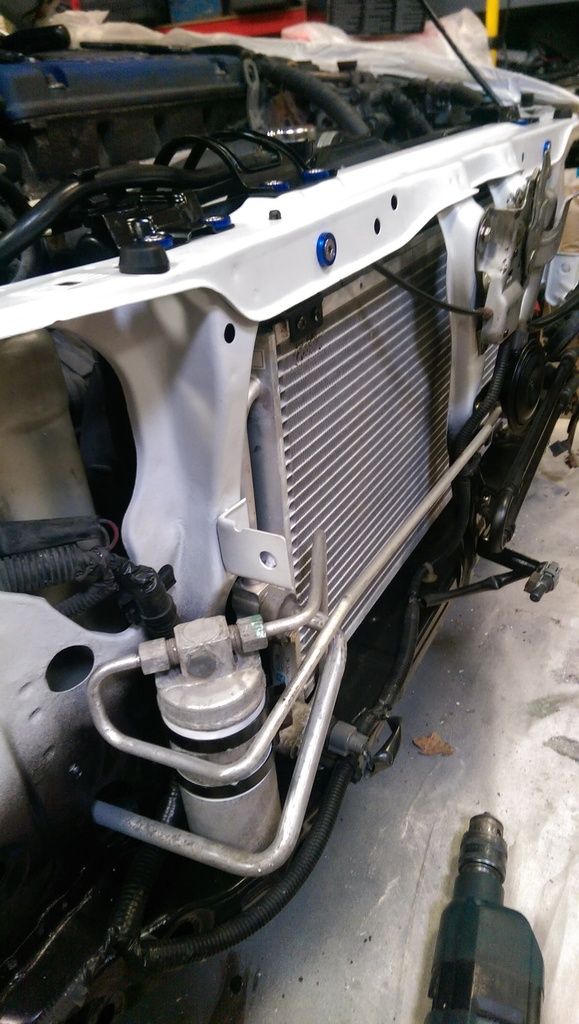
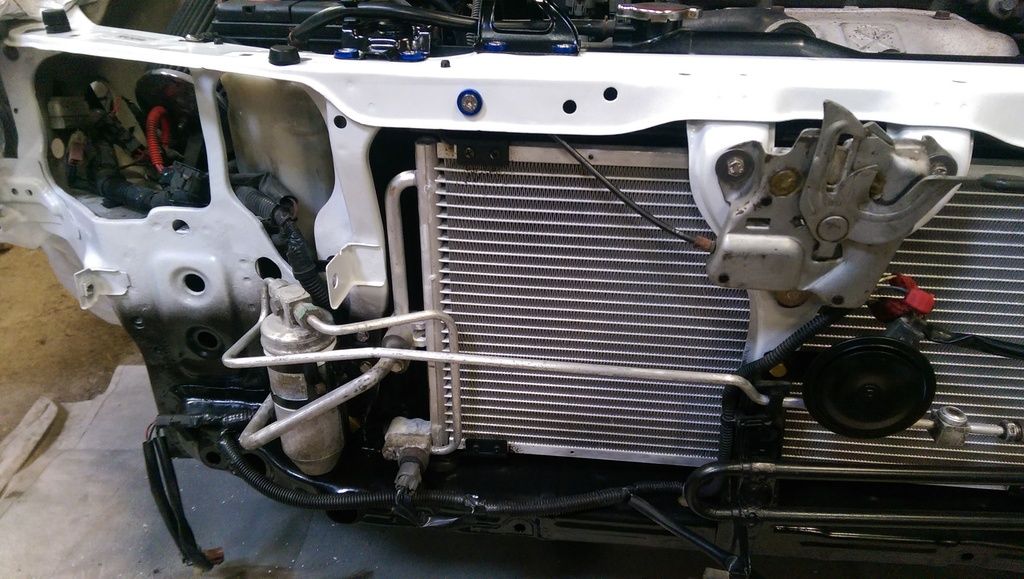
When I took the drier off, I noticed it the body of it had particularly corroded where the bracket clamps round it (bi-metalic corrosion due to the damp/salt I expect) so I wrapped the drier body at this point in PTFE tape, to stop that jobby;

Had to fit new hoses on this bad boy, 'cause the originals were weeping;
IMG]http://i307.photobucket.com/albums/nn29 ... g~original[/IMG]
Much smarter

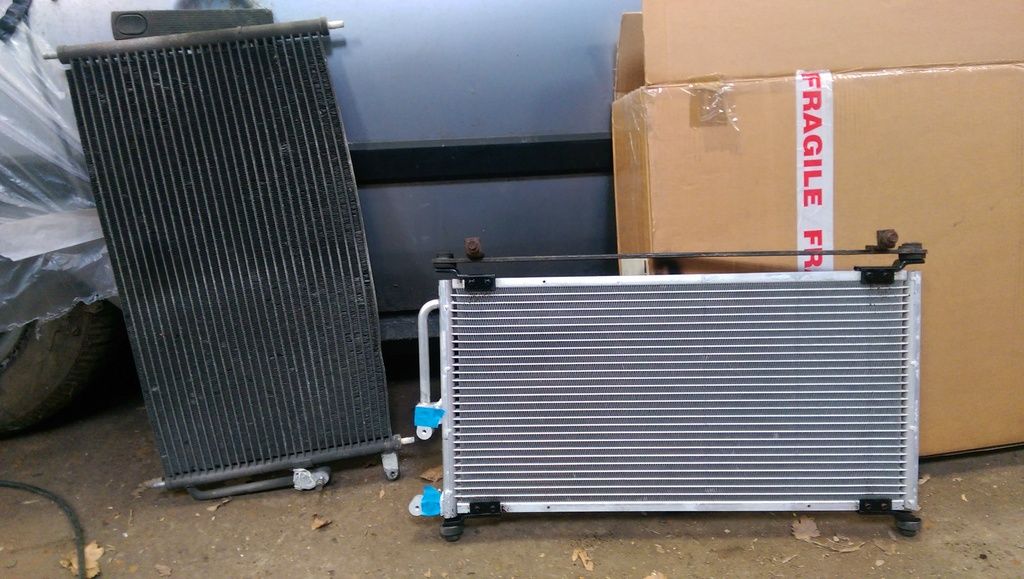
The old condenser looked ok, but hard started to spread due to corrosion on the fins pressing against the cooling channels. I tried to sort this by banding round with stainless ties, but it did not end well...
So I had to bite the bullet and buy a new one. Something horrendously expensive like £35 delivered
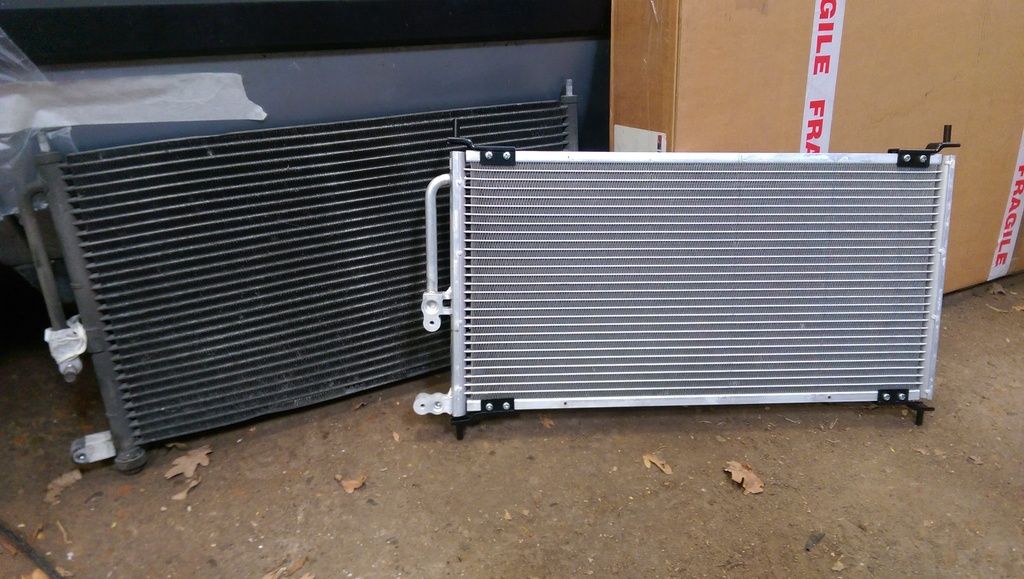
The new one is slightly different construction to the old one. It's better in some ways (won't spread like the old one, because it has proper bracing along the top/bottom (U section).
The begs are separately bolted on though, which is a bit cheaper, rather than welded onto the tanks either end;
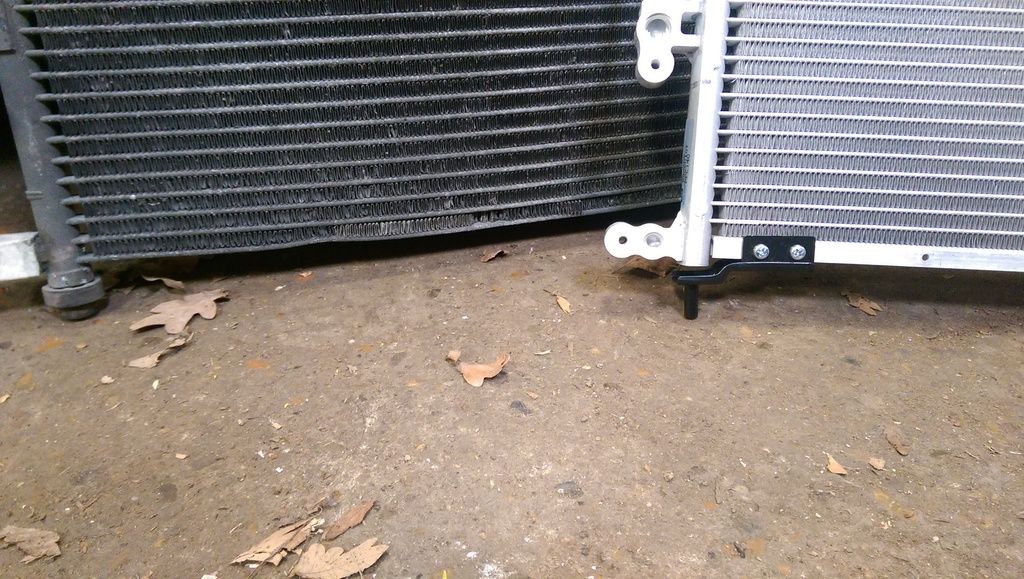
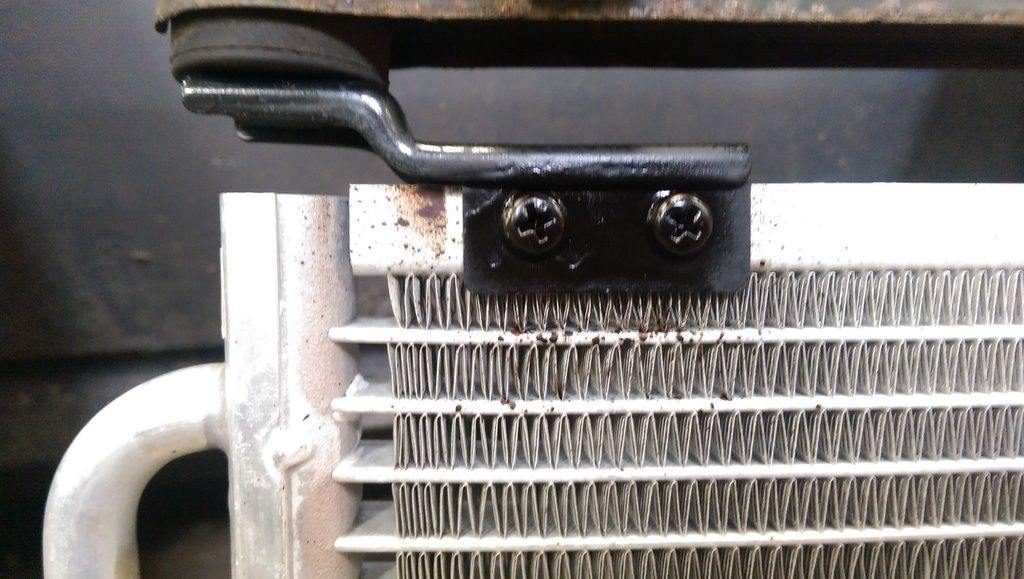
Top bracket and rubber suspension are swapped over from the old one;
Gave all the screws a squirt with underseal, to stop them corroding;
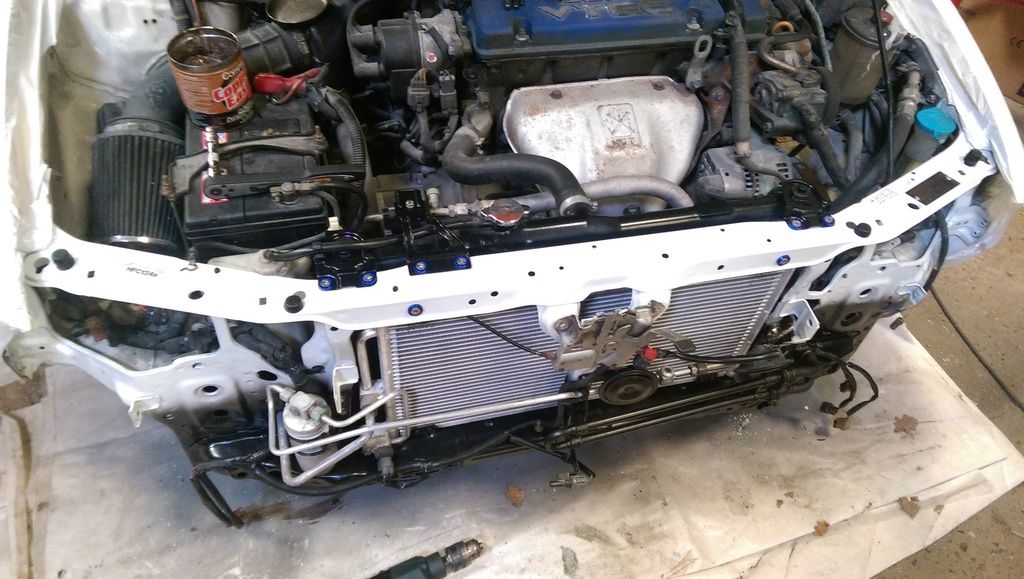
And fitted;
More refurbed brackets in shot and sexy bolts ;
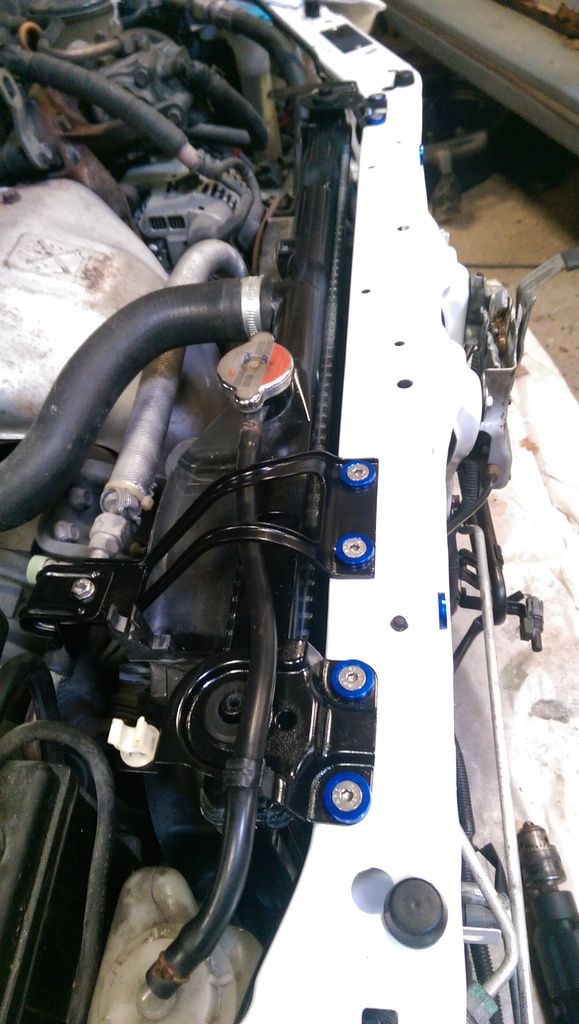
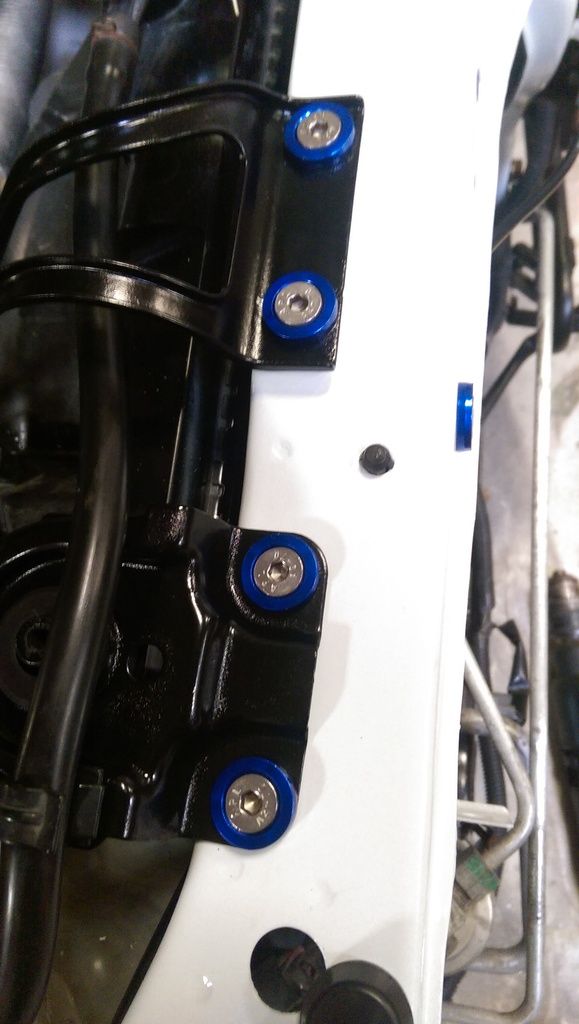
Pretty pleased with the outcome, tbf;
I admit I was anal enough to even clean up the aluminium pipework with scotchbrite and emery cloth
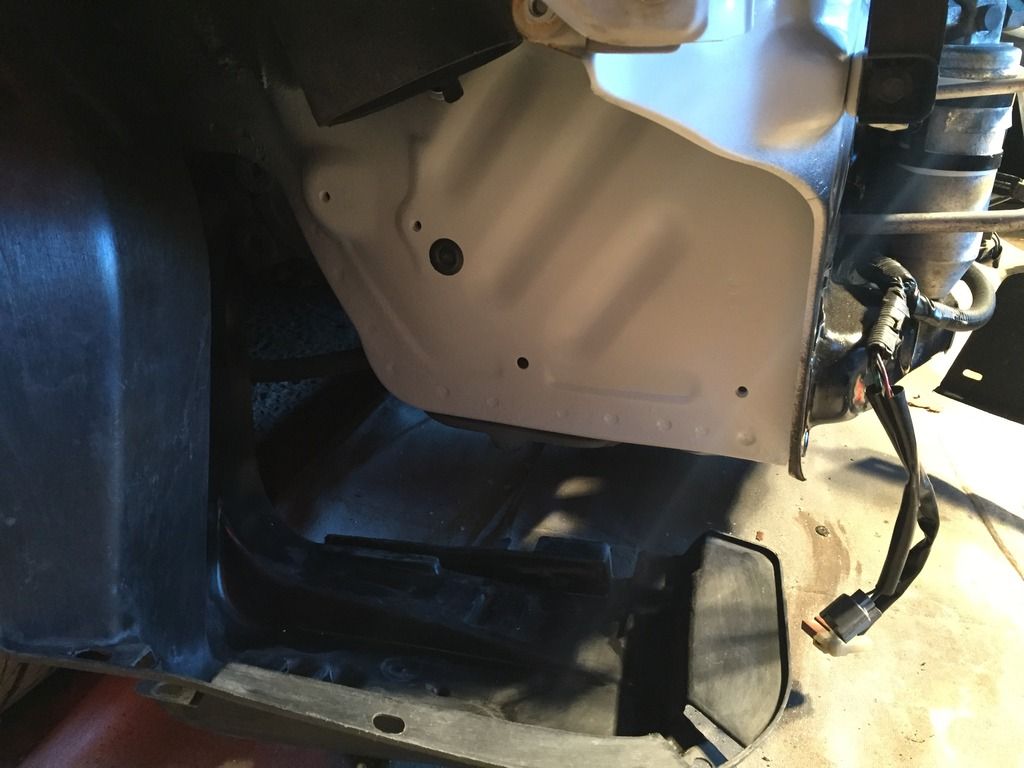
Rest of the bodywork was pretty good by now and only one side of the doors was slightly corroded behind the mirrors (a favourite spot on these cars). I just rubbed it back and covered over with underseal;
(exciting, huh?
Anyway, dug out the aerial that came off it. Was well pleased with the condition - these are usually corroded at the bottom of the mast shroud/motor top cover and the top thread can be a bit manky.
And we want it to stay that way, so...
These bits came off the car to be sorted out (plus others - I didn't photograph everything, but basically every bracket etc. has been done);
Scraped off the loose rust, rubbed down with emery cloth on the rusty metal and scotchbrite over the remaining painted sections. Then etch primed and coats of satin black (baked under IR lamp);
And I had previously put 2 brand new rear window strips on mine and Lisa's BB1 but have not been at all impressed how they last (3 years and they are already deteriorating
Scraped off the plastic paint covering, then sanded back to clean bare metal and masked around, over the rubber edges;
Some pitting still evident;
Etch primed, then over coated with satin black, flashed off with IR lamps in between each coat;
I found it was really easy to overheat this item, because it's so thin/has absolutely no mass (so heats up incredibly quickly)
Went to start putting the a/c back together and after taking the masking off the pipes, spotted this;
Bloody hole in the straight pipe, where the clip holds it onto the bonnet latch upright!
I have a couple of spares of course, but it was a complete dancer to take off. The 2 unions either end were completely solid and started to round off. I gave up with the drier end (decided to just swap that with a spare) so I only had to argue with one end.
After taking it apart, turns out it looks like the someone had previously crossed threaded them
That meant the female end at the other end was drokked too - that's the pipe that loops through the front panel and back over the passenger inner wing back to the bulkhead. *REALLY* didn't fancy taking all that out, so set to work with a bradawl trying to clean it up
I forgot to take any pics, but after an hour or so, it looked good to go, so I gave it a try...
So, some refreshed jobby went back on;
All stainless bolts used everywhere, except for on the drier clamp, because it's an unusual size that I didn't have 'in stock'.
When I took the drier off, I noticed it the body of it had particularly corroded where the bracket clamps round it (bi-metalic corrosion due to the damp/salt I expect) so I wrapped the drier body at this point in PTFE tape, to stop that jobby;
Had to fit new hoses on this bad boy, 'cause the originals were weeping;
IMG]http://i307.photobucket.com/albums/nn29 ... g~original[/IMG]
Much smarter
The old condenser looked ok, but hard started to spread due to corrosion on the fins pressing against the cooling channels. I tried to sort this by banding round with stainless ties, but it did not end well...
So I had to bite the bullet and buy a new one. Something horrendously expensive like £35 delivered
The new one is slightly different construction to the old one. It's better in some ways (won't spread like the old one, because it has proper bracing along the top/bottom (U section).
The begs are separately bolted on though, which is a bit cheaper, rather than welded onto the tanks either end;
Top bracket and rubber suspension are swapped over from the old one;
Gave all the screws a squirt with underseal, to stop them corroding;
And fitted;
More refurbed brackets in shot and sexy bolts
Pretty pleased with the outcome, tbf;
I admit I was anal enough to even clean up the aluminium pipework with scotchbrite and emery cloth
Rest of the bodywork was pretty good by now and only one side of the doors was slightly corroded behind the mirrors (a favourite spot on these cars). I just rubbed it back and covered over with underseal;
--
Iain.
Iain.
Super Secret 1G (not really super secret!)
-
wurlycorner
- Ye are glad to be dead, RIGHT?
- Posts: 21511
- Joined: Sat May 19, 2012 3:33 pm
- My Generation: 4G
- Location: Chelmsford, Essex
- Has thanked: 2507 times
- Been thanked: 317 times
Re: 1995 White BB4 Si Vtec - belated update (not finished)
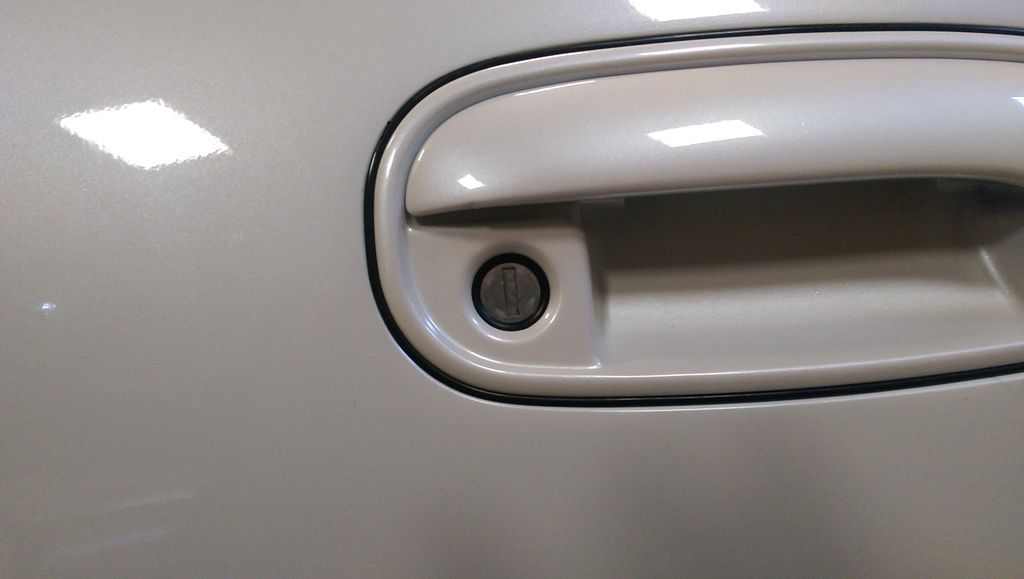
At some point in its life, someone has deprived the car of it's drivers side door lock sprung cover ;

This will not do...
Carefully removed the outer cover;
 looks replaceable...
Dug around in the parts stash and turned up another identical lock (this style of lock is only on some 4th gens) and did similar on that. You can see the offending article;
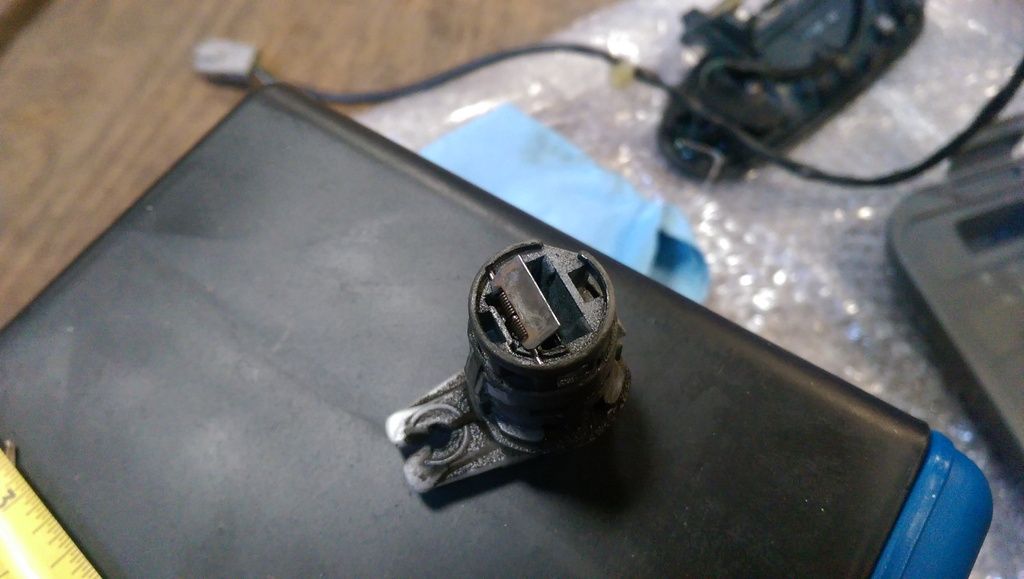
Swapped it over, re-built and fitted;
Spoiler rebuilt with fresh foam on the ends and all sparkly clean LED brake light;
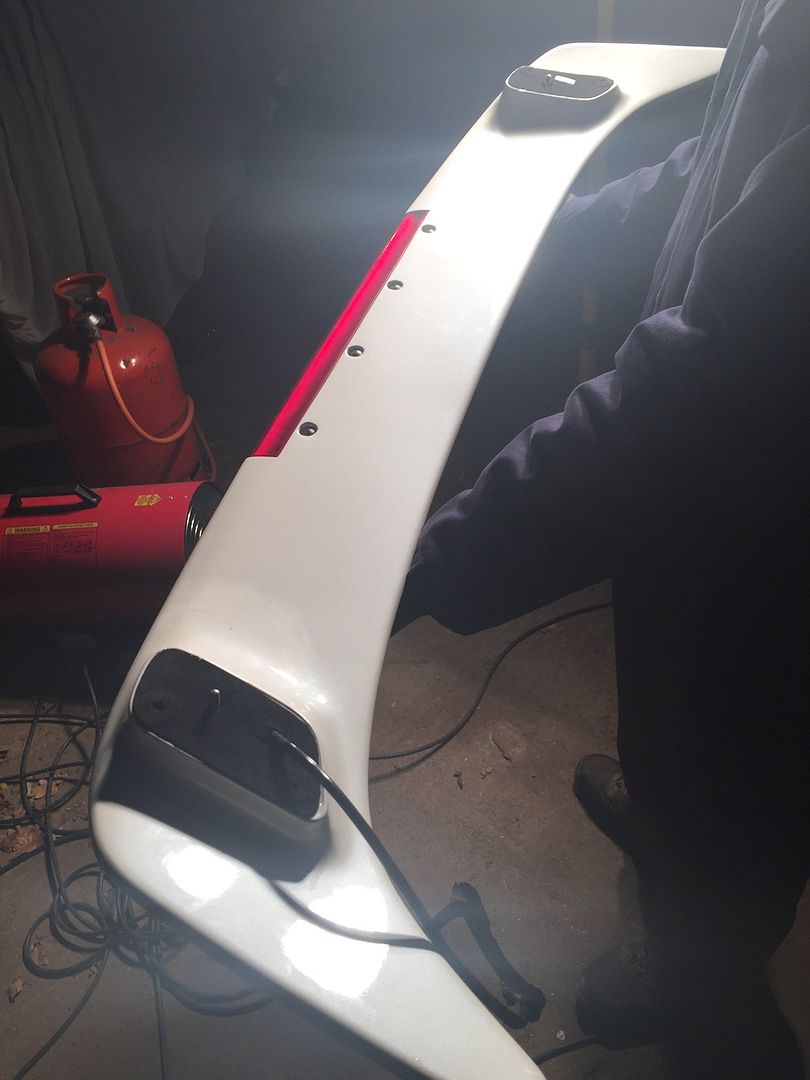
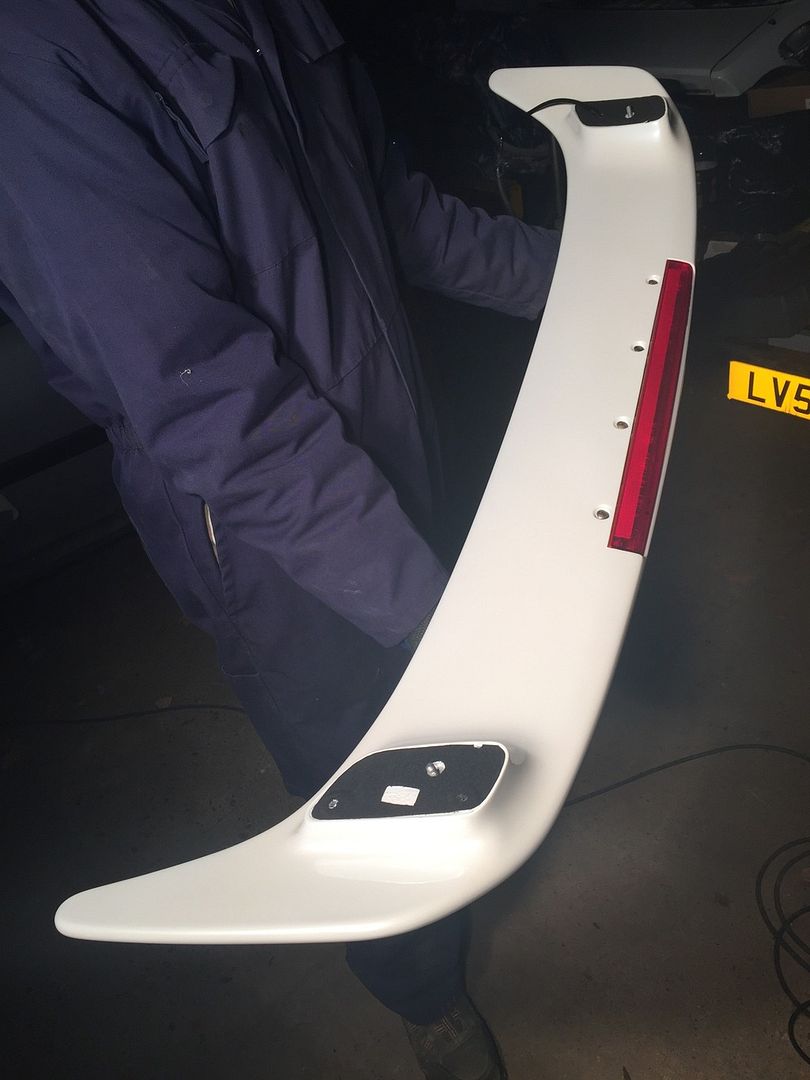
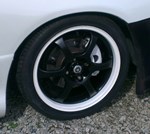
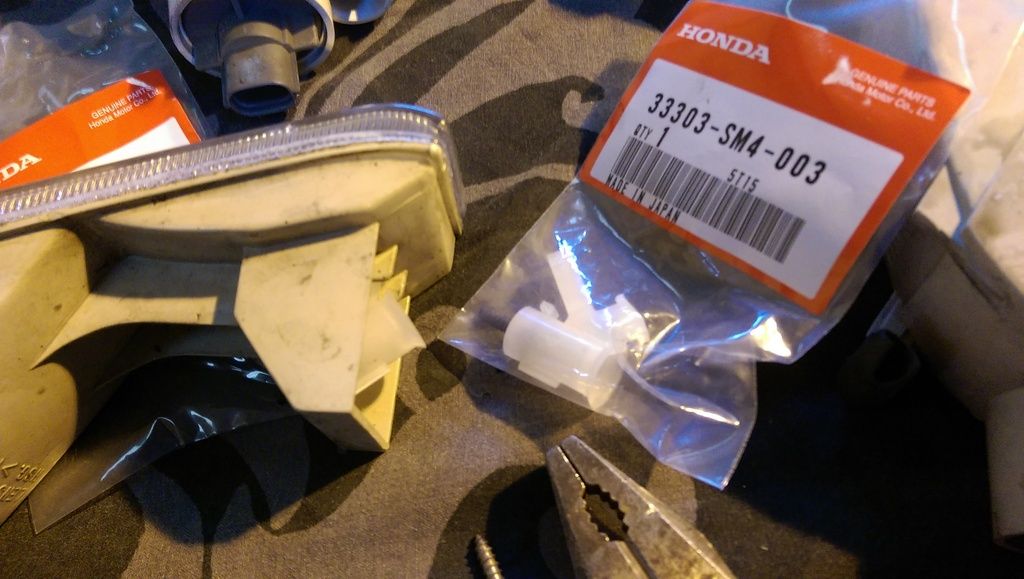
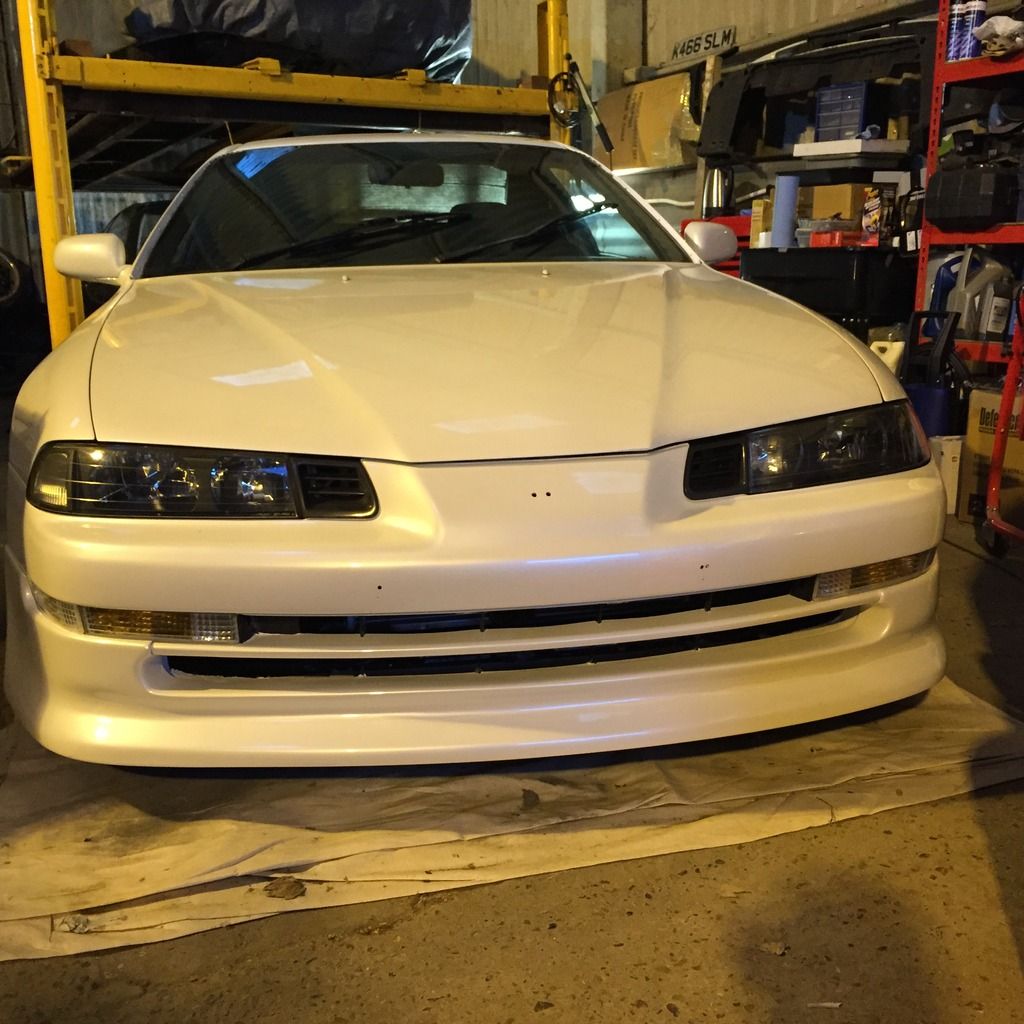
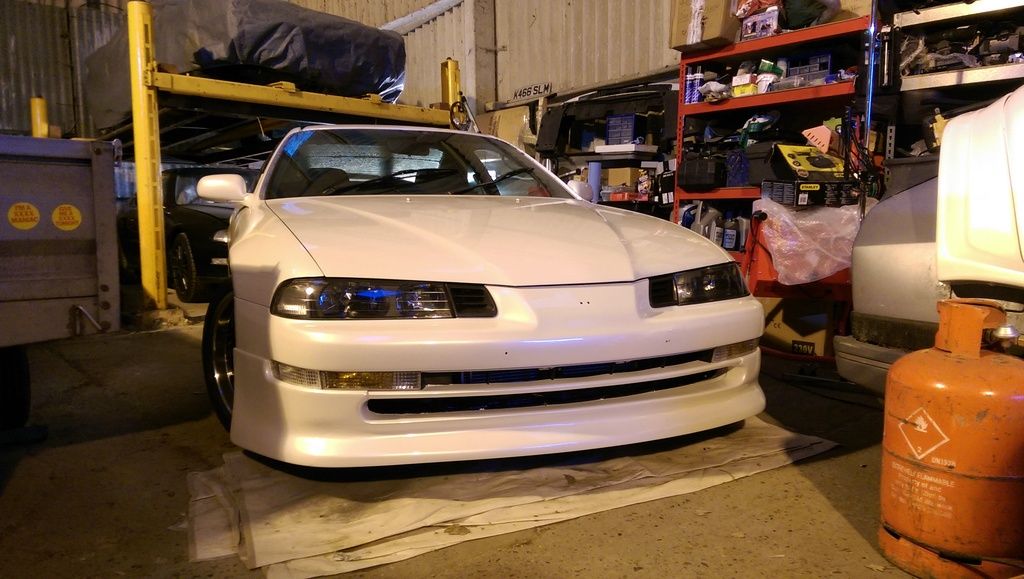
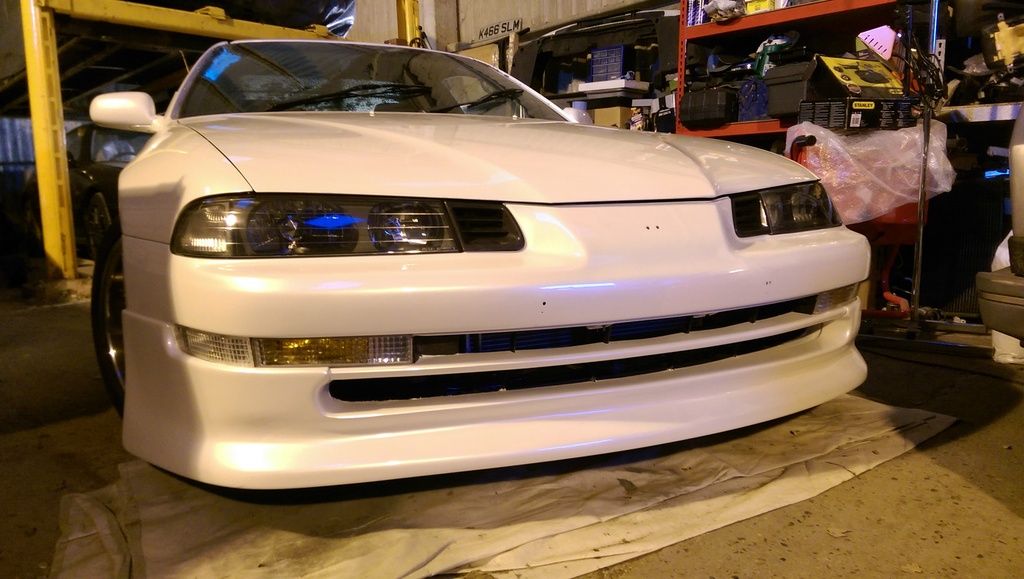
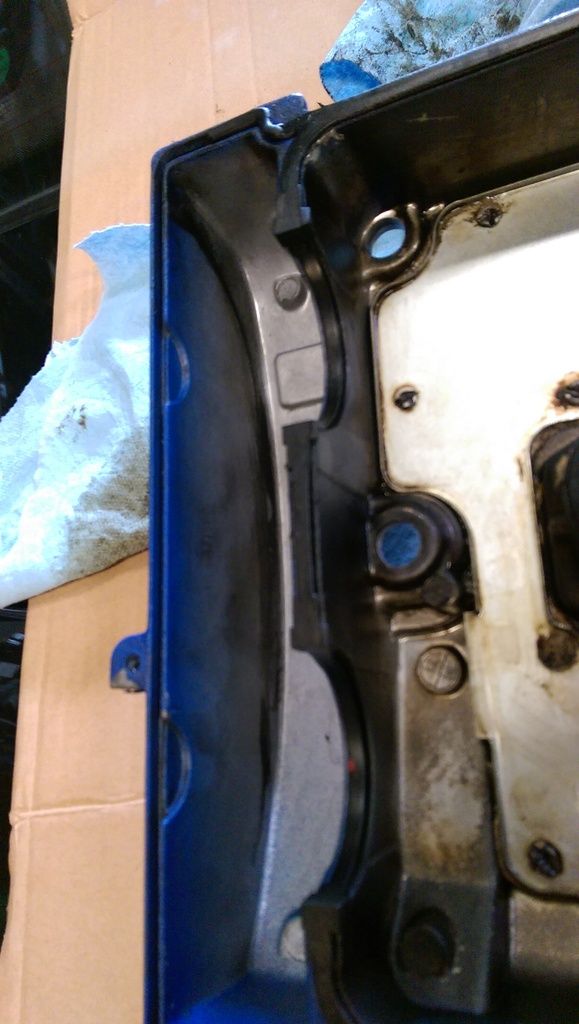
I was in a dilema whether to go for silver or black backed headlights. I wanted silver with chrome nostrils (thought it would go well with the pearlescant paint and also, it's different!) but the chrome nostrils I have weren't minty enough and I couldn't get them refurbed. So... went for black.
It has eyes!

Never showed the end result on these bits. I had run out of frost white and no-where local could mix it up... Halfords said the mixer wouldn't let them mix it in batches less than 5L and they couldn't mix anything that big  So checked with ratty and he suggested ford frost white would work and would be readily available. And it does (at least you can't tell the difference in this location);
Next up was to fit the skirts. A few of the rivets were sheared, so drilled them all out;
To replace with nylon ones;
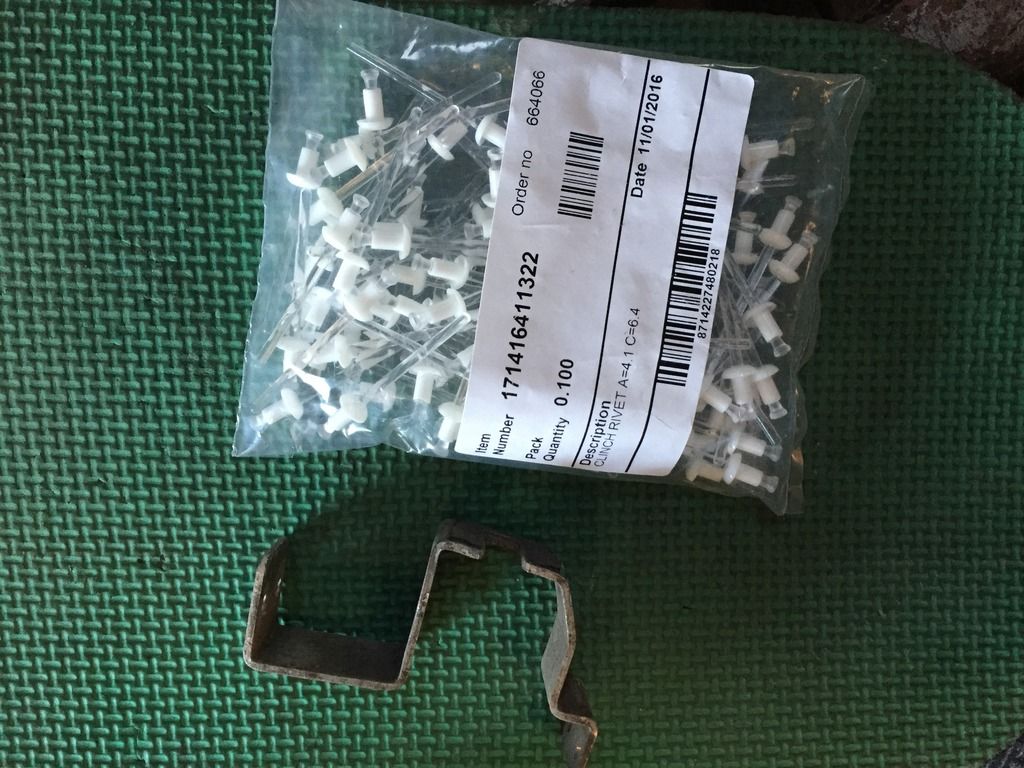
(Much better for fixing really thin plastic - they won't crush/cut it)
A mean shot, late at night
Look, no missing bolts!!!
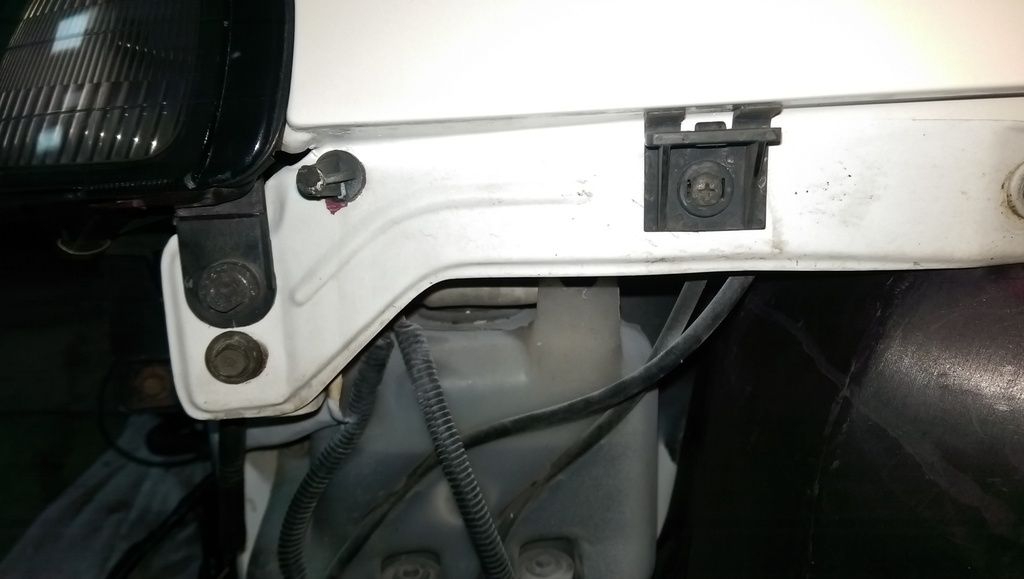
(Honestly, there were so many missing in places like this, when I took it apart)
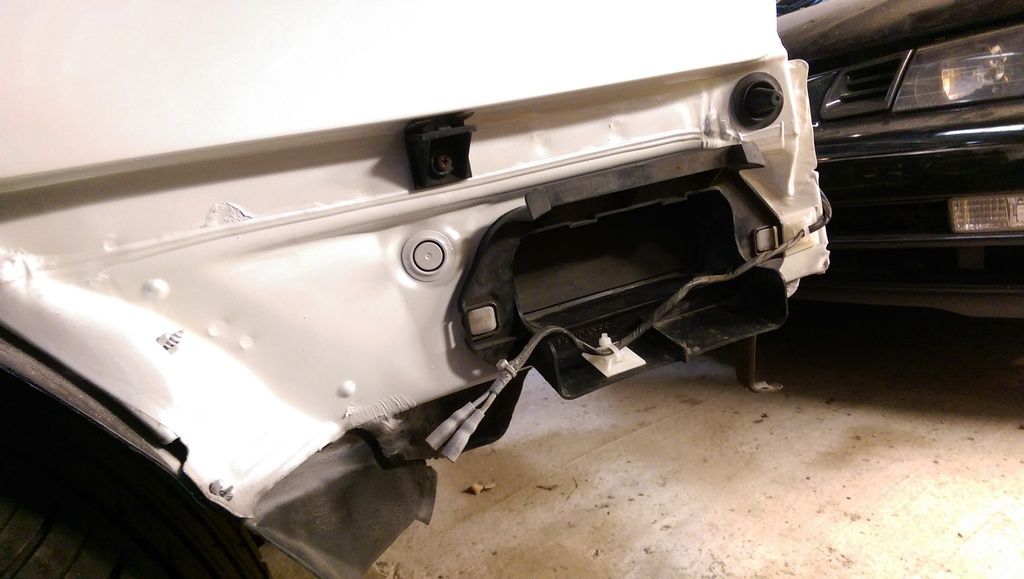
Wiring for the rear quarter lights refitted;
One of the screws for the front indicator was completely corroded (I couldn't get it out) so bought all new ones for both sides;
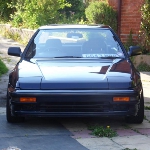
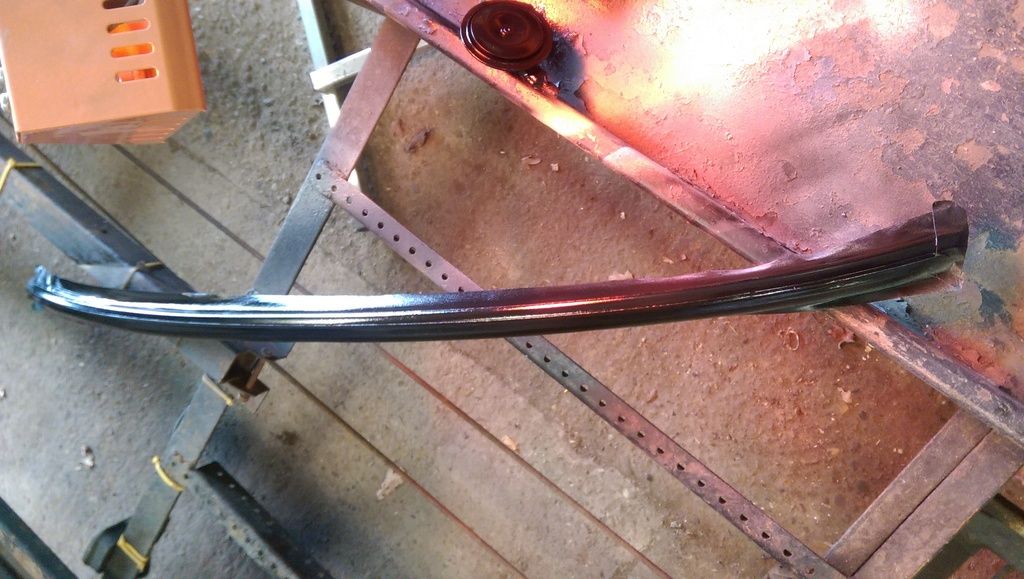
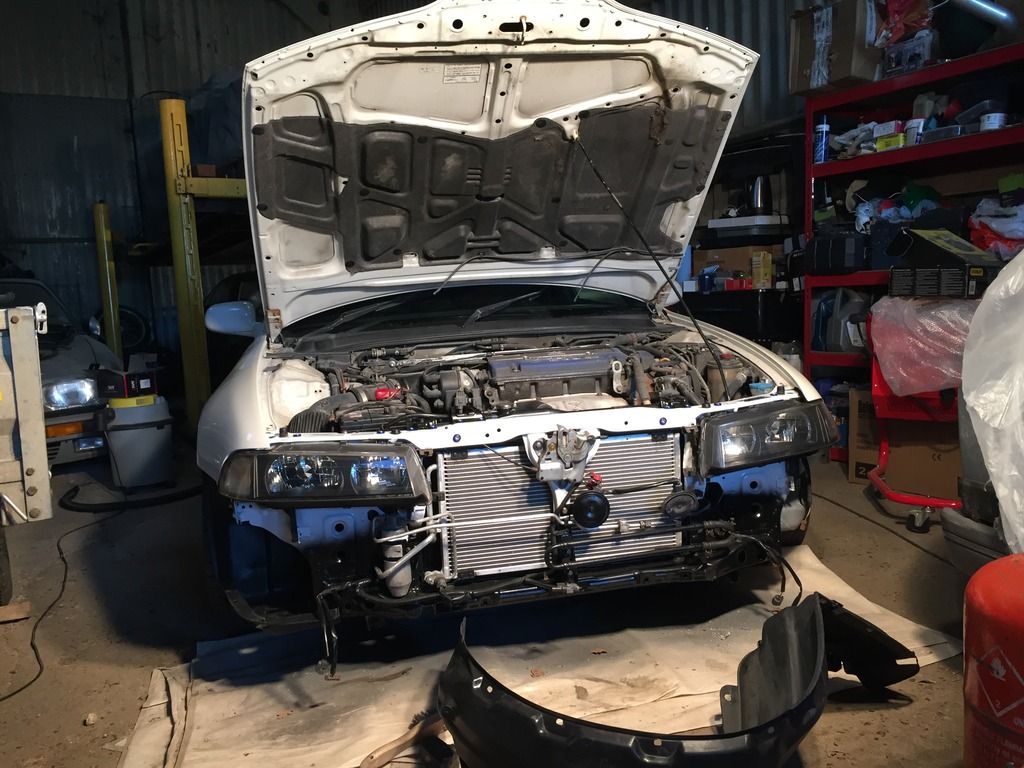
Bumper refitted 

And a very late night finish*, before Japfest the next morning...

(this was taken about 1am )
And by the power of the interweb...
Magic!
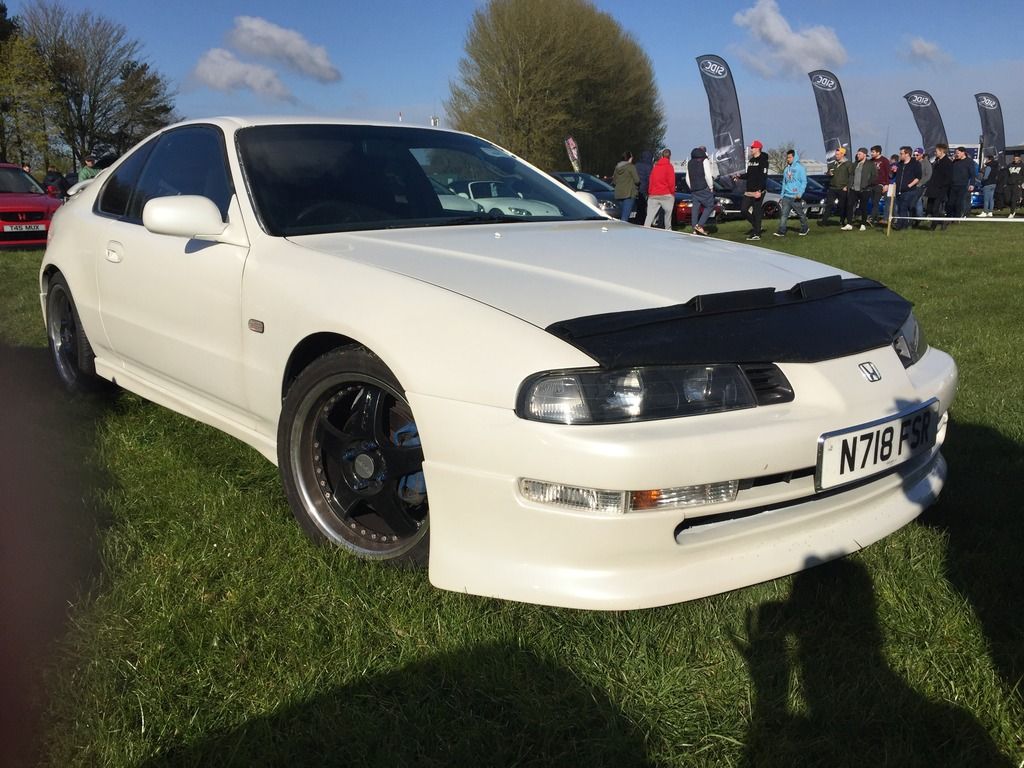
I can't thank blackmwack enough for helping out those last couple of nights, getting it put back together so we finished it in time
*the car was by a long way, not actually finished... trim missing all over but, 'substantially complete' and driveable
This will not do...
Carefully removed the outer cover;
Dug around in the parts stash and turned up another identical lock (this style of lock is only on some 4th gens) and did similar on that. You can see the offending article;
Swapped it over, re-built and fitted;
Spoiler rebuilt with fresh foam on the ends and all sparkly clean LED brake light;
I was in a dilema whether to go for silver or black backed headlights. I wanted silver with chrome nostrils (thought it would go well with the pearlescant paint and also, it's different!) but the chrome nostrils I have weren't minty enough and I couldn't get them refurbed. So... went for black.
It has eyes!
Never showed the end result on these bits. I had run out of frost white
Next up was to fit the skirts. A few of the rivets were sheared, so drilled them all out;
To replace with nylon ones;
(Much better for fixing really thin plastic - they won't crush/cut it)
A mean shot, late at night
Look, no missing bolts!!!
(Honestly, there were so many missing in places like this, when I took it apart)
Wiring for the rear quarter lights refitted;
One of the screws for the front indicator was completely corroded (I couldn't get it out) so bought all new ones for both sides;
Bumper refitted
And a very late night finish*, before Japfest the next morning...
(this was taken about 1am
And by the power of the interweb...
Magic!
I can't thank blackmwack enough for helping out those last couple of nights, getting it put back together so we finished it in time
*the car was by a long way, not actually finished... trim missing all over
--
Iain.
Iain.
Super Secret 1G (not really super secret!)
-
mercutio
- LotM Winner
- Posts: 14958
- Joined: Sun Aug 08, 2010 8:45 pm
- My Generation: 5G
- Location: Sunny Manchester
- Has thanked: 1 time
- Been thanked: 4 times
- Contact:
Great work Iain and Lisa
bristol_bb4 wrote:ahhh a 5th gen, i love 5th gens
Dino wrote:I loves the 5th gen really.... just dont quote me on it...
4thgenphil wrote:Mines 4 1/4 unches mate, sorry
http://www.ludegeneration.co.uk/profile ... -t618.html
-
wurlycorner
- Ye are glad to be dead, RIGHT?
- Posts: 21511
- Joined: Sat May 19, 2012 3:33 pm
- My Generation: 4G
- Location: Chelmsford, Essex
- Has thanked: 2507 times
- Been thanked: 317 times
Re: 1995 White BB4 Si Vtec - belated update (not finished)
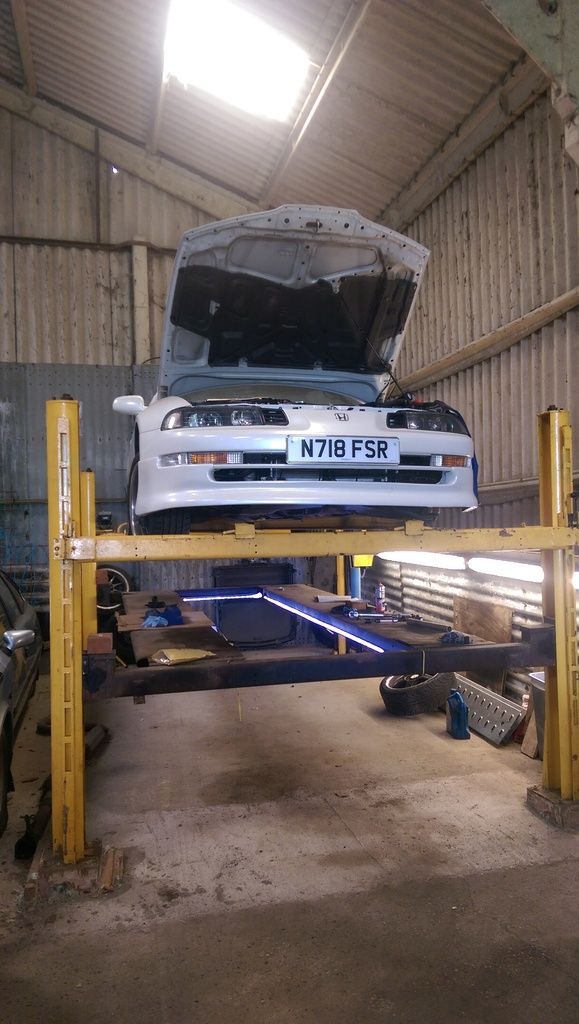
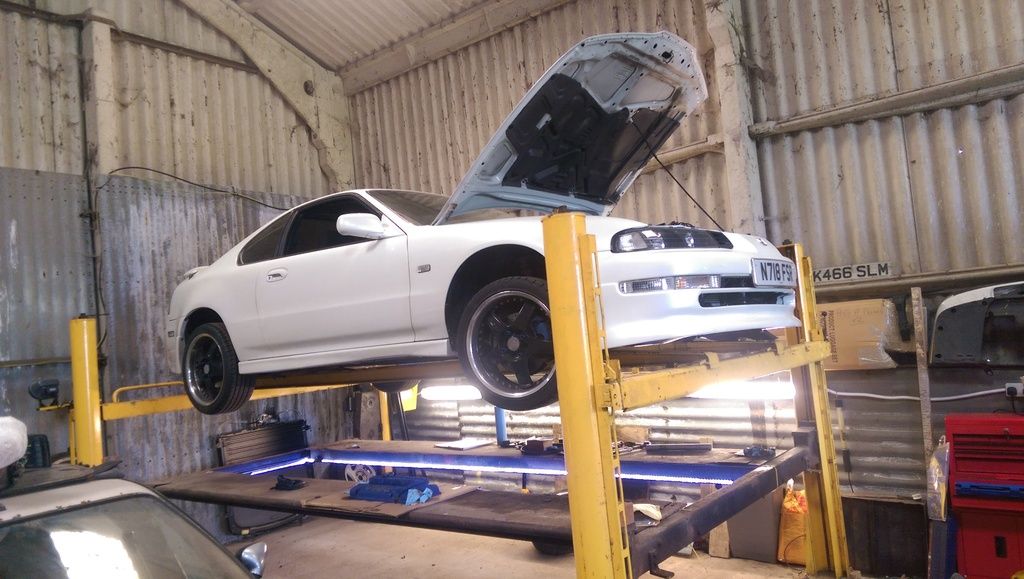
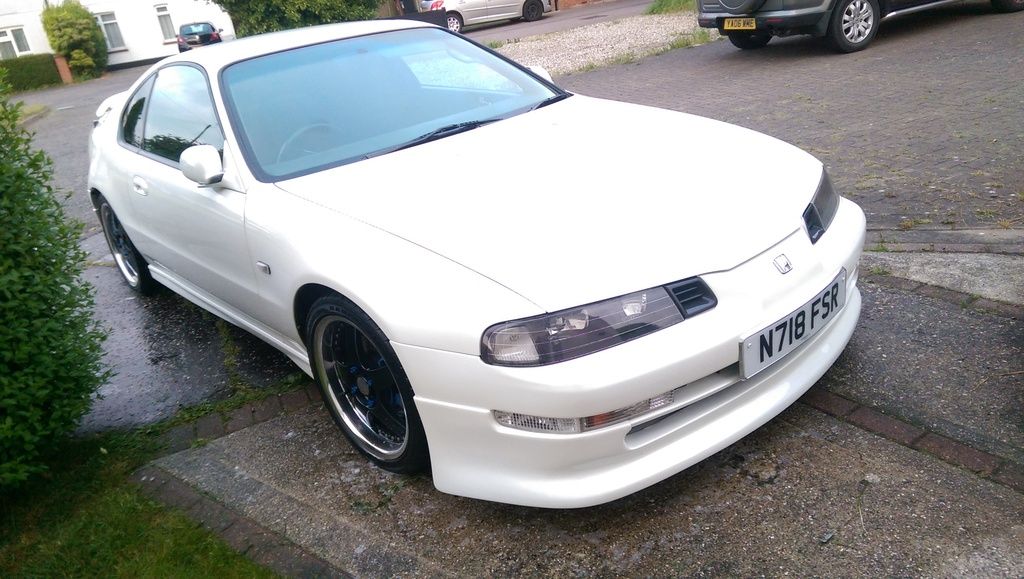
That moment when you leave for work in the morning for a jobby day, it's jobby weather but yet you look back and...
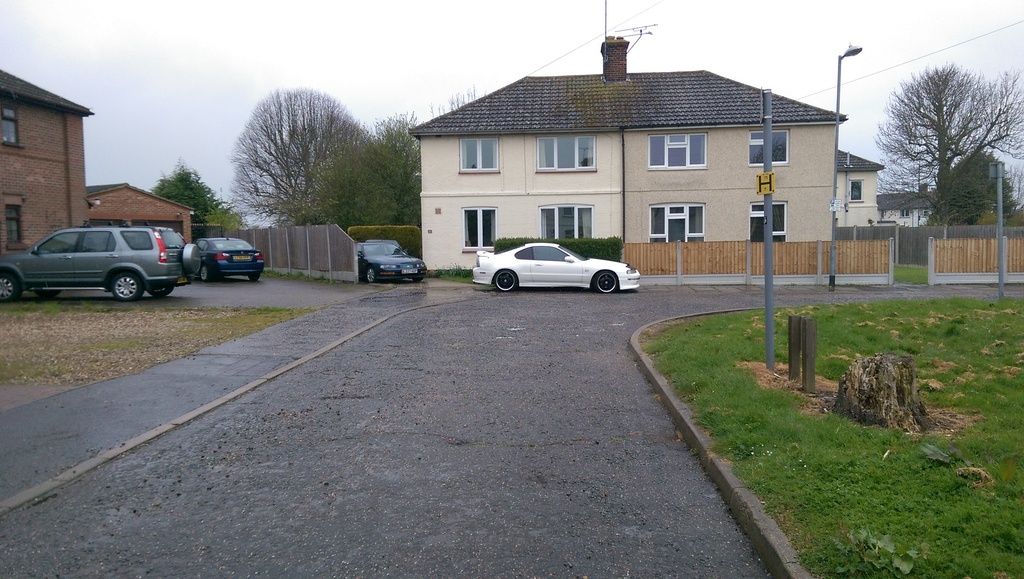
(The car just glows!)
Next up was the cambelt. Not done one on a lude before, so @vtecmec kindly came down to help me for a weekend.
Unfortunately though, this dancer had other ideas and I couldn't find my big breaker bar...
So we did this, to cheer ourselves up;
And then went out on the town and got pissed till late.
And the next morning, I went and spunked some cash on more tools and then we got it undone. Turned out the last bloke that did it, had used threadlock
Off
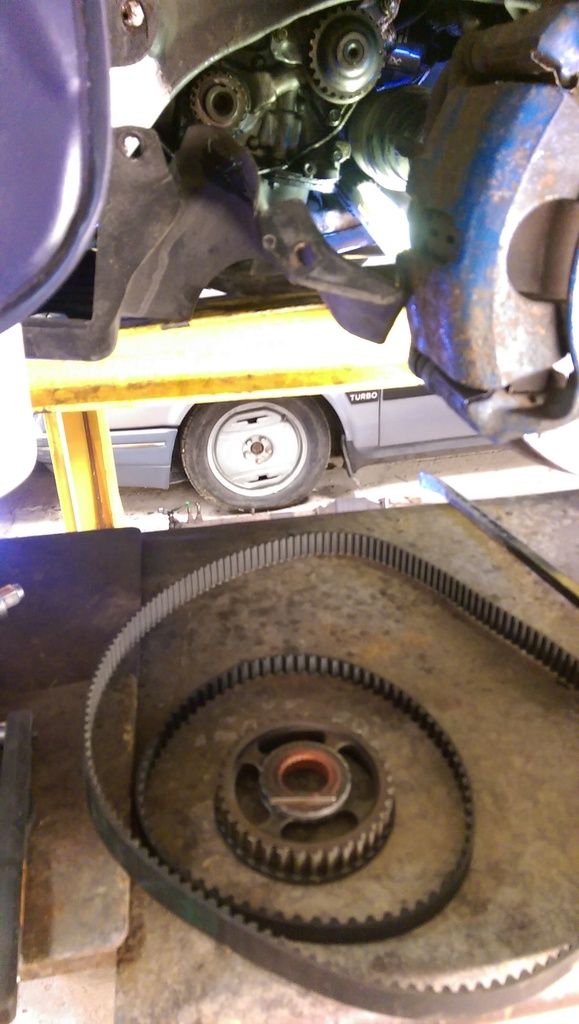
All cleaned up sparkly;

After buying replacement spares for everything, sat ready on the shelf, I went round checking everything (seals, water pump, tensioner, bearings etc...) and decided to change, exactly... Nothing (They all checked out ok.)
When it comes to reassembling, it's impossible to see when this is correctly lined up - you just can't get in to see the timing marks
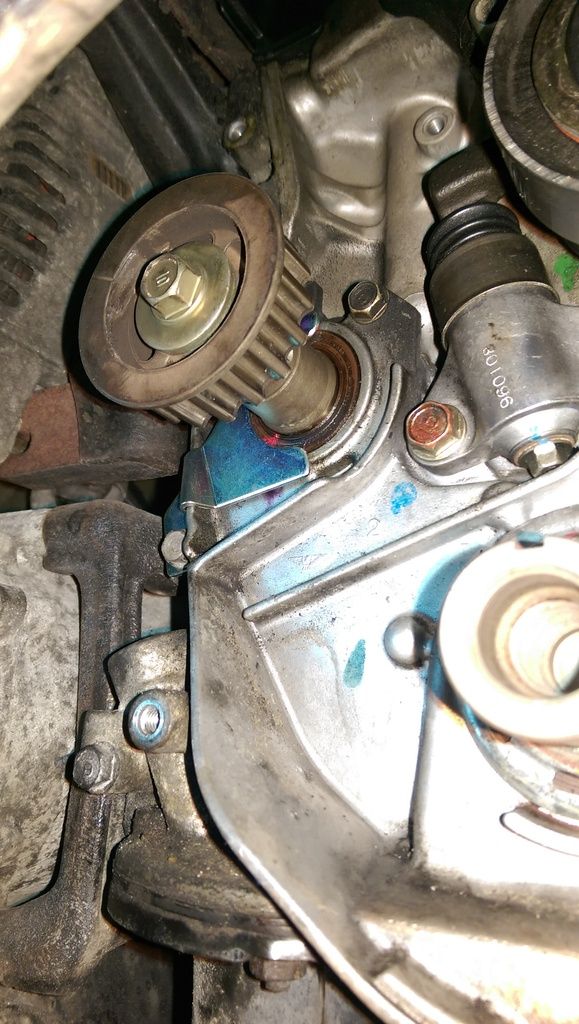
I guessed from below and then used the phone on my camera to take in line pics, from above.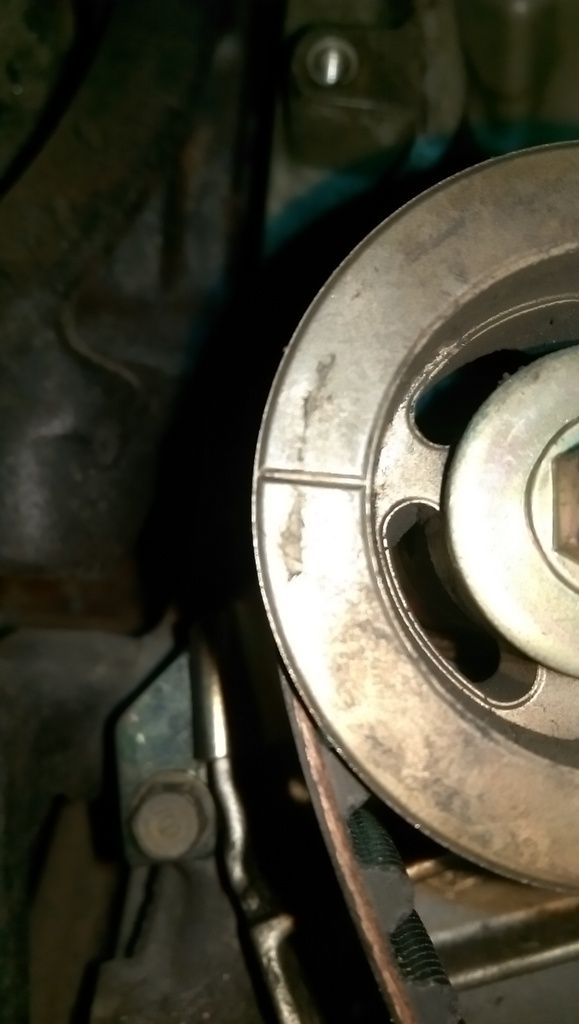
The old belts were in great condition tbh, didn't need to be changed - I was so, so pleased after taking it all apart
The new ones didn't have any direction marks on them so I used intuition and fitted them with the lettering facing the same way
First time I refitted, got the inlet cam 1 tooth out drokked about and got them realigned, second time round
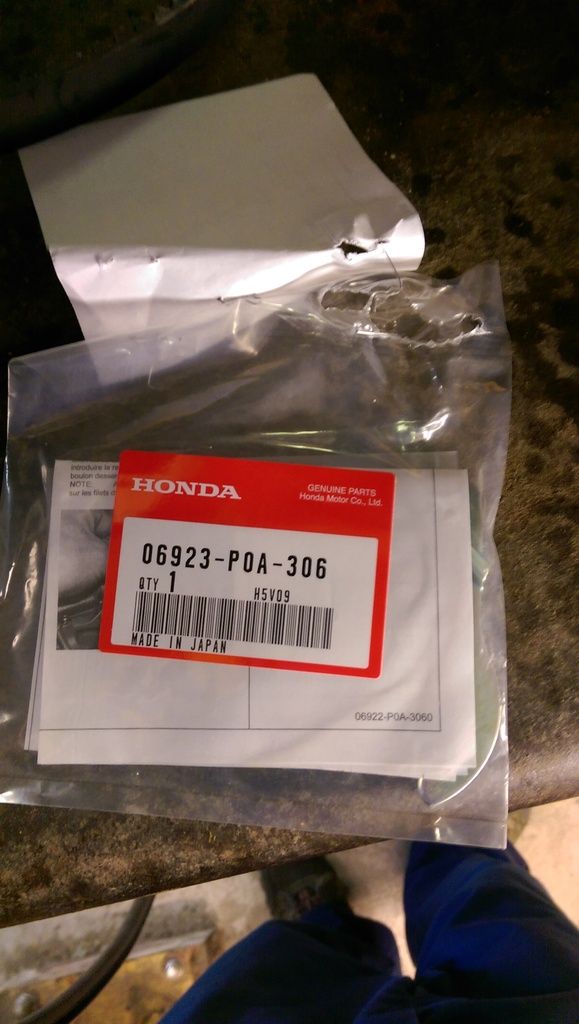
Also fitted one of these, (balance seal retainer) 'cause the mod hadn't previously been done;
This thing (lower cover) was a jobby to refit. Access is just crap and I drokked around for 3/4 hour, shifting the engine up/down, trying to remove the radius arm etc. Until you suss the right knack and then it's pretty easy
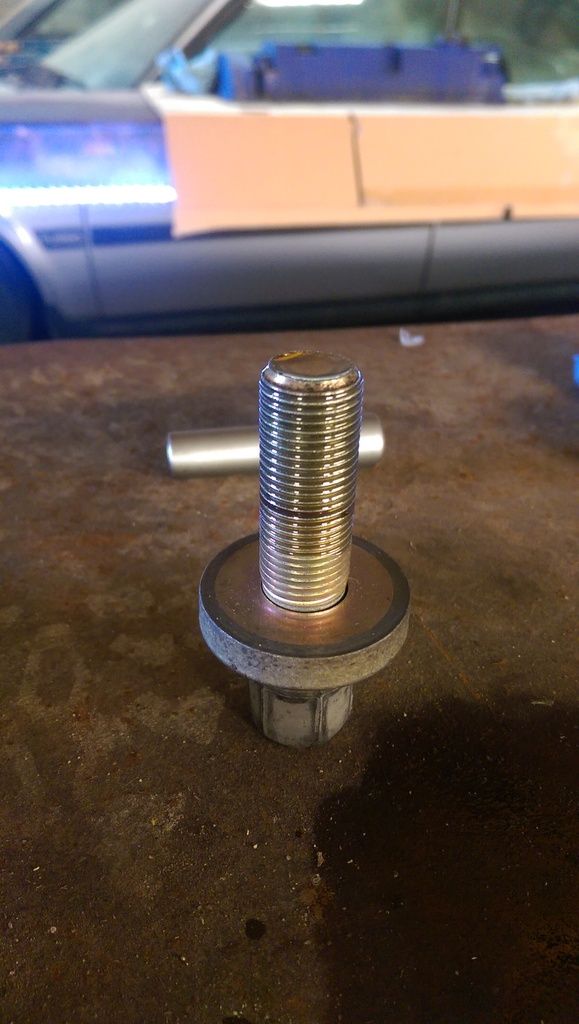
Pulley. Harmonic damper shows signs of age, but generally ok.

Bolt nicely cleaned up (NO threadlock!!! ) and oiled, ready for refitting;
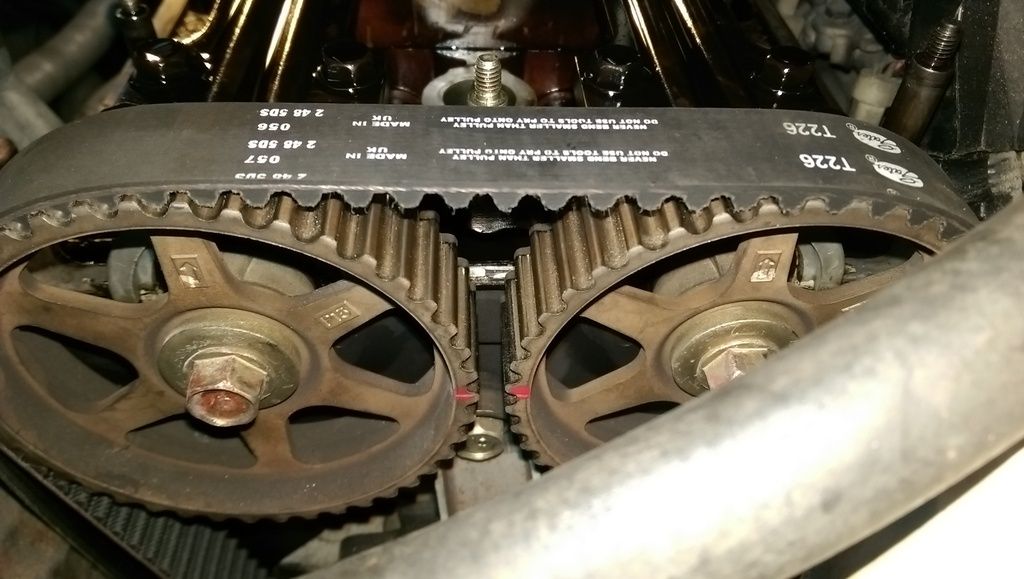
Ready to go;
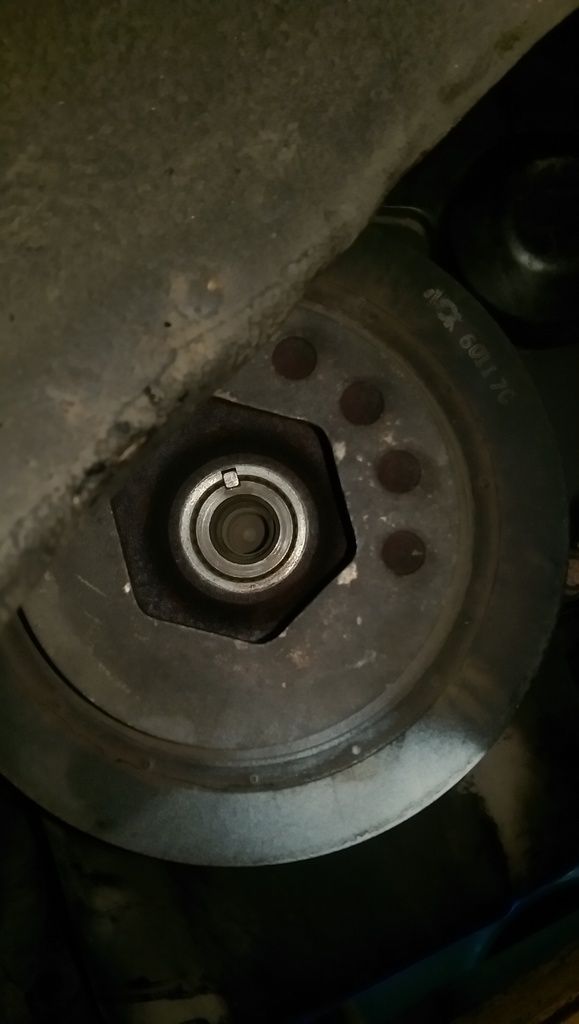
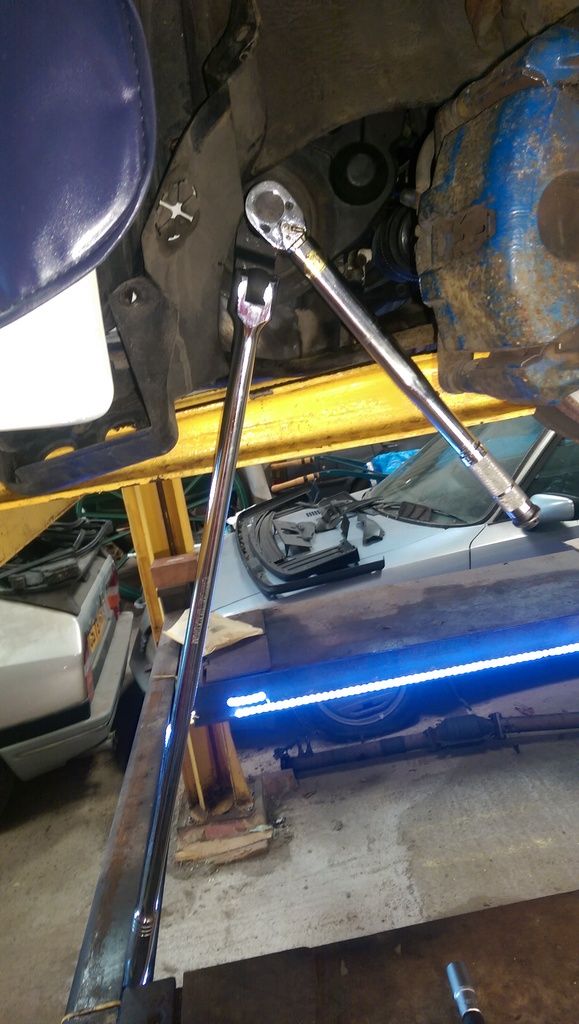
Bottom pulley tightening, Iain style
Looks good in the air
Rocker cover getting properly cleaned up in the wash tank;
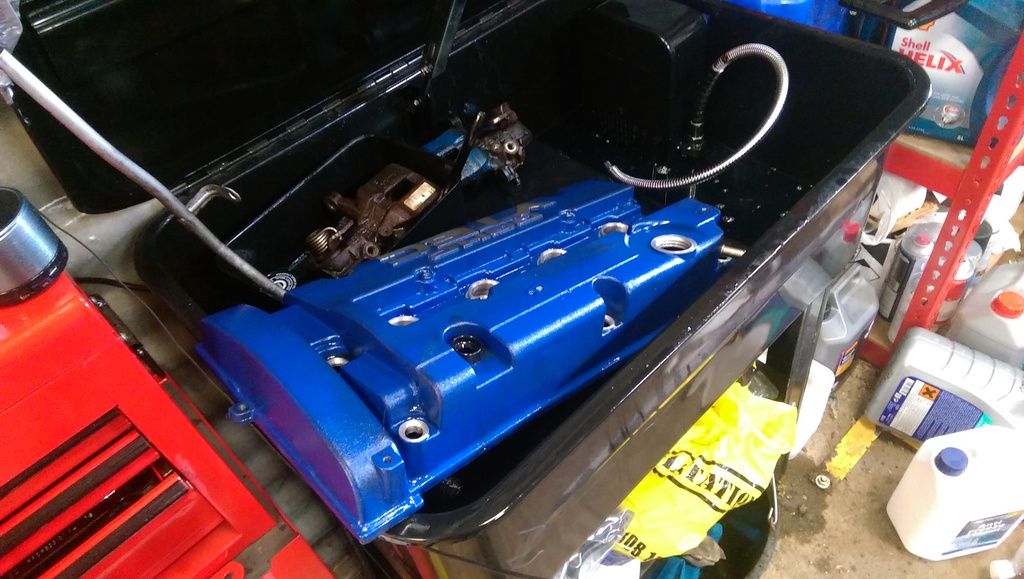
The inside was manky;
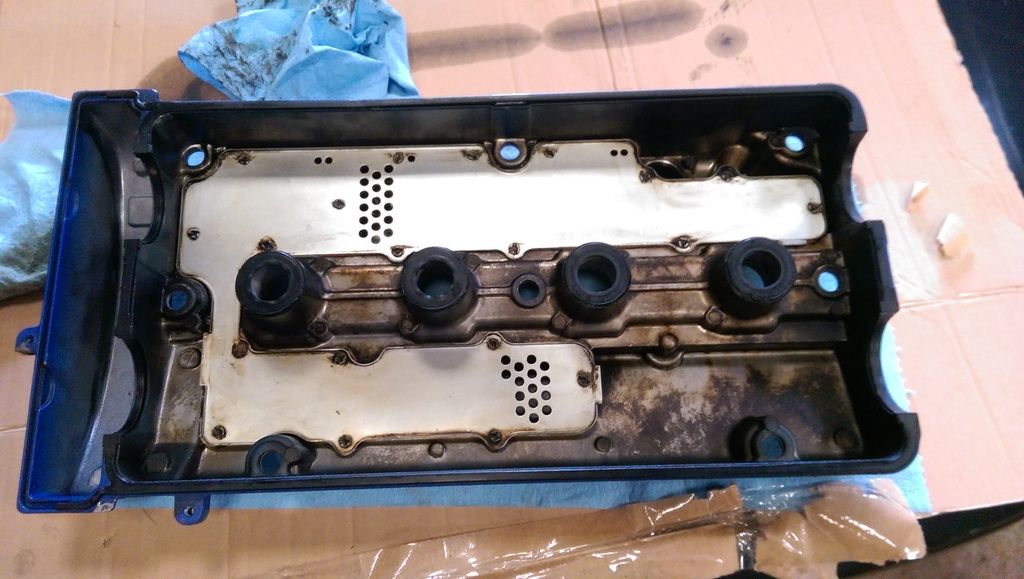
Holes in the original casting is pretty damn annoying;
The interesting thing in the pic above (apart from the casting blow holes) is that the nobble sticking out of the cover proves it's a genuine H23 cover, not a resprayed H22 cover.
Blox cam seal fitted and I used wellseal either side of it;

It was filthy before, so I gave it a good wipe over where I could, before reassembling.

All up and running ok and then found out that the exhaust and downpipe were drokked!
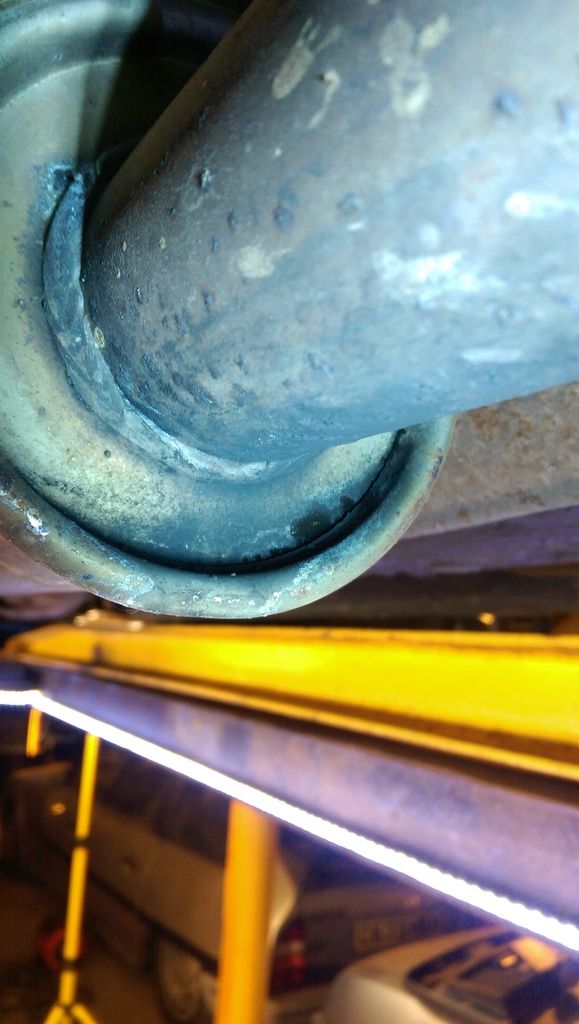
(haven't uploaded pics of the downpipe, but it was blowing in 2 places - none of the flexi's)
Old one removed;

Consulted the stock room and came back with a Skunk2 exhaust and Fuji Manifold

Thanks to @newkid for sending me down a gasket asap so it could all get fitted in time for Hondafest.
Also another big thanks to @blackmwack for helping fit it
(Of course, it wasn't all quite as easy as that to fit - exhausts never are, involving sheared/missing studs on the downpipe etc. Etc. but we got there...)
So...
It made it!
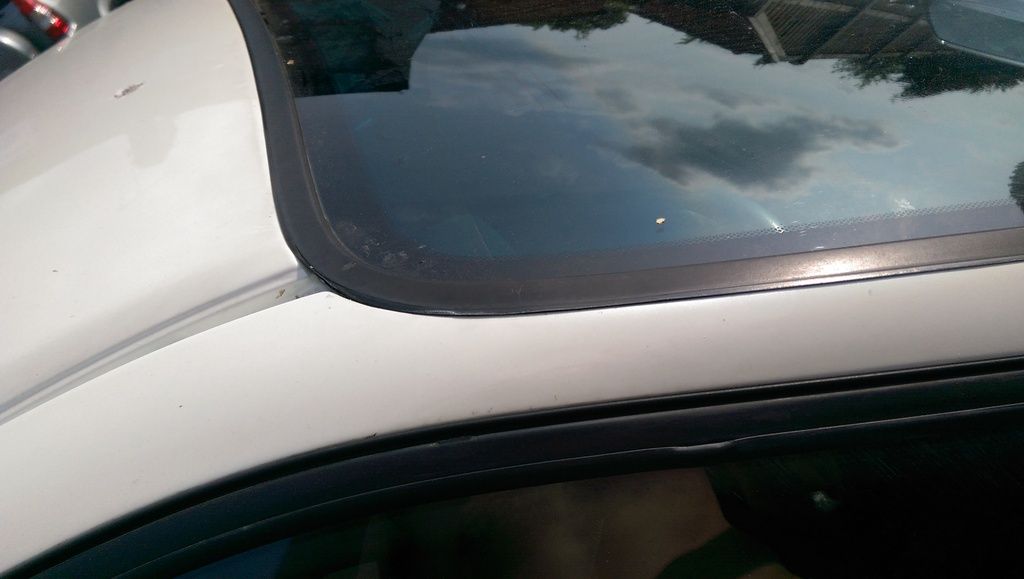
(picture taken shortly after I refitted the trim across the bottom of the rear window... Yes - I did it on the train )
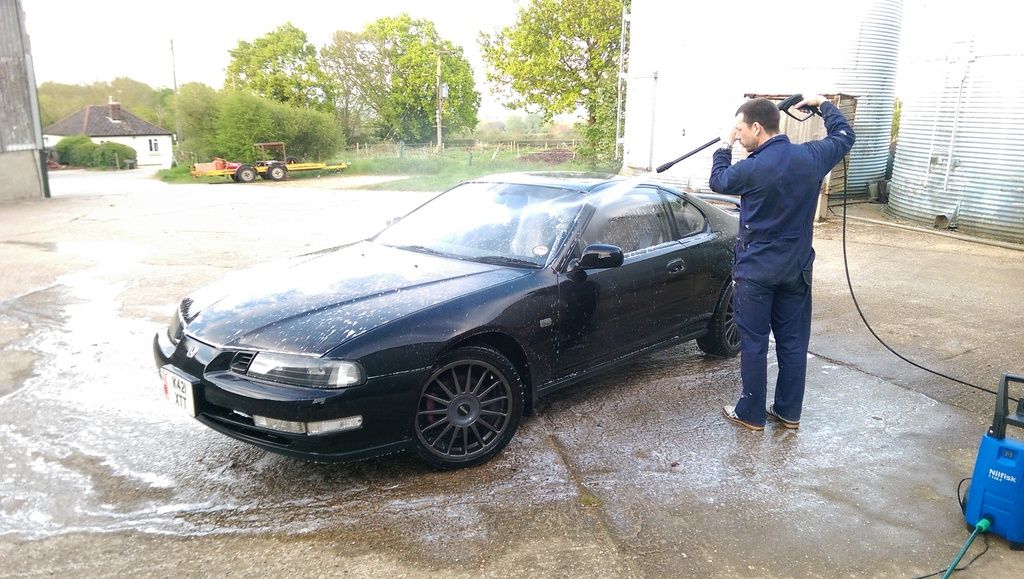
Once it was there, it even got a (quick) wash
The windscreen trim was not properly fitted unfortunately for all of the trip - I couldn't get it into the clips and top rubber channel properly before going, so it was sat proud.
A week or so later, a nice hot day, some soap and a plastic mallet and...
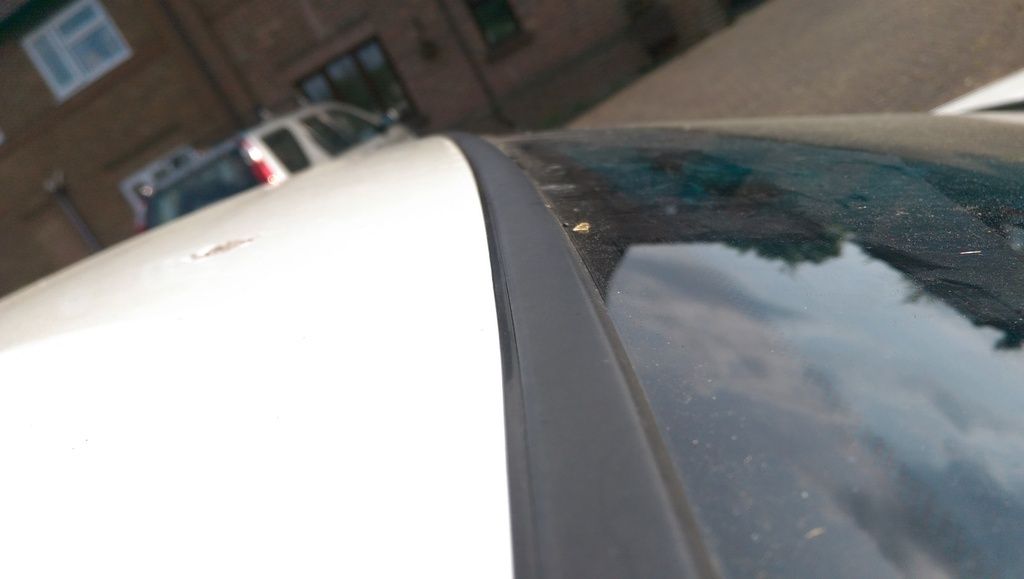
Spot on!

Treated it to another snow foam, jet wash, hand wash, towel dry;
Then clay
Then HD clean
Then polish
Then wax
( I have never done all that to a car before... Took ages! (but the car feels lovely now )
I'll upload the pics sometime this week...
(The car just glows!)
Next up was the cambelt. Not done one on a lude before, so @vtecmec kindly came down to help me for a weekend.
Unfortunately though, this dancer had other ideas and I couldn't find my big breaker bar...
So we did this, to cheer ourselves up;
And then went out on the town and got pissed till late.
And the next morning, I went and spunked some cash on more tools and then we got it undone. Turned out the last bloke that did it, had used threadlock
Off
All cleaned up sparkly;
After buying replacement spares for everything, sat ready on the shelf, I went round checking everything (seals, water pump, tensioner, bearings etc...) and decided to change, exactly... Nothing
When it comes to reassembling, it's impossible to see when this is correctly lined up - you just can't get in to see the timing marks
I guessed from below and then used the phone on my camera to take in line pics, from above.
The old belts were in great condition tbh, didn't need to be changed - I was so, so pleased after taking it all apart
The new ones didn't have any direction marks on them
First time I refitted, got the inlet cam 1 tooth out
Also fitted one of these, (balance seal retainer) 'cause the mod hadn't previously been done;
This thing (lower cover) was a jobby to refit. Access is just crap and I drokked around for 3/4 hour, shifting the engine up/down, trying to remove the radius arm etc. Until you suss the right knack and then it's pretty easy
Pulley. Harmonic damper shows signs of age, but generally ok.
Bolt nicely cleaned up (NO threadlock!!!
Ready to go;
Bottom pulley tightening, Iain style
Looks good in the air
Rocker cover getting properly cleaned up in the wash tank;
The inside was manky;
Holes in the original casting is pretty damn annoying;
The interesting thing in the pic above (apart from the casting blow holes) is that the nobble sticking out of the cover proves it's a genuine H23 cover, not a resprayed H22 cover.
Blox cam seal fitted and I used wellseal either side of it;
It was filthy before, so I gave it a good wipe over where I could, before reassembling.
All up and running ok and then found out that the exhaust and downpipe were drokked!
(haven't uploaded pics of the downpipe, but it was blowing in 2 places - none of the flexi's)
Old one removed;
Consulted the stock room and came back with a Skunk2 exhaust and Fuji Manifold
Thanks to @newkid for sending me down a gasket asap so it could all get fitted in time for Hondafest.
Also another big thanks to @blackmwack for helping fit it
(Of course, it wasn't all quite as easy as that to fit - exhausts never are, involving sheared/missing studs on the downpipe etc. Etc. but we got there...)
So...
It made it!
(picture taken shortly after I refitted the trim across the bottom of the rear window... Yes - I did it on the train
Once it was there, it even got a (quick) wash
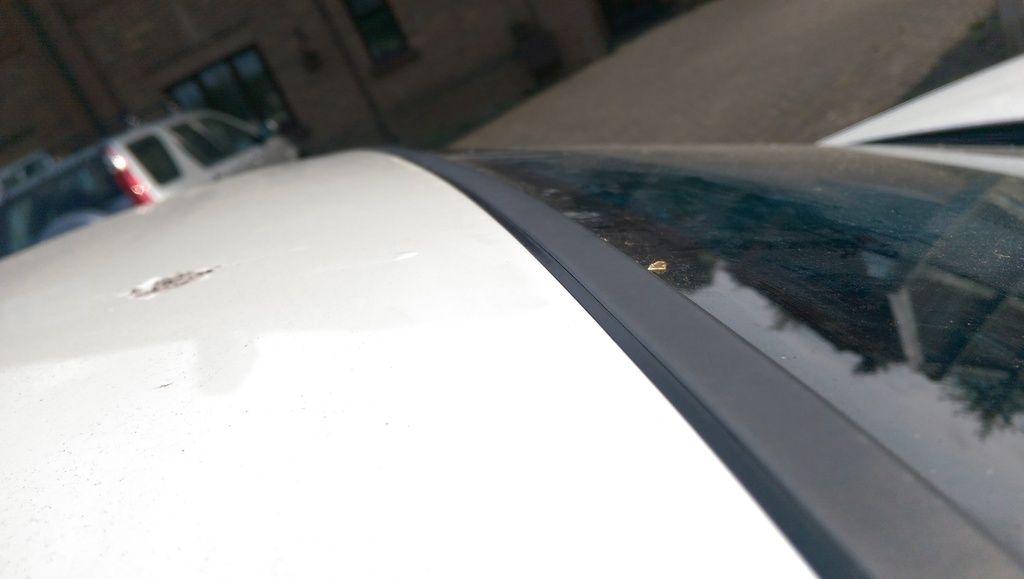
The windscreen trim was not properly fitted unfortunately for all of the trip
A week or so later, a nice hot day, some soap and a plastic mallet and...
Spot on!
Treated it to another snow foam, jet wash, hand wash, towel dry;
Then clay
Then HD clean
Then polish
Then wax
(
I'll upload the pics sometime this week...
--
Iain.
Iain.
Super Secret 1G (not really super secret!)