Congratulations to vtecmec for winning May/June's Lude Of The Month, with his DIY Turbo BB1 build.
>>> Click Here For Profile <<<

>>> Click Here For Profile <<<
Honda-Hardy's type "s" express
-
wurlycorner

- Ye are glad to be dead, RIGHT?
- Posts: 21511
- Joined: Sat May 19, 2012 3:33 pm
- My Generation: 4G
- Location: Chelmsford, Essex
- Has thanked: 2507 times
- Been thanked: 317 times
I've been looking at them here and enquiring about shipping... Just seems so expnsive tho... And that's just to my us address.. I might have to bring a pair with me on the plane, like "ski guys" take their ski's....newkid wrote:Shouldn't be a problem for you if your still in the States bud. American company.Rudelude wrote:HH, I need that front lip in my life..... where can I get one from....?
1997 Type S, Pearl White
Rust Free & Mugen Goodness
Rust Free & Mugen Goodness
-
honda-hardy

- Club Cartographer
- Posts: 6268
- Joined: Sat Jan 28, 2012 7:35 pm
- My Generation: 5G
- Location: chippenham
- Been thanked: 1 time
Drivers seat repair and mould removal
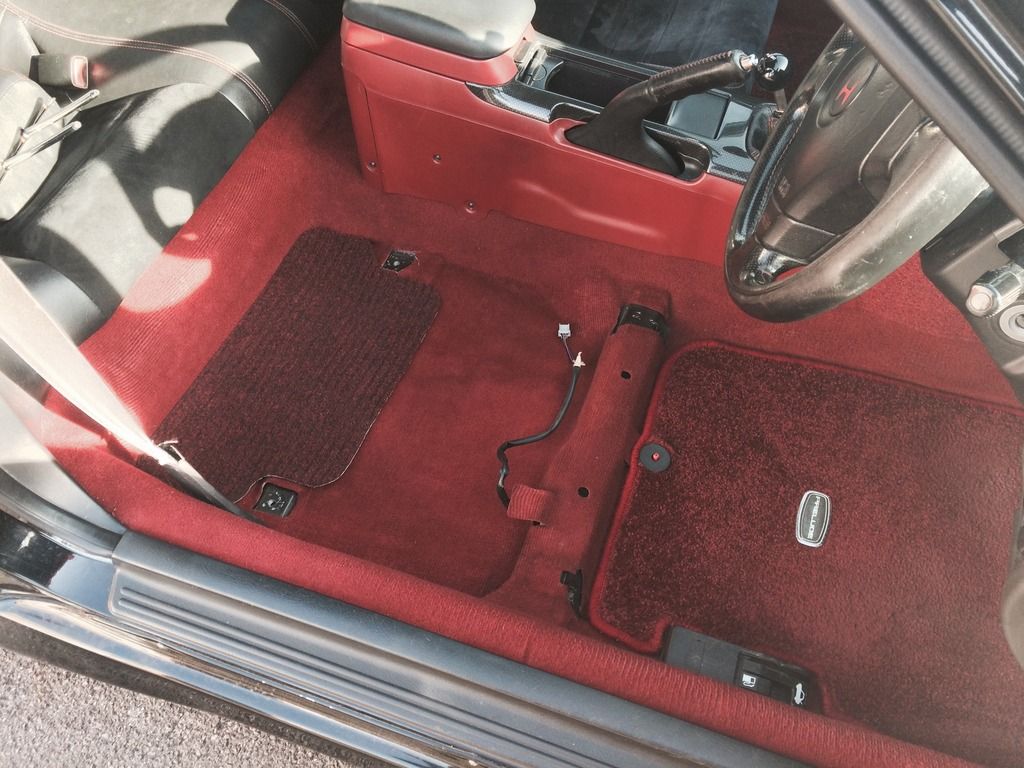
After getting my lude back, it was clear that it had some issues, the boot still leaked and the inside was damp and mouldy.
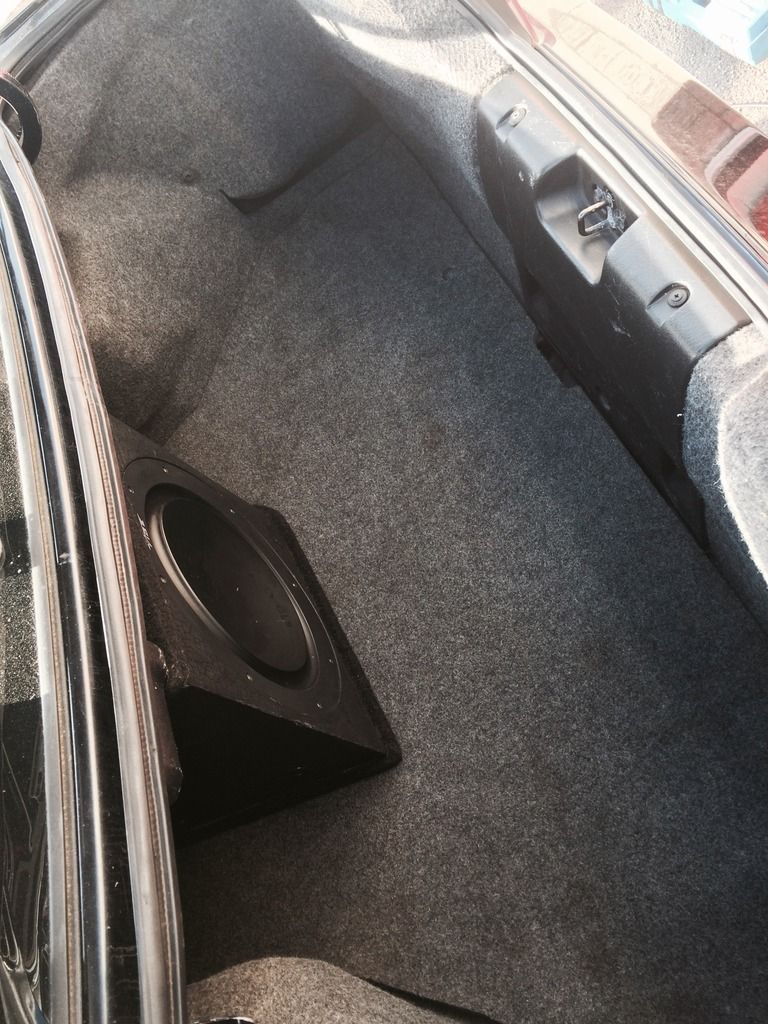
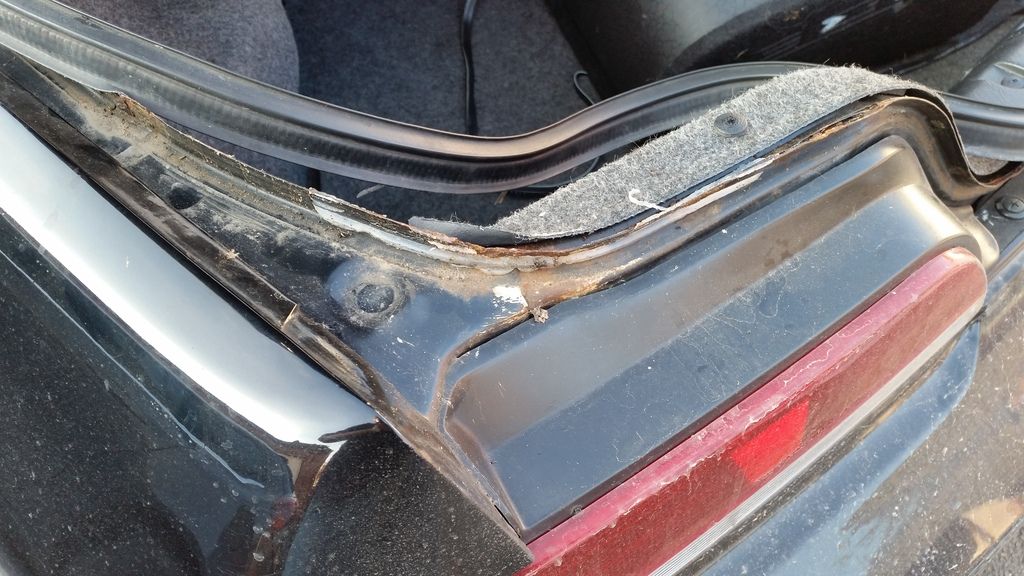
The main boot seal allowed water to ingress at the corners and the rear light seals were also leaking. So firstly I had removed the rear lights and all the rear boot linings, spare wheel jack and sub to dry everything out. Whilst it was all out and drying I took the opportunity to clean it all up, but it was not great in there, the seams have started to lift and the edges had light surface rust. So it has all been removed, resealed and coated with anti corrosion paint, then black top coat. The mat has now been cleaned and mould removed.
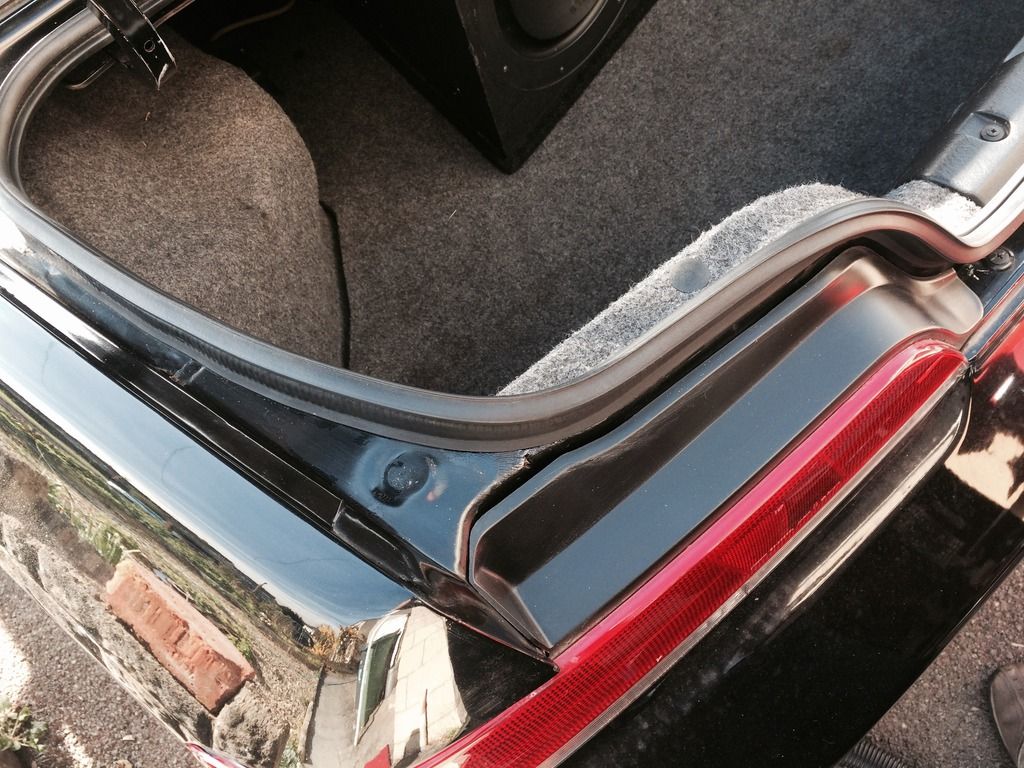
With the lights out I managed to also paint the corroded areas
I have added some double glazing window self adhesive beading along the outer diameter of the light seals and treated/painted the corroded boot channels.
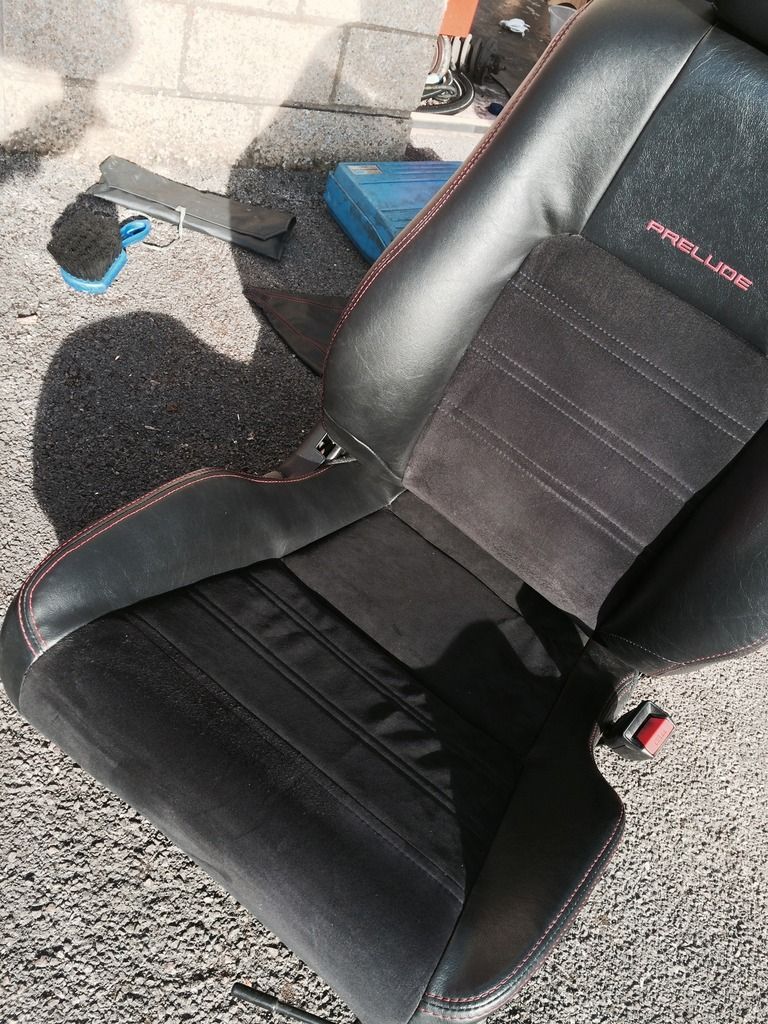
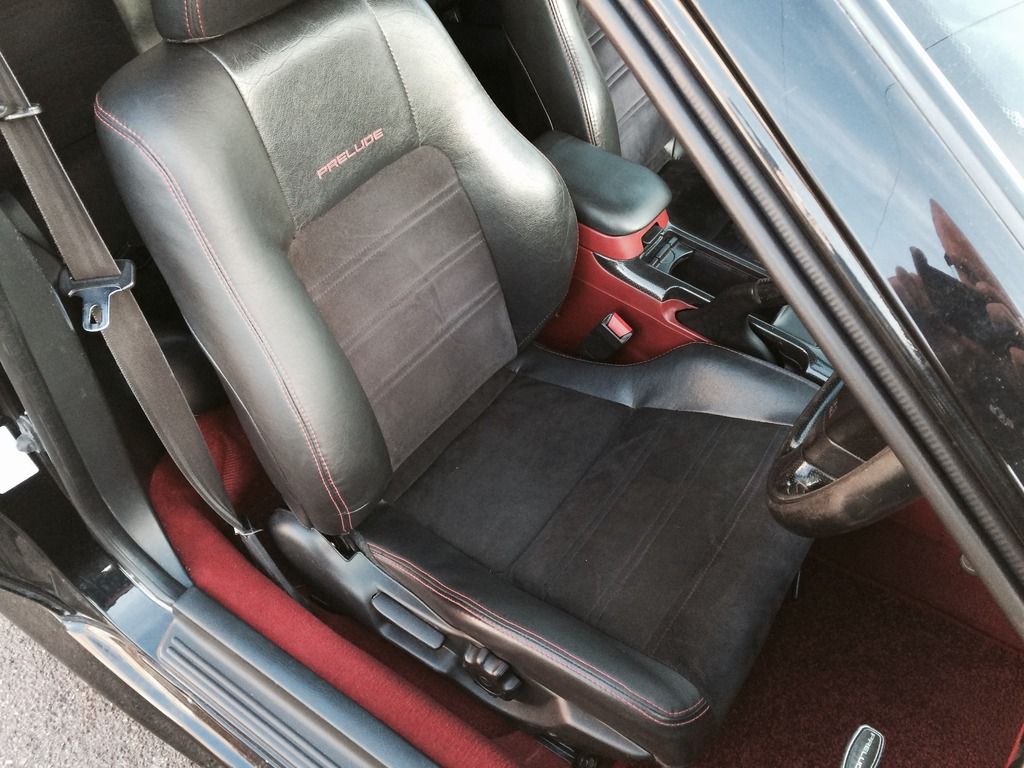
Now onto the drivers seat, during the time I owned the car the drivers seat has always been a bit rough, worn and had a small hole. But the hole had got bigger.
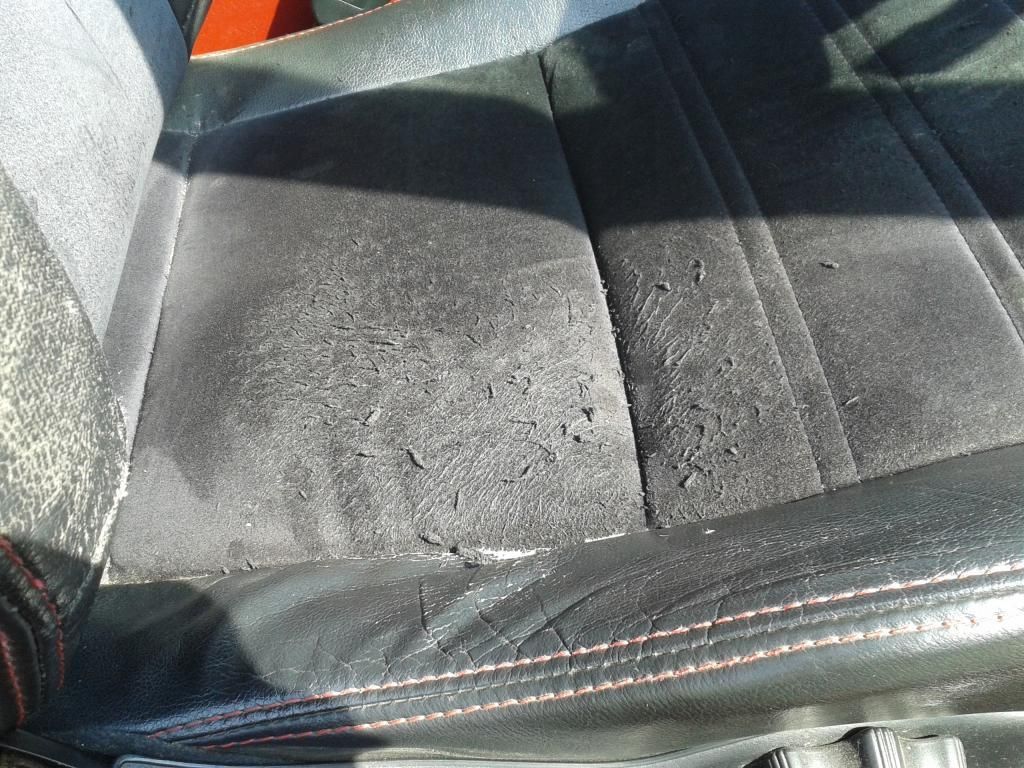
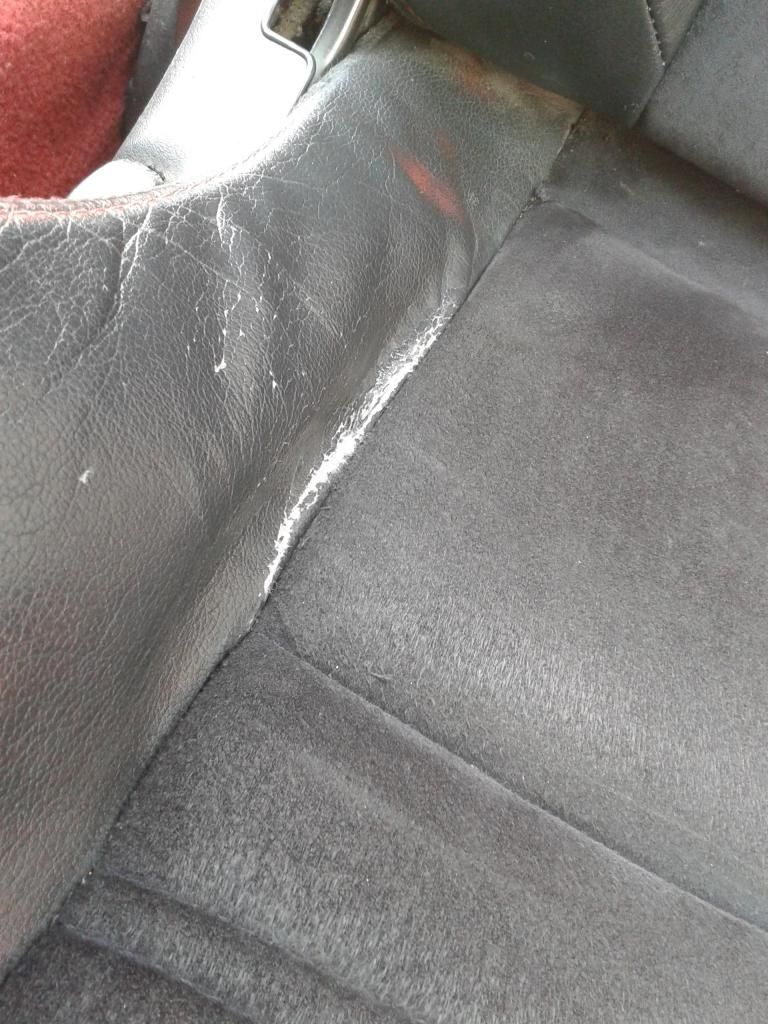
i still cant work out how this got so bad.
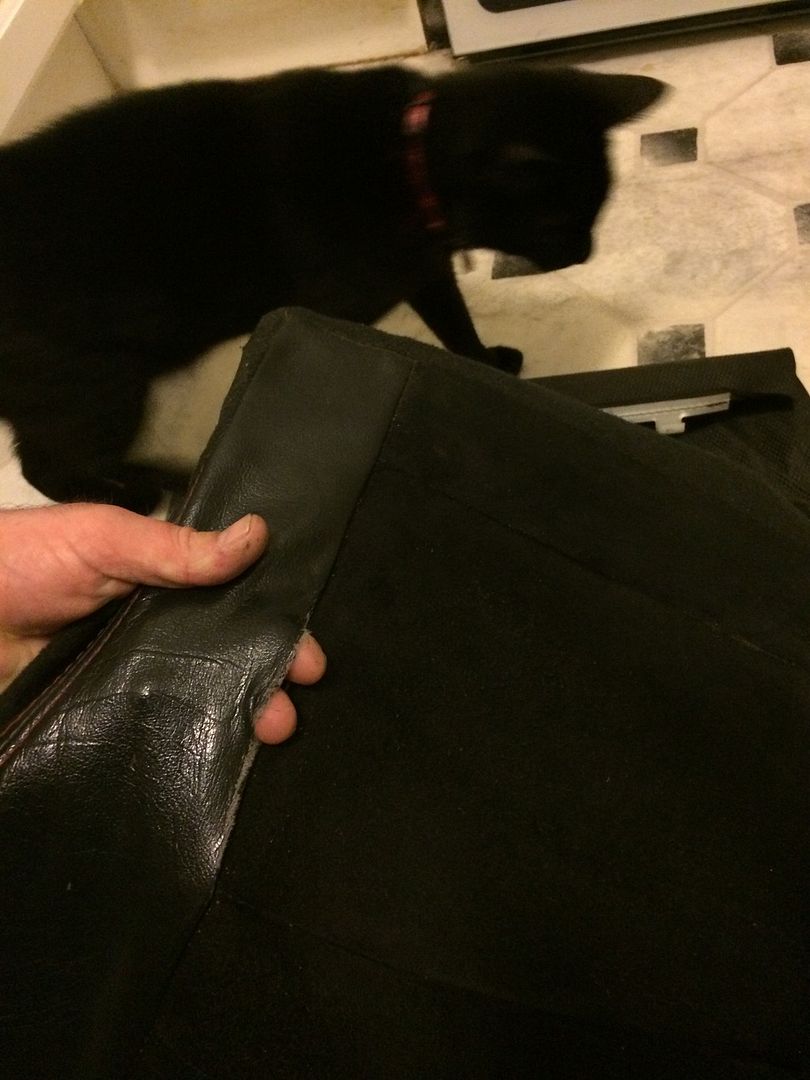
but this is better
so here is the repaired drivers seat.
this replaced
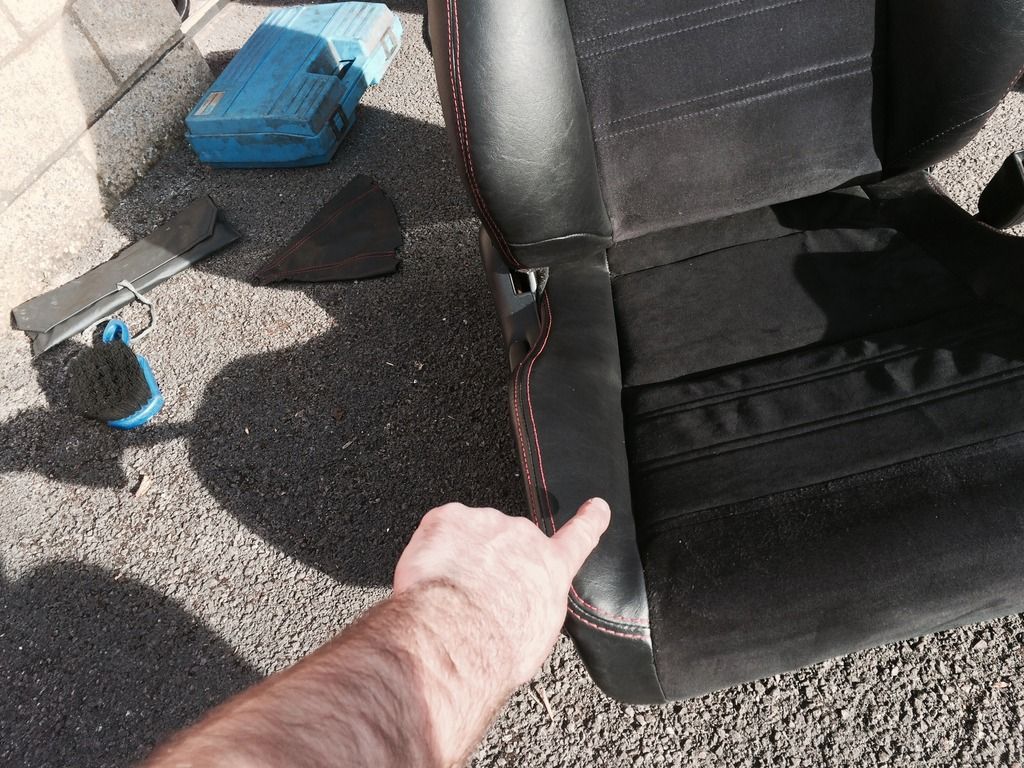
this replaced
this replaced
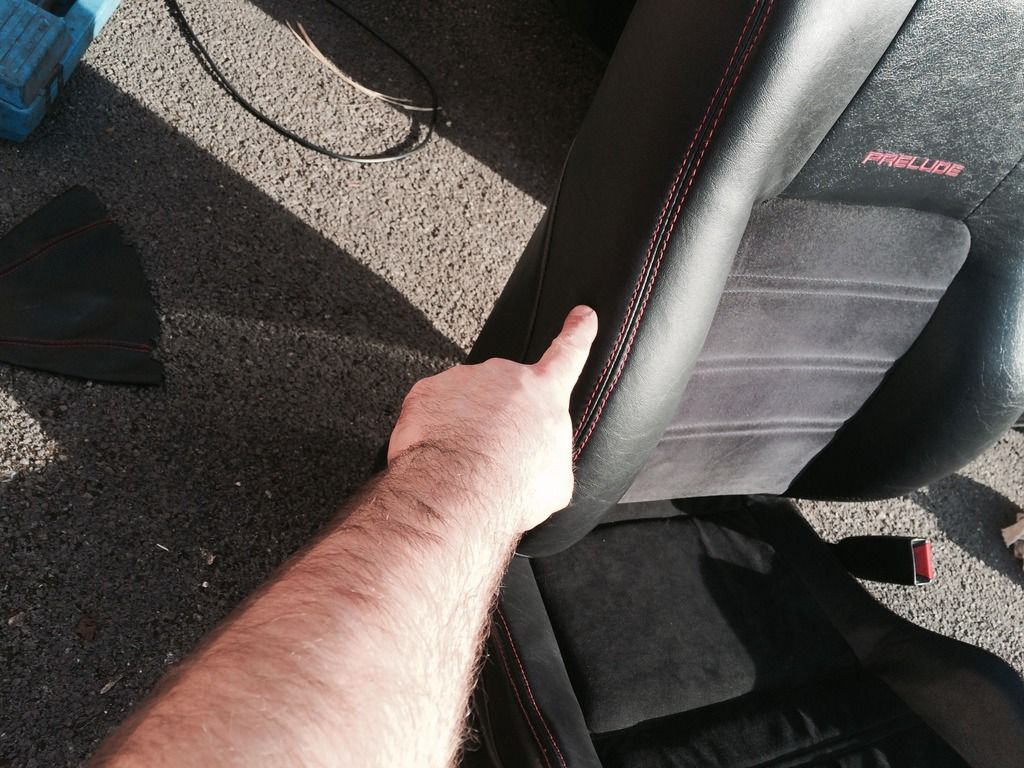
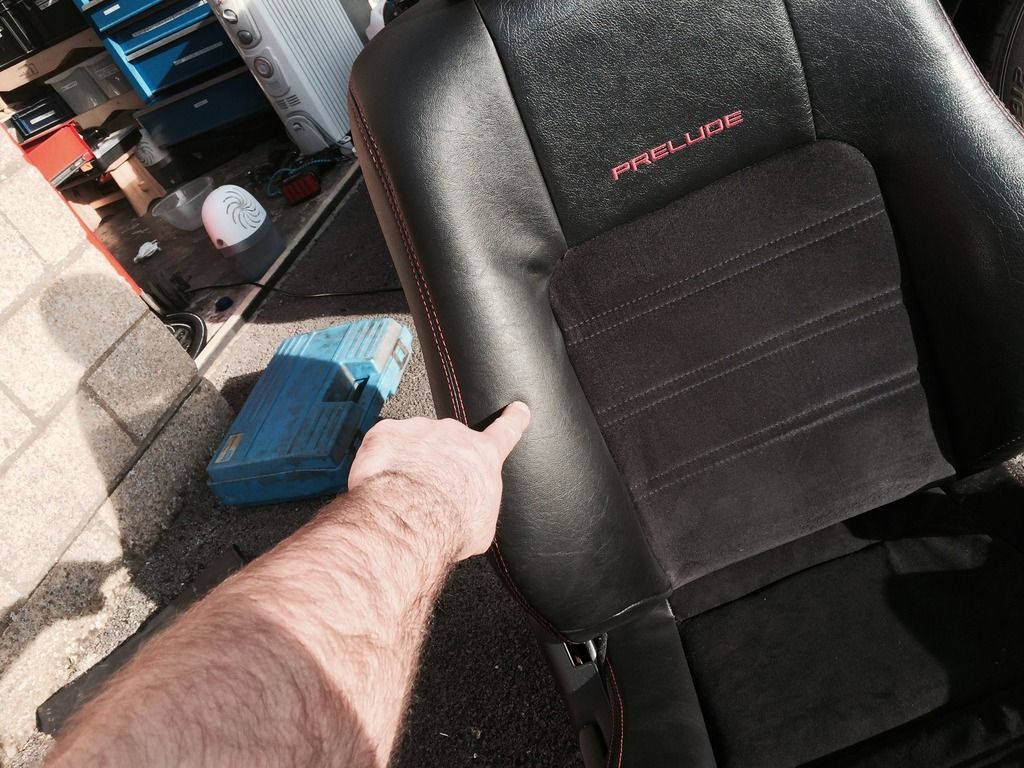
this part is the original section
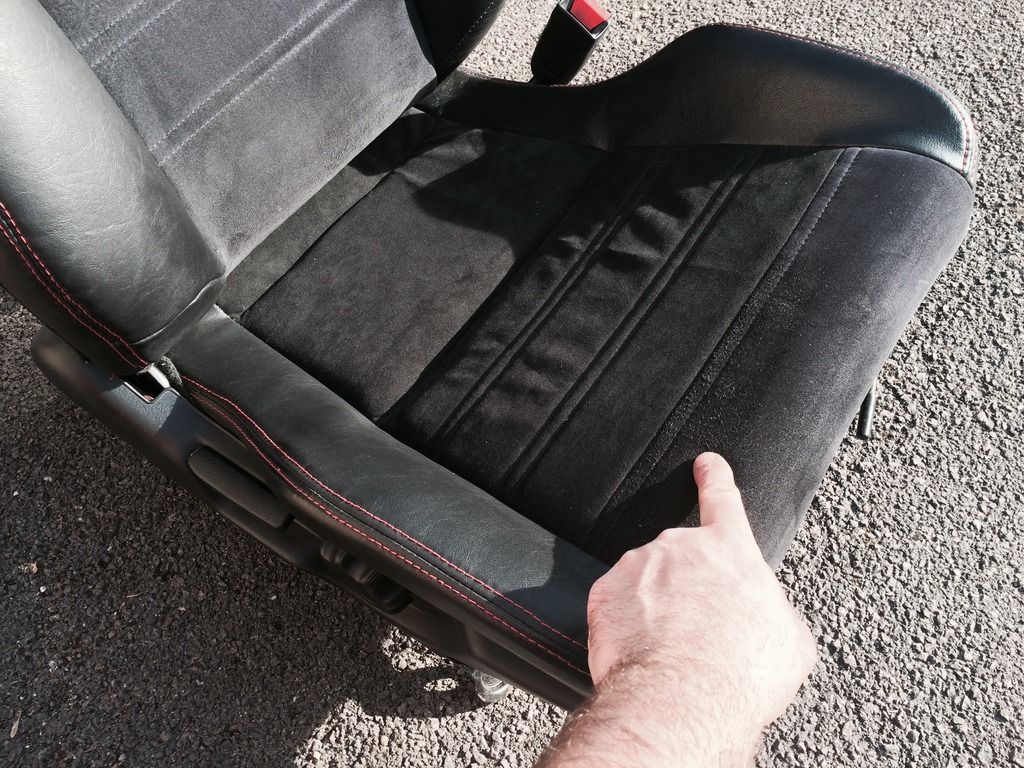
this section has been matched to the original.
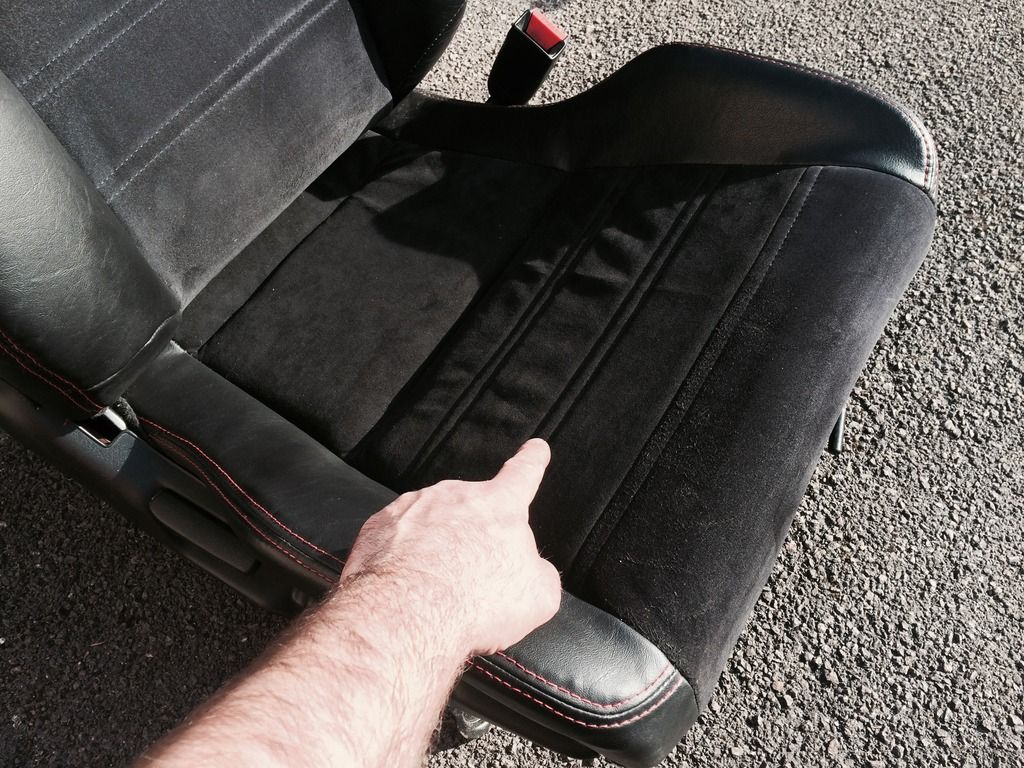
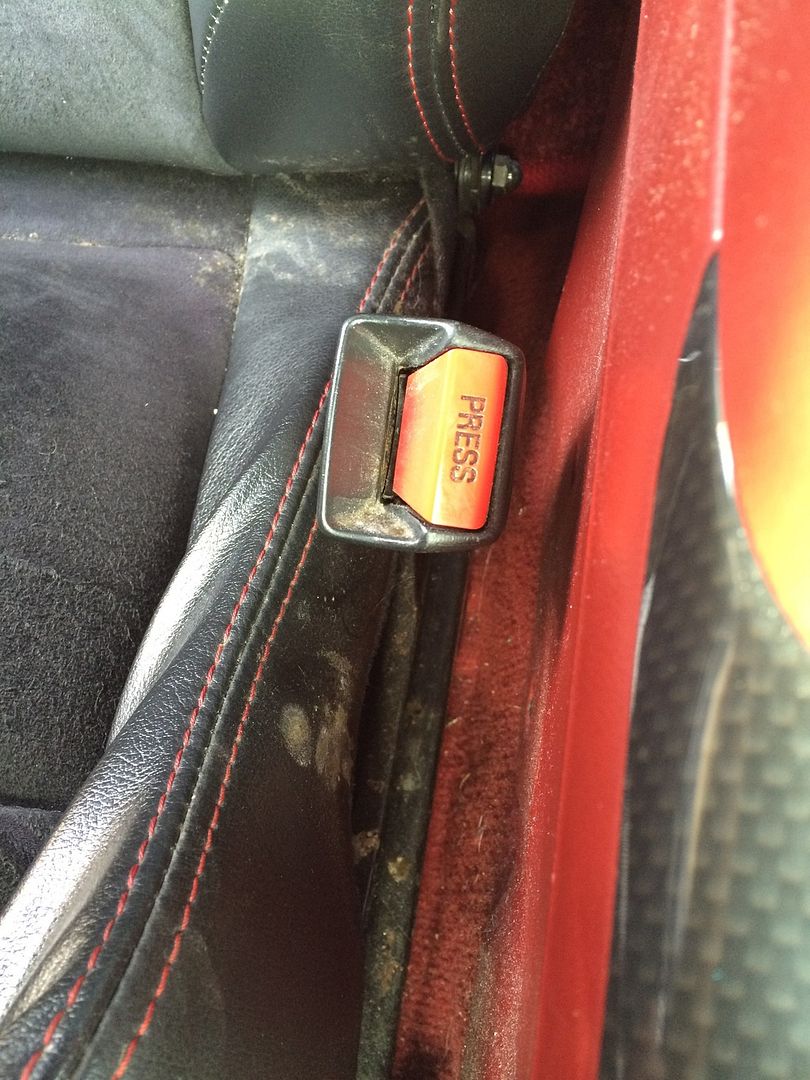
the red stitching is a little wobbly in places but its such an improvement.
before
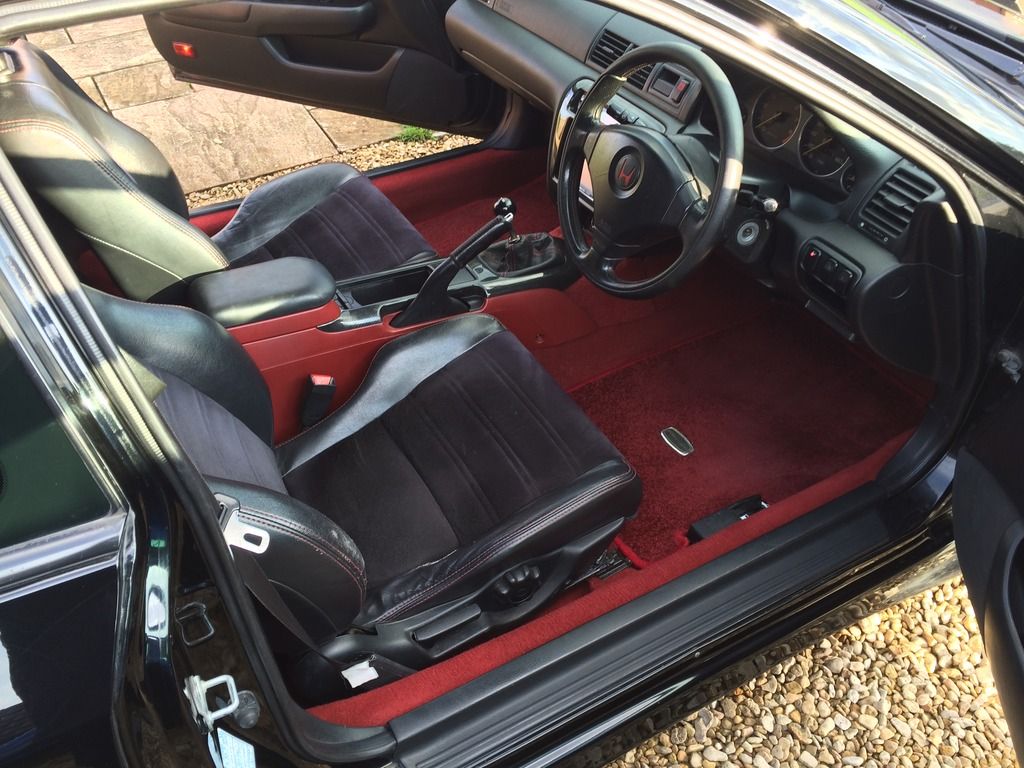
after
The main boot seal allowed water to ingress at the corners and the rear light seals were also leaking. So firstly I had removed the rear lights and all the rear boot linings, spare wheel jack and sub to dry everything out. Whilst it was all out and drying I took the opportunity to clean it all up, but it was not great in there, the seams have started to lift and the edges had light surface rust. So it has all been removed, resealed and coated with anti corrosion paint, then black top coat. The mat has now been cleaned and mould removed.

With the lights out I managed to also paint the corroded areas

I have added some double glazing window self adhesive beading along the outer diameter of the light seals and treated/painted the corroded boot channels.

Now onto the drivers seat, during the time I owned the car the drivers seat has always been a bit rough, worn and had a small hole. But the hole had got bigger.


i still cant work out how this got so bad.

but this is better

so here is the repaired drivers seat.

this replaced

this replaced

this replaced

this part is the original section

this section has been matched to the original.

the red stitching is a little wobbly in places but its such an improvement.
before

after