Congratulations to vtecmec for winning May/June's Lude Of The Month, with his DIY Turbo BB1 build.
>>> Click Here For Profile <<<

>>> Click Here For Profile <<<
wurlycorner's '91 BA4 4WS SE Auto - body build
-
4thgenphil

- Supporter 2016
- Posts: 6661
- Joined: Tue Aug 03, 2010 4:15 pm
- My Generation: 4G
- Location: filming two girls one cup 2
- Has thanked: 5 times
- Been thanked: 29 times

-
wurlycorner

- Ye are glad to be dead, RIGHT?
- Posts: 21511
- Joined: Sat May 19, 2012 3:33 pm
- My Generation: 4G
- Location: Chelmsford, Essex
- Has thanked: 2507 times
- Been thanked: 317 times
Re: wurlycorner's '91 BA4 4WS SE Auto - Stuff happens to it
--
Iain.
Iain.
Super Secret 1G (not really super secret!)
-
wurlycorner
- Ye are glad to be dead, RIGHT?
- Posts: 21511
- Joined: Sat May 19, 2012 3:33 pm
- My Generation: 4G
- Location: Chelmsford, Essex
- Has thanked: 2507 times
- Been thanked: 317 times
Re: wurlycorner's '91 BA4 4WS SE Auto - body build
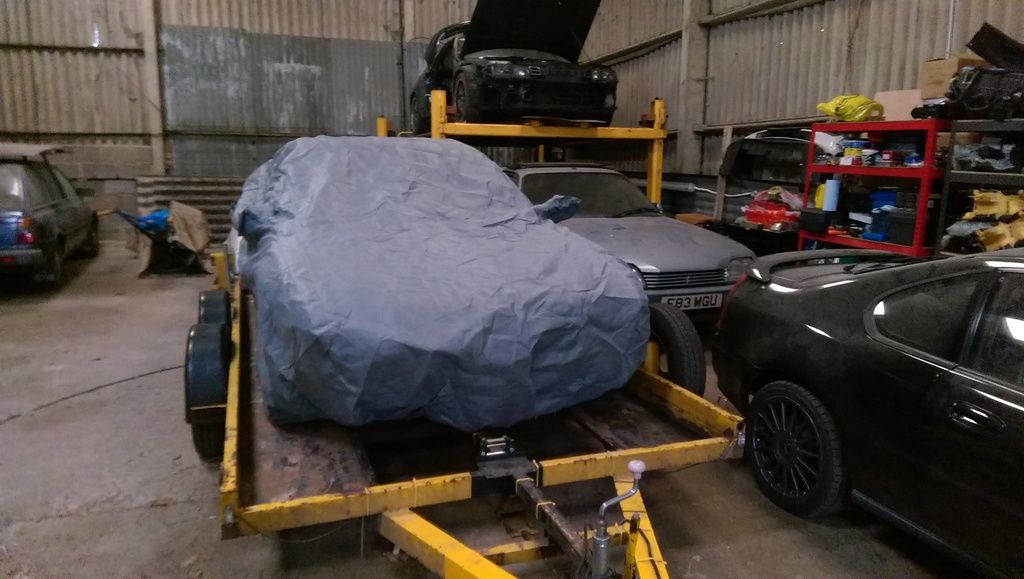
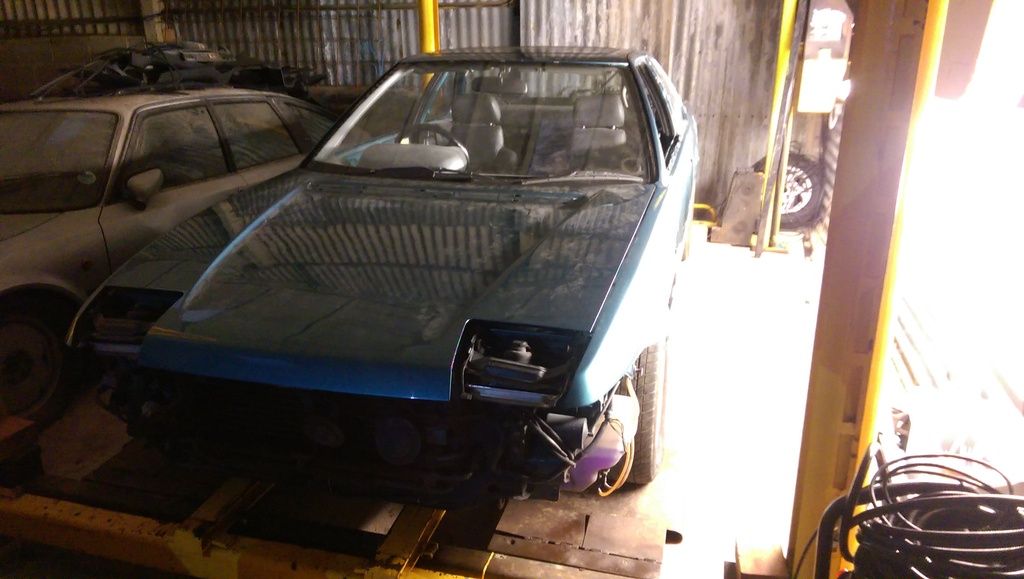
Time to update with some of the stuff that has been (slowly) happening with this, since it eventually came back from the bodyshop (very pic heavy);
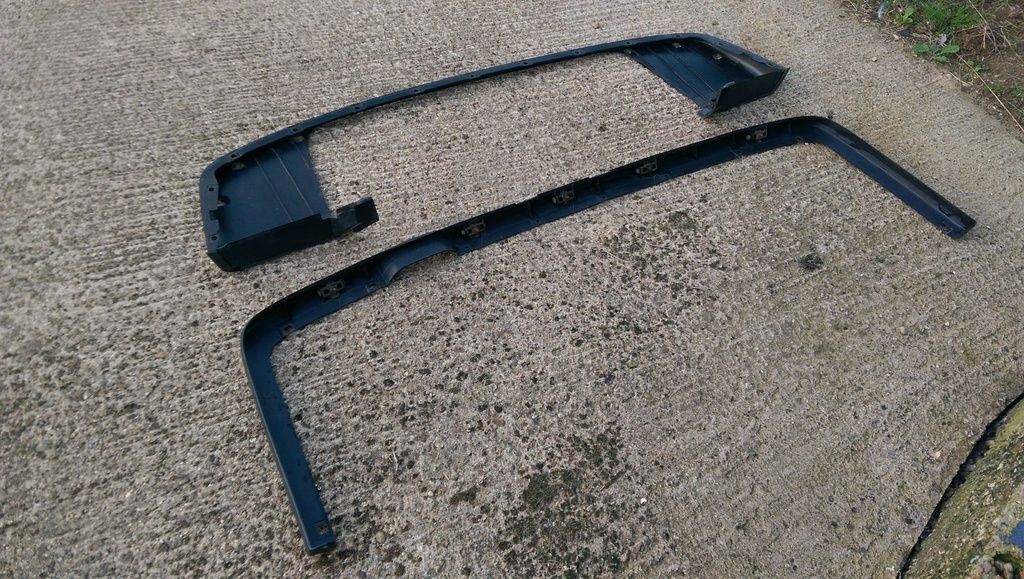
Lisa worked hard cleaning up all this for me;
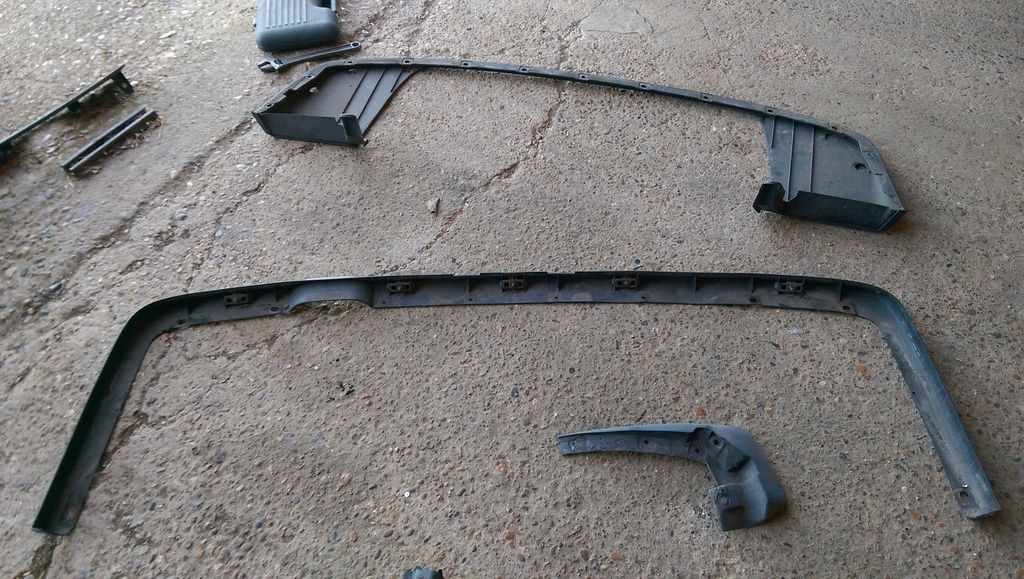
Spick and span ready to be re-fitted (except for one mudflap that was MIA at the time, currently sat in the hall at home )
)
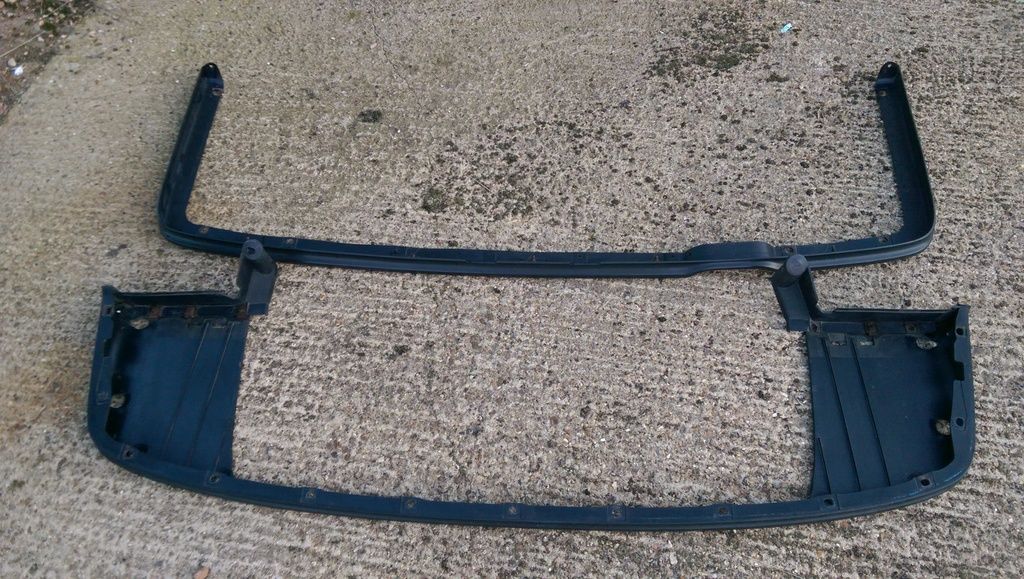

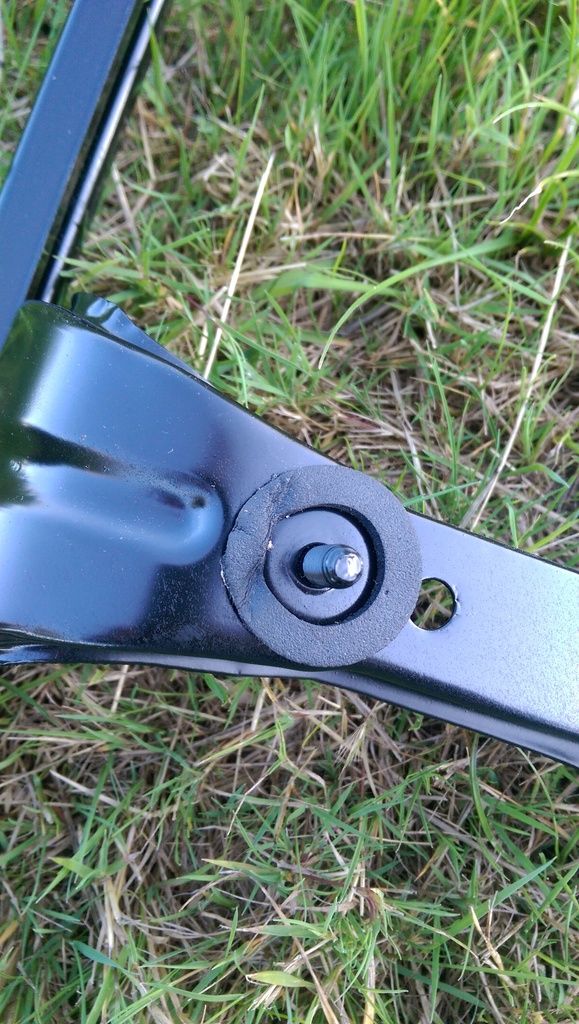
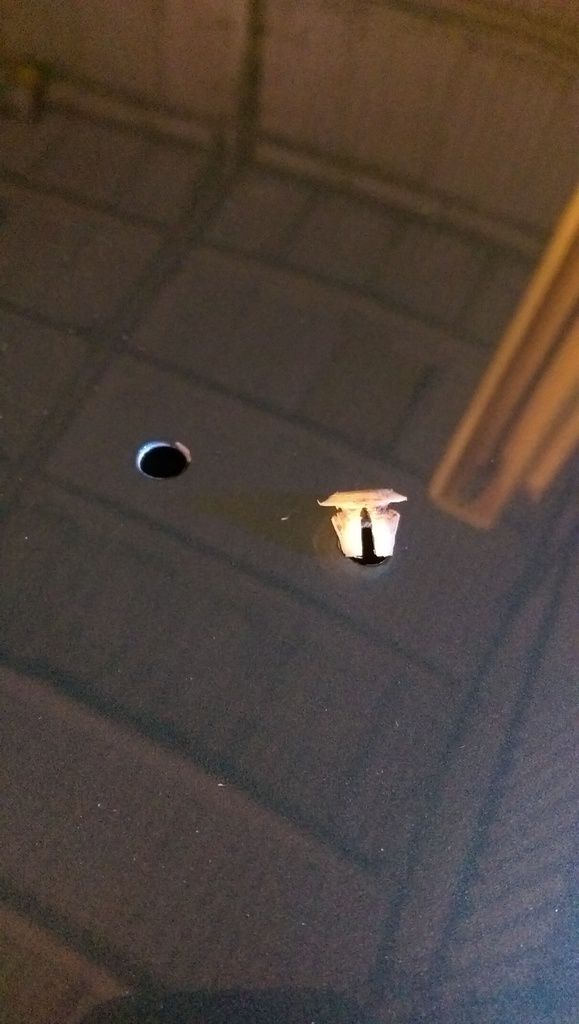
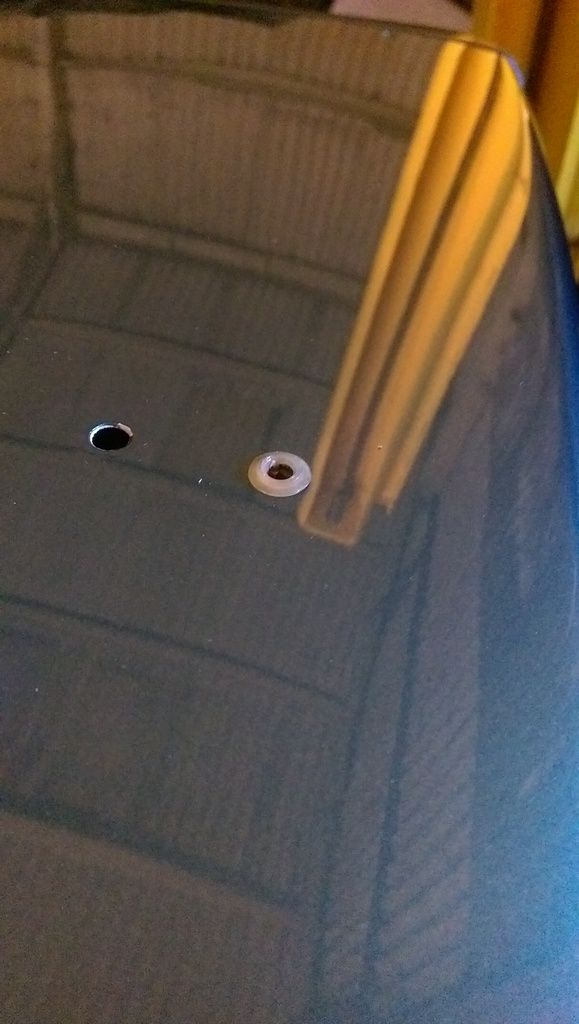
I still need to sort out the annoying niggly things like this, where someone hasn't put things back together properly before (pics before the cleaning took place);
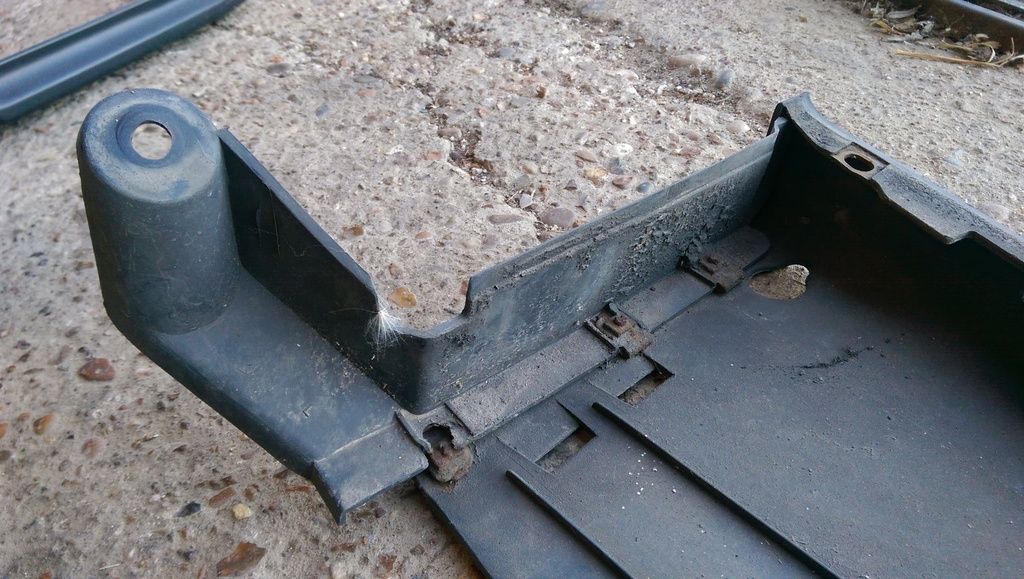
Should be assembled like this;
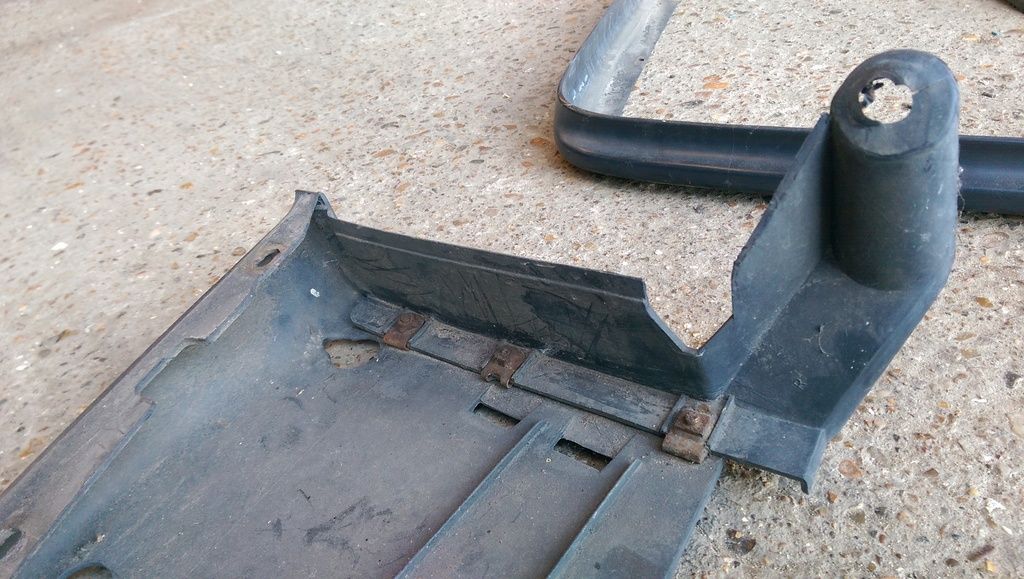
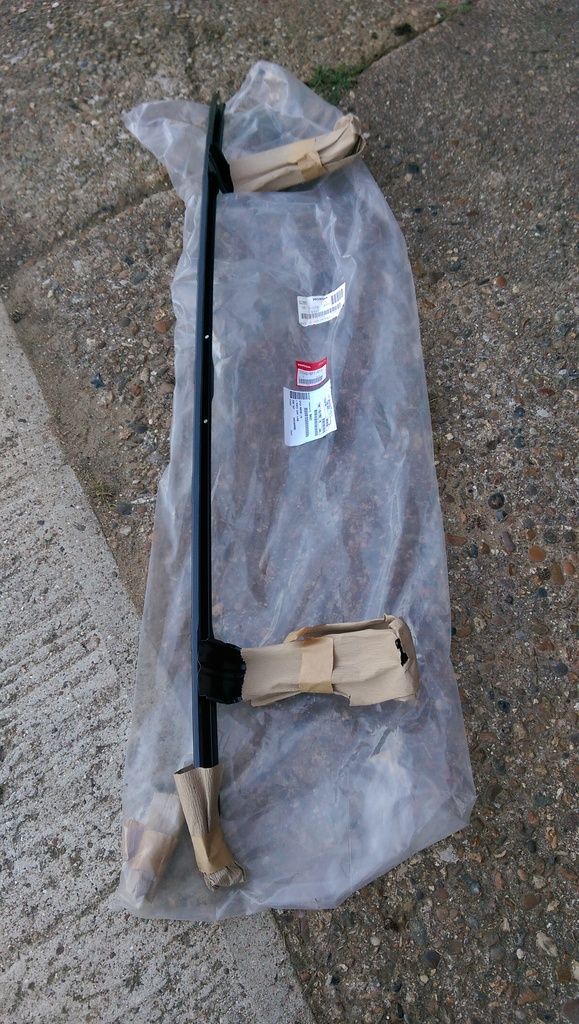
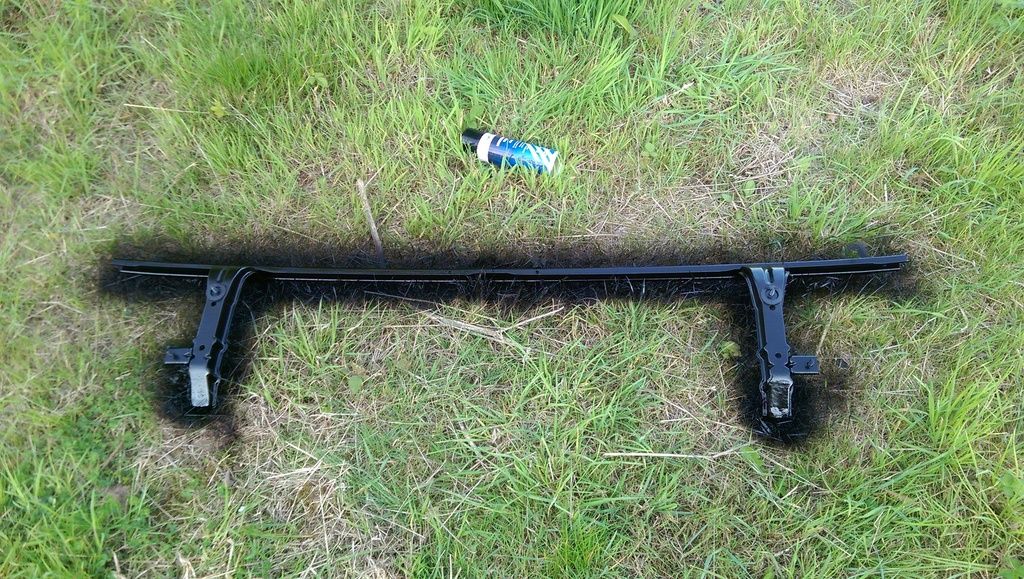
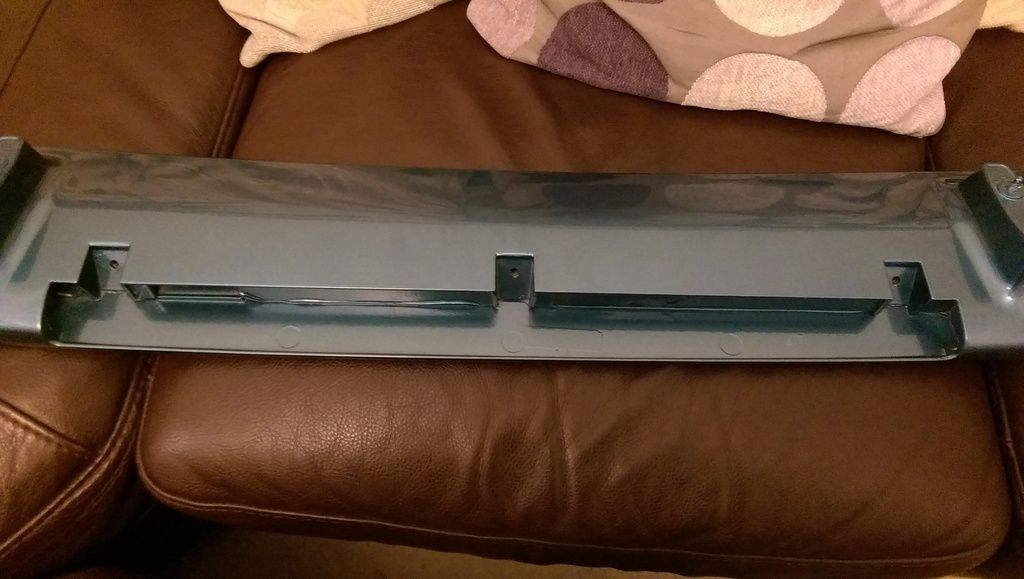
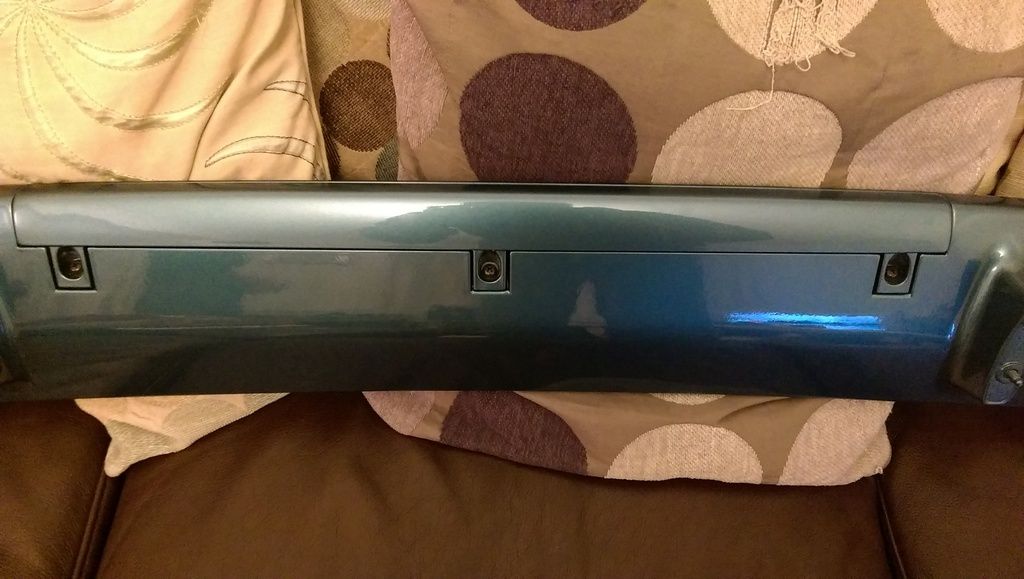
Brand new rear bumper bar arrived from the philipinnes (had already paid before finding a brand new one locally);

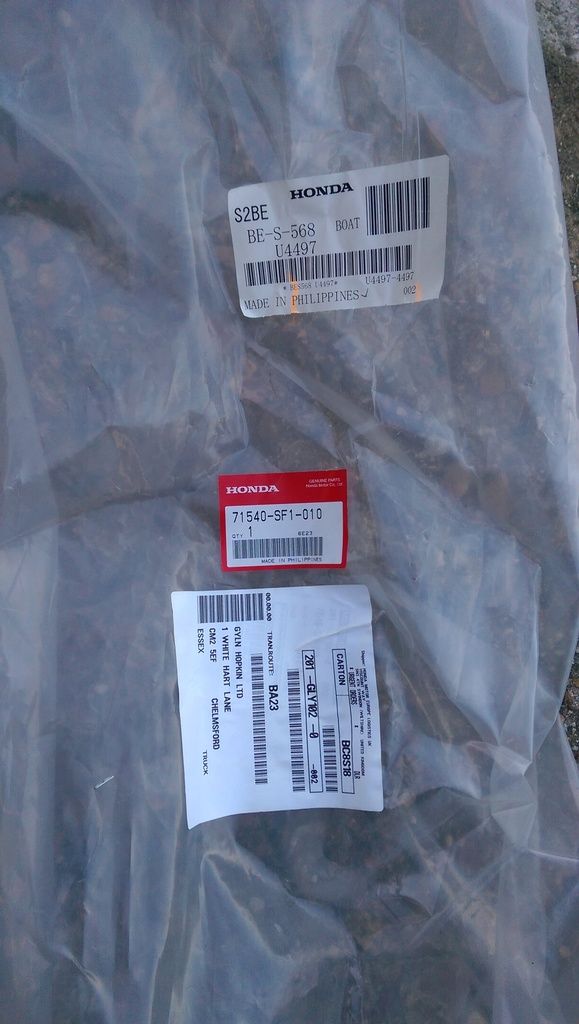
Unwrapping shiny stuff is good
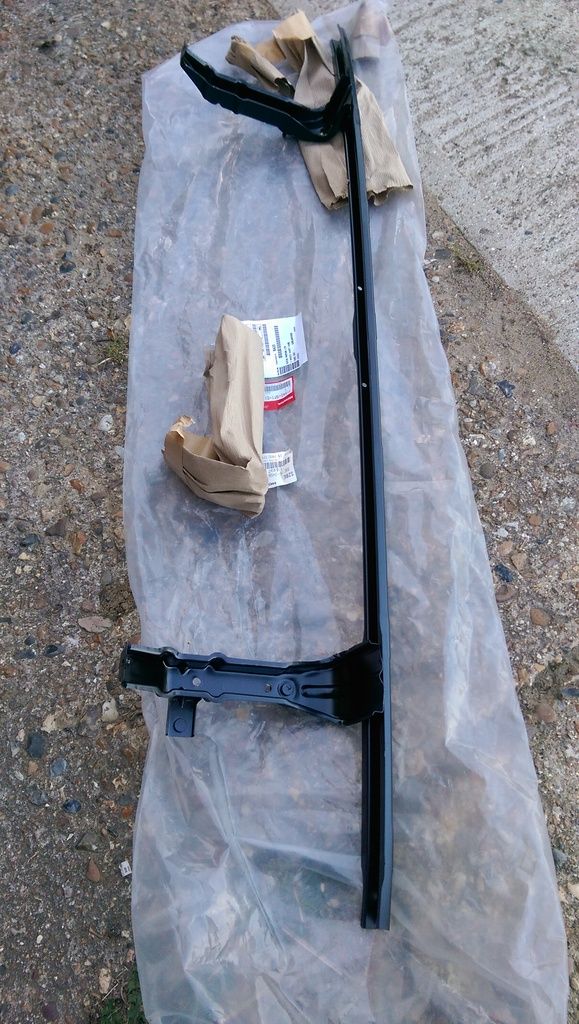
But being new doesn't mean it's perfect ;
;
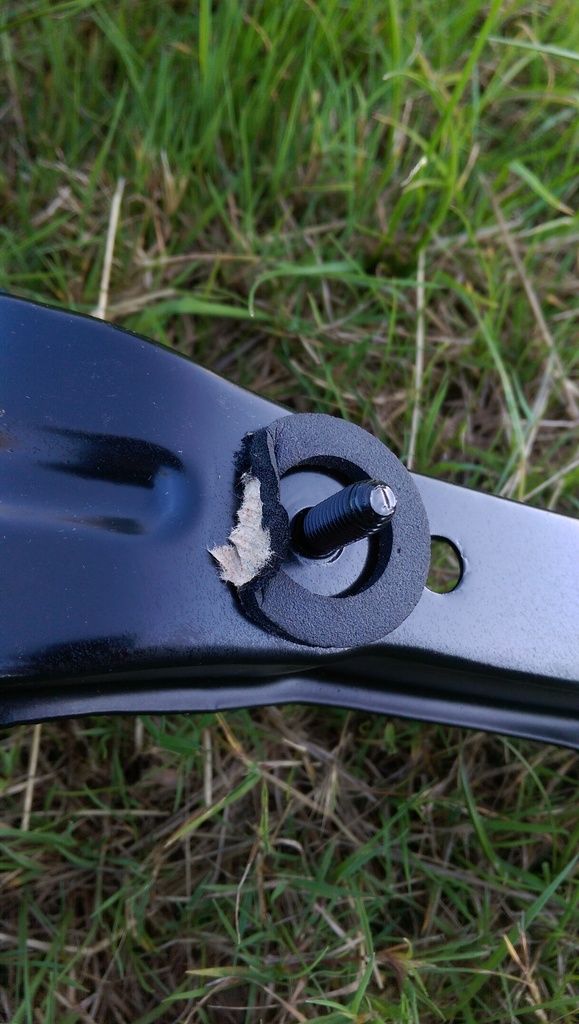
Sorted

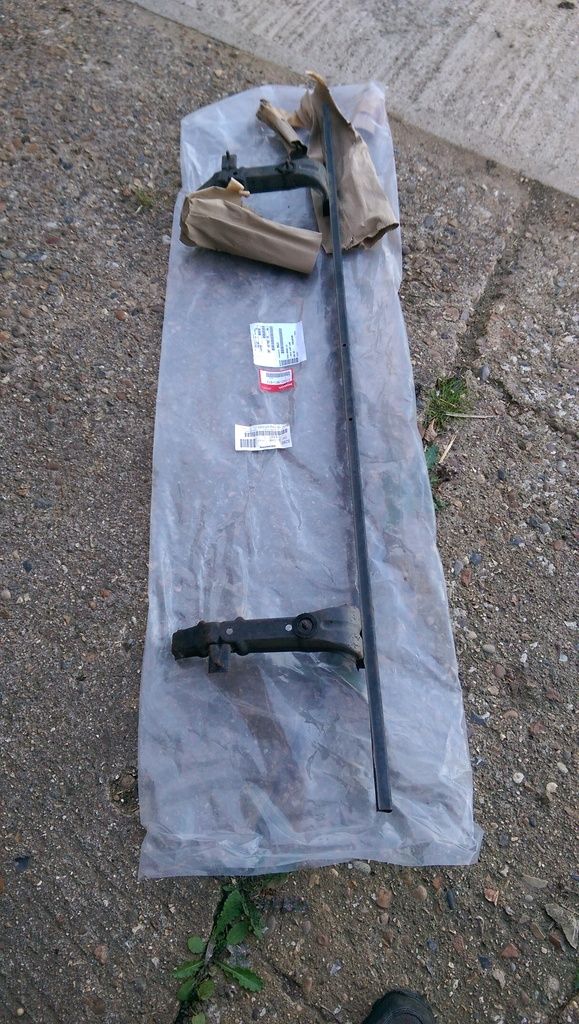
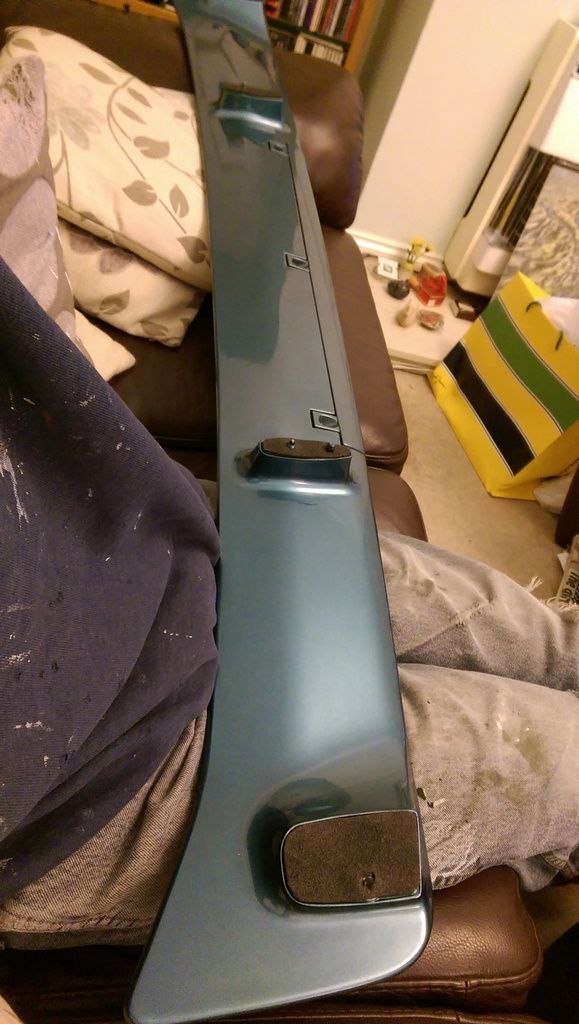
The rear bumper bar on 3g's is a nightmare for catching crap and corroding (much worse than on 4g's) so although it's shiny with paint, more protection is needed to keep this one mint. Cue several coats of dinitrol all over;
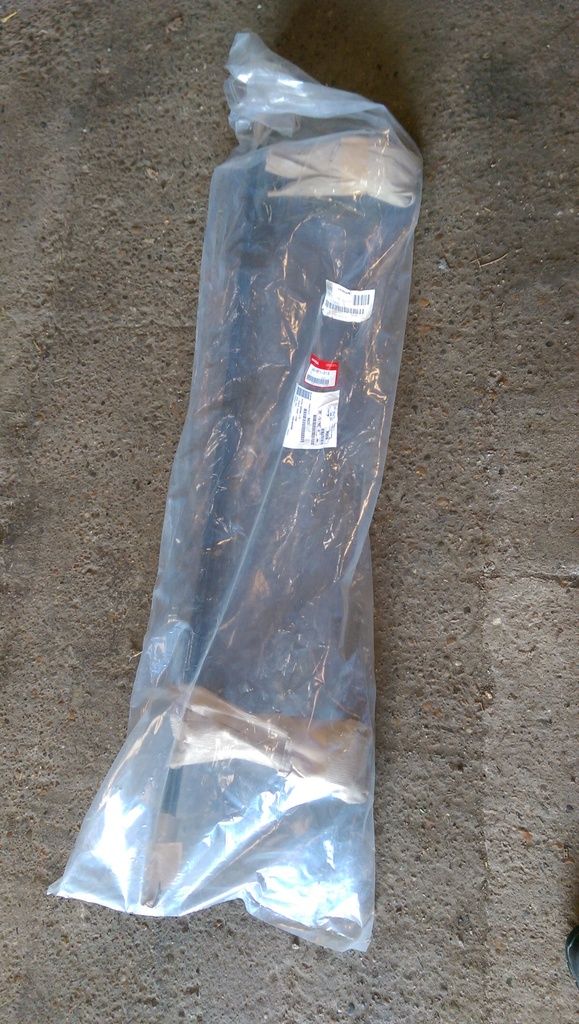
Which meant I could wrap up the other brand new spare rear bar I had obtained, in the original packaging
Lisa worked hard cleaning up all this for me;
Spick and span ready to be re-fitted (except for one mudflap that was MIA at the time, currently sat in the hall at home
I still need to sort out the annoying niggly things like this, where someone hasn't put things back together properly before (pics before the cleaning took place);
Should be assembled like this;
Brand new rear bumper bar arrived from the philipinnes (had already paid before finding a brand new one locally);
Unwrapping shiny stuff is good
But being new doesn't mean it's perfect
Sorted
The rear bumper bar on 3g's is a nightmare for catching crap and corroding (much worse than on 4g's) so although it's shiny with paint, more protection is needed to keep this one mint. Cue several coats of dinitrol all over;
Which meant I could wrap up the other brand new spare rear bar I had obtained, in the original packaging
--
Iain.
Iain.
Super Secret 1G (not really super secret!)
-
wurlycorner
- Ye are glad to be dead, RIGHT?
- Posts: 21511
- Joined: Sat May 19, 2012 3:33 pm
- My Generation: 4G
- Location: Chelmsford, Essex
- Has thanked: 2507 times
- Been thanked: 317 times
Re: wurlycorner's '91 BA4 4WS SE Auto - body build
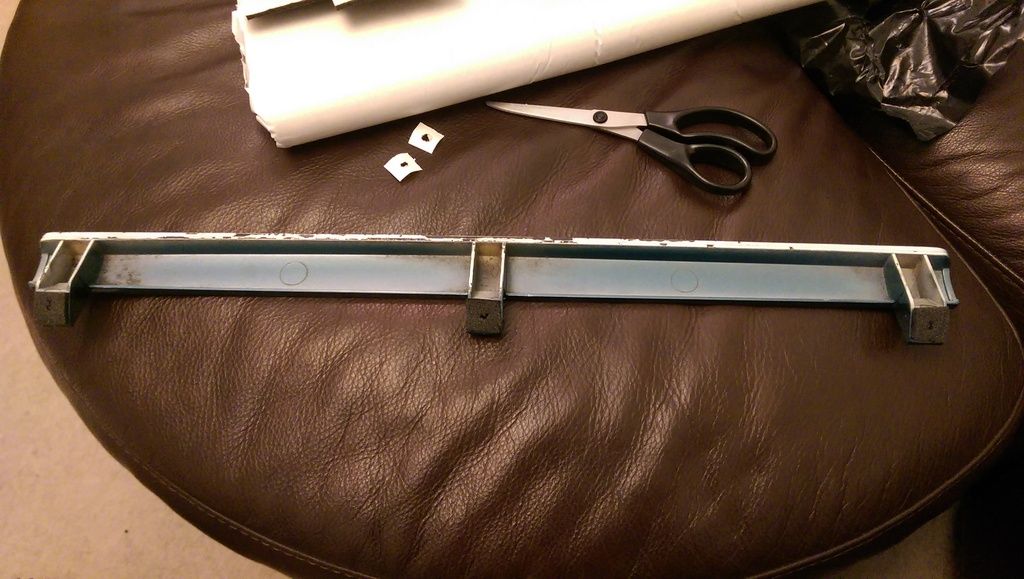
I've not managed to track down a rear spoiler LED bar so the in-fill will be going back in.
Originally it had no gaskets, just fitted as plastic-plastic, so I made up some gasket from sticky-backed ccf;
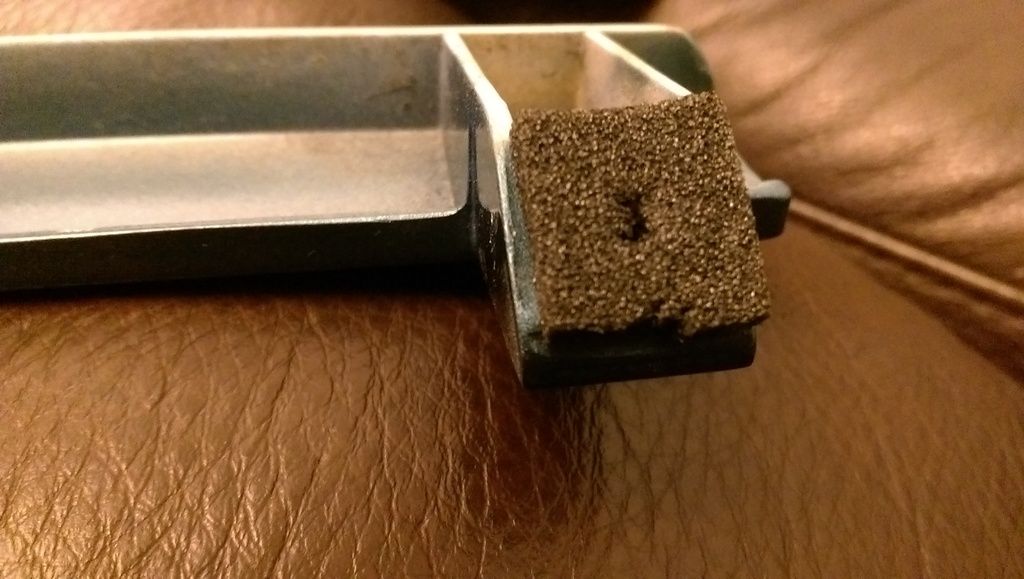
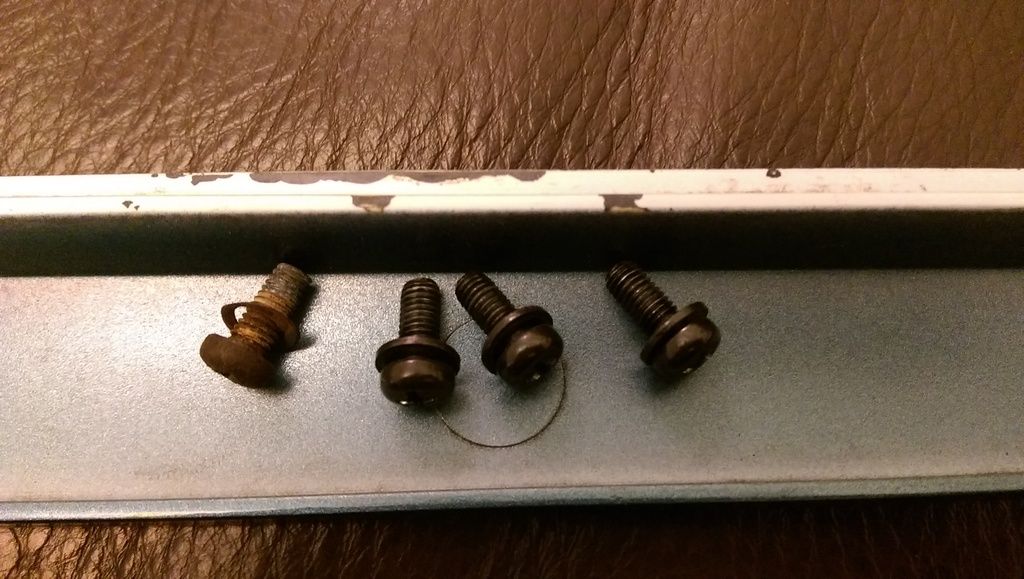
Manky old screws (left one) replaced with better condition shiny ones, for anality ;
;
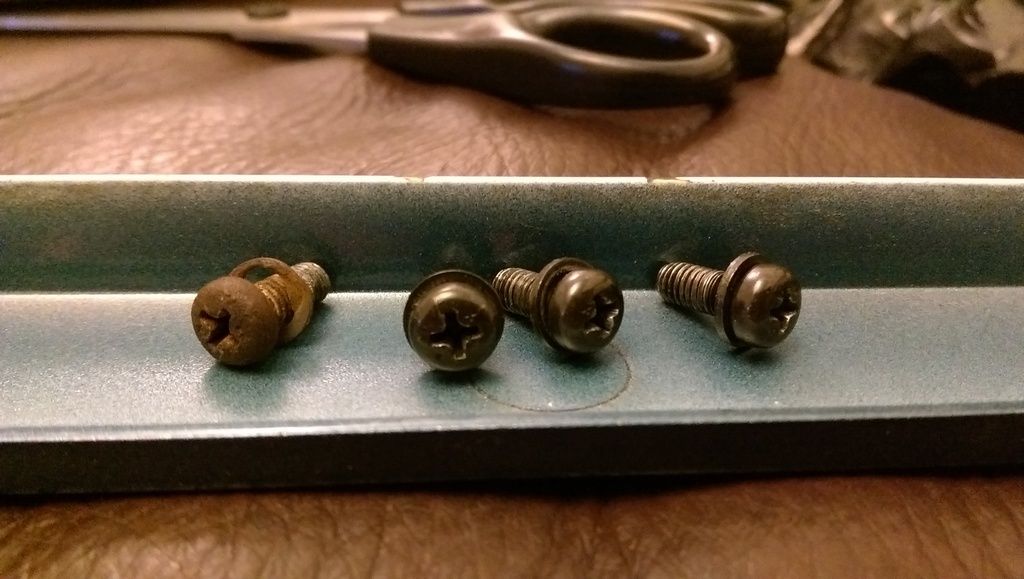
Ready to refit;

Also needed to make up some new gaskets for the mounting points, from the same ccf;
I had carefully removed this securing clip from the old bootlid without breaking, so now to refit;
(no pics of the spoiler actually fitted though
Originally it had no gaskets, just fitted as plastic-plastic, so I made up some gasket from sticky-backed ccf;
Manky old screws (left one) replaced with better condition shiny ones, for anality
Ready to refit;
Also needed to make up some new gaskets for the mounting points, from the same ccf;
I had carefully removed this securing clip from the old bootlid without breaking, so now to refit;
(no pics of the spoiler actually fitted though
--
Iain.
Iain.
Super Secret 1G (not really super secret!)
-
wurlycorner
- Ye are glad to be dead, RIGHT?
- Posts: 21511
- Joined: Sat May 19, 2012 3:33 pm
- My Generation: 4G
- Location: Chelmsford, Essex
- Has thanked: 2507 times
- Been thanked: 317 times
Re: wurlycorner's '91 BA4 4WS SE Auto - body build
Now, I had stripped out pretty much all the interior for the paint shop (more than was probably strictly necessary) with the deliberate aim of getting into all the cavities for rust proofing, having been properly dried out in the paint oven.
So, the sum total of the rust on this car is...:
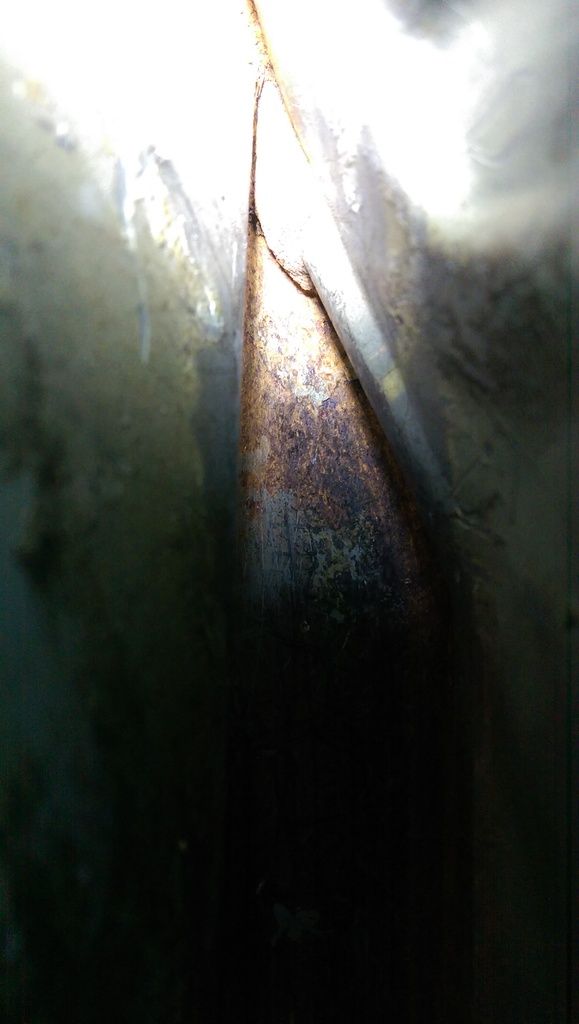
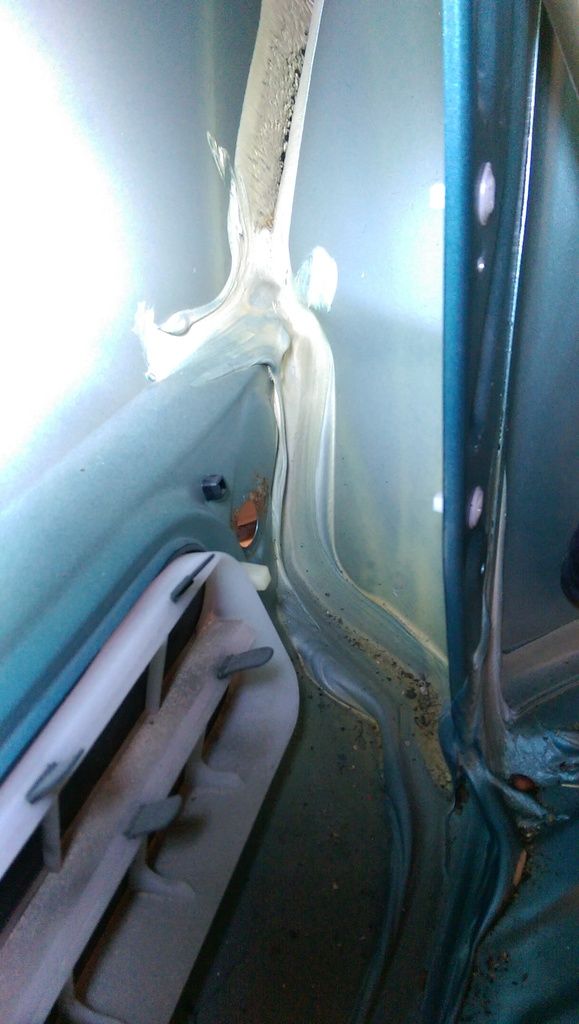
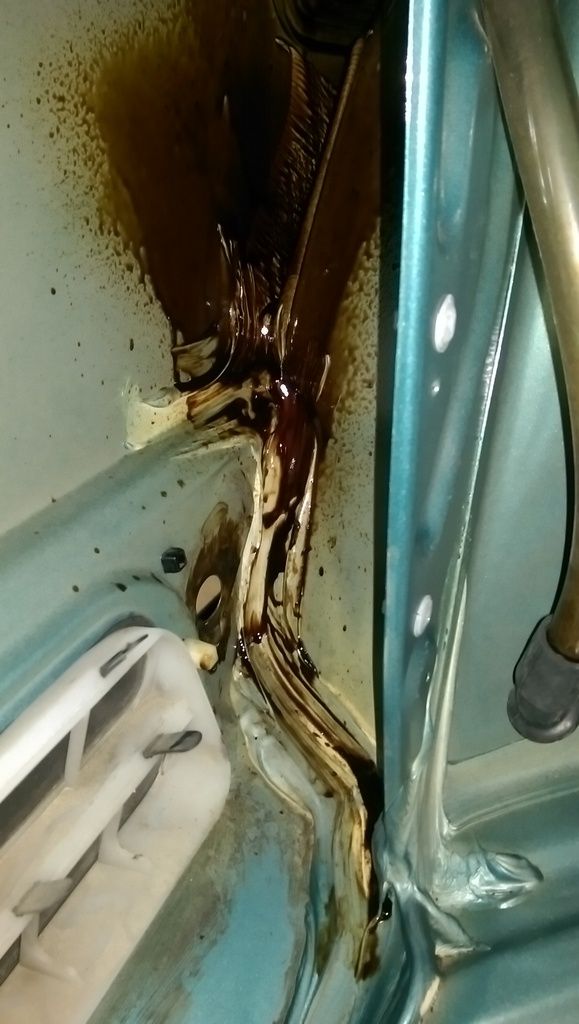
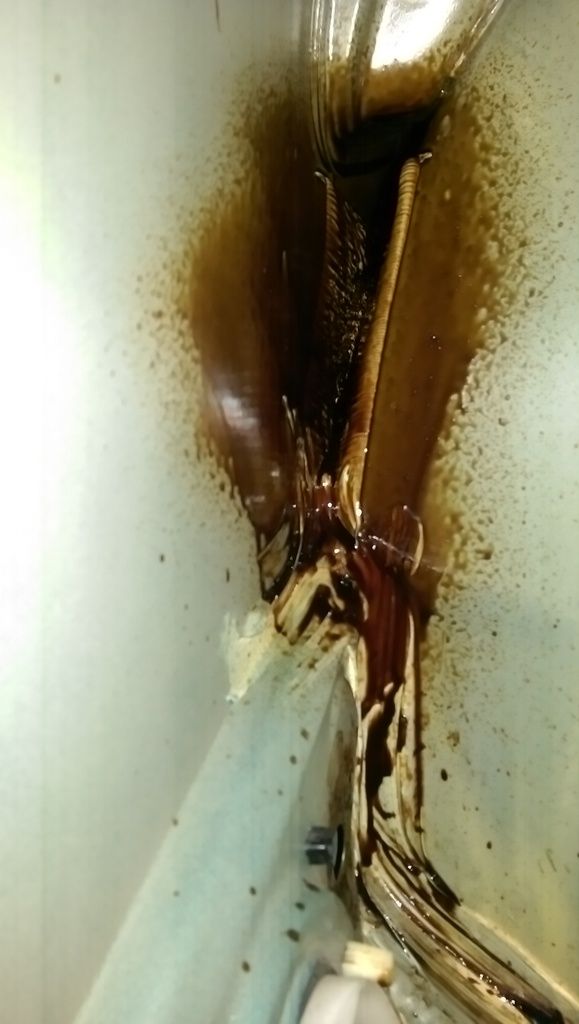
Inside the drivers rear quarter at the bottom;
Whereas from the boot area, all is sweet;
Back inside the quarter, after some vacuuming and scraping (access is NOT easy);
And after treating;
And then cleaning;
And dinitrol cavity wax;
Looks messy, but that's just how it comes out of the gun and the important bit is that it's properly got in everywhere
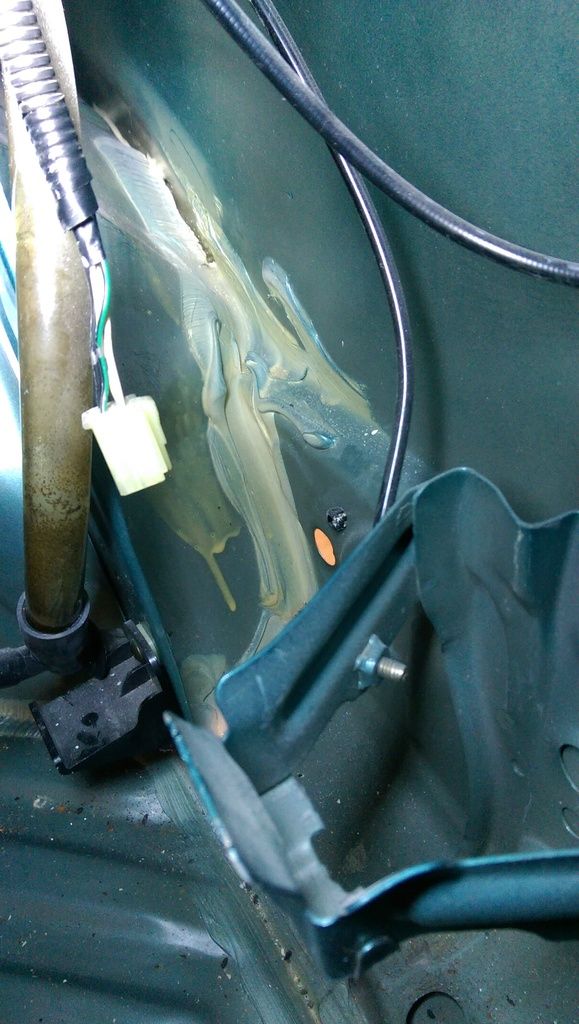
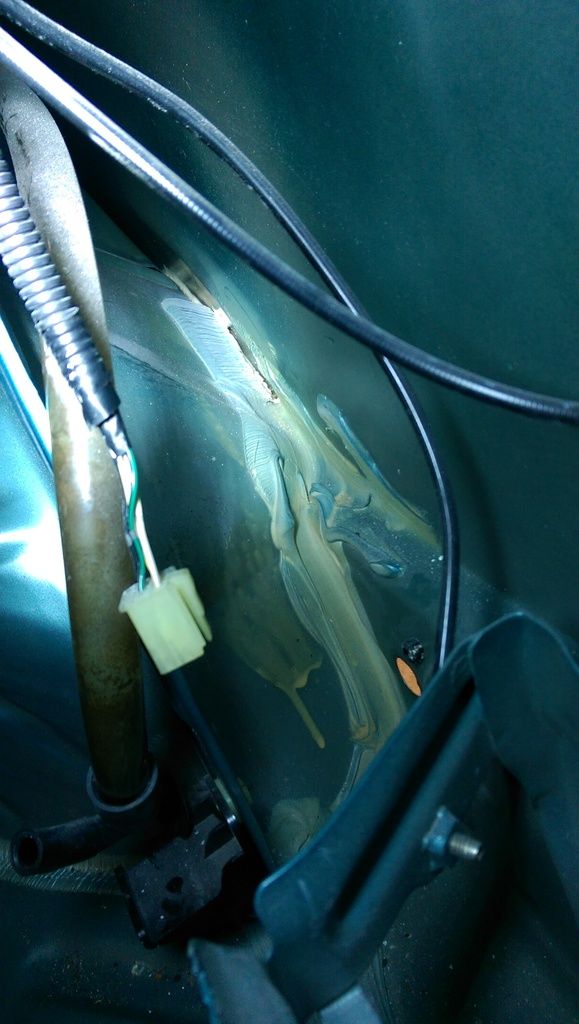
Passenger side quarter at the bottom;

Passenger side looking back over the arch (all clear and drivers side was the same );
Passenger side from the boot;
Not so neat under the fuel filler, but no actual problems;
After scraping/vacuum/treating;
Then after dinitrol cavity wax;
So, the sum total of the
Inside the drivers rear quarter at the bottom;
Whereas from the boot area, all is sweet;
Back inside the quarter, after some vacuuming and scraping (access is NOT easy);
And after treating;
And then cleaning;
And dinitrol cavity wax;
Looks messy, but that's just how it comes out of the gun and the important bit is that it's properly got in everywhere
Passenger side quarter at the bottom;
Passenger side looking back over the arch (all clear and drivers side was the same
Passenger side from the boot;
Not so neat under the fuel filler, but no actual problems;
After scraping/vacuum/treating;
Then after dinitrol cavity wax;
--
Iain.
Iain.
Super Secret 1G (not really super secret!)
-
wurlycorner
- Ye are glad to be dead, RIGHT?
- Posts: 21511
- Joined: Sat May 19, 2012 3:33 pm
- My Generation: 4G
- Location: Chelmsford, Essex
- Has thanked: 2507 times
- Been thanked: 317 times
Re: wurlycorner's '91 BA4 4WS SE Auto - body build
So, from all that we can conclude that the car is amazingly rust-free and hopefully those bits should stay that way now...
The original factory applied seam sealant works absolutely perfectly, where it's applied - the problem is that they didn't get it into some of the places that matter the most! They stopped short of running it down in the quarter panels properly and I'm not convinced the panels were weld-through primed first
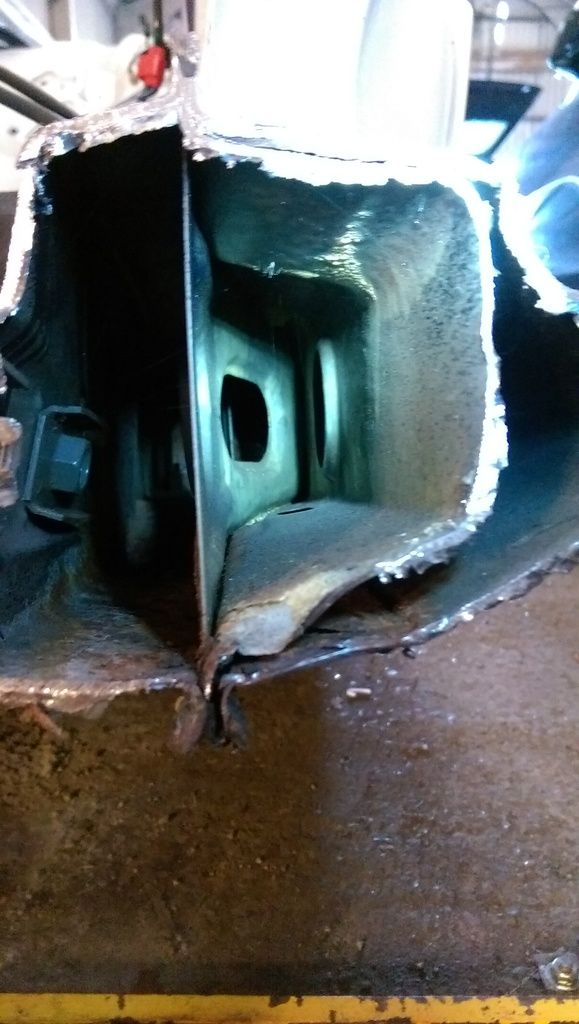
However, I then went and studied the car-b-cue (having a car cut in half is useful here! )...
)...
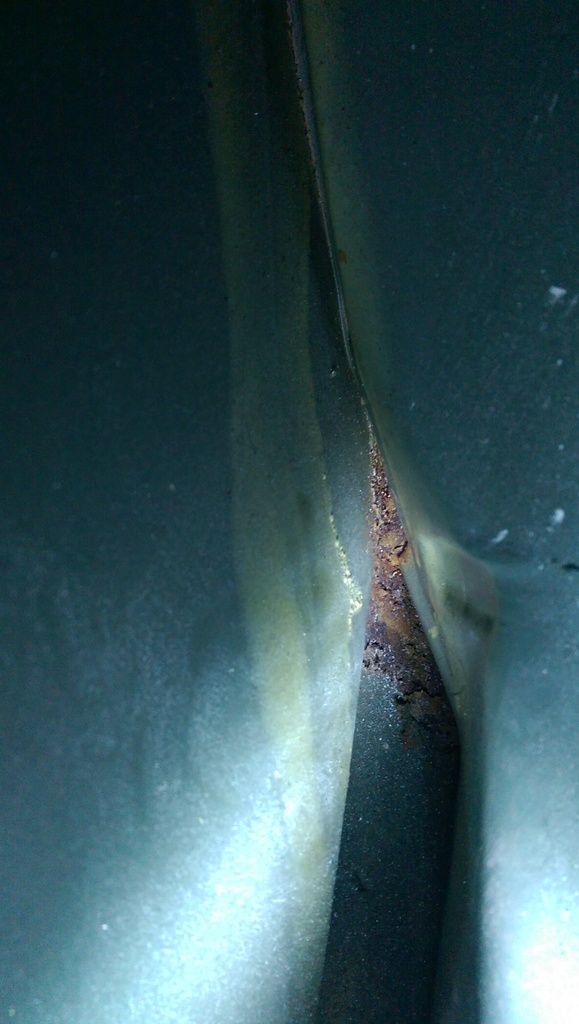
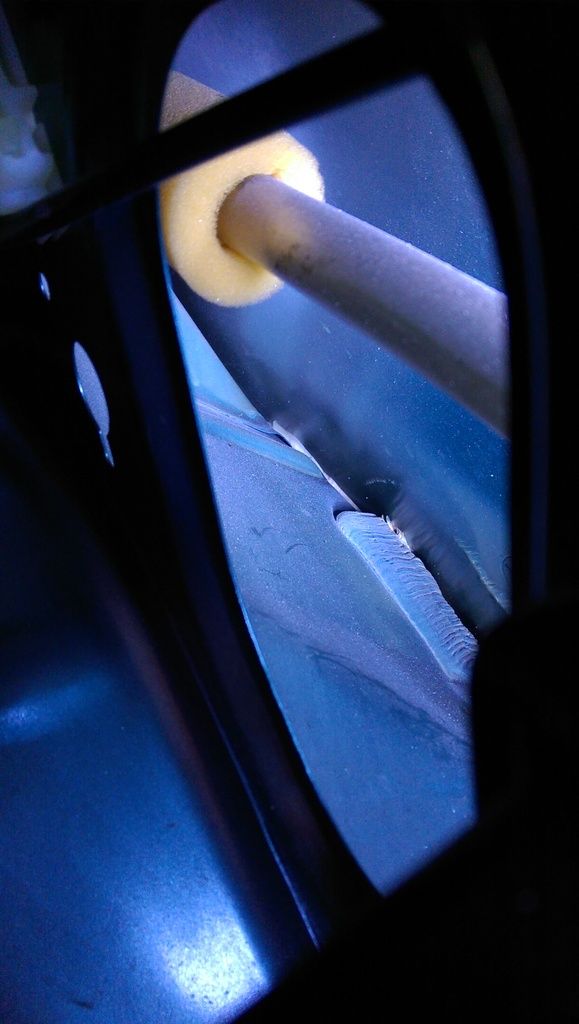
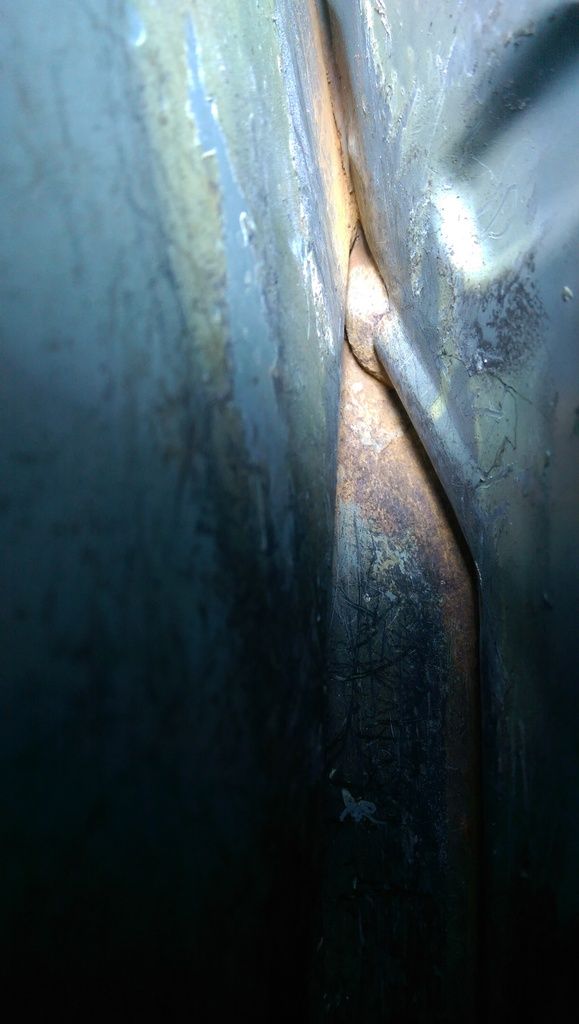
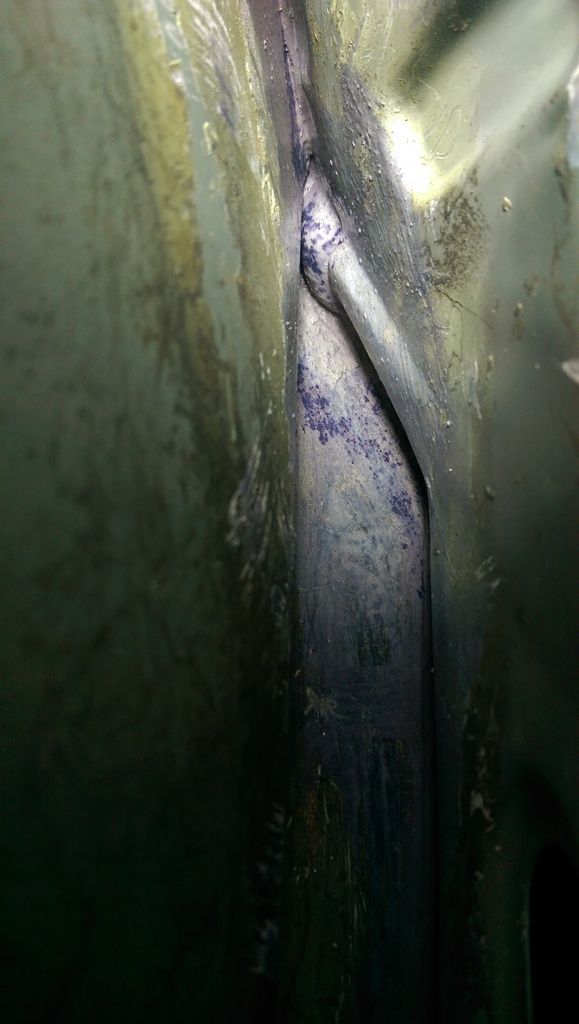
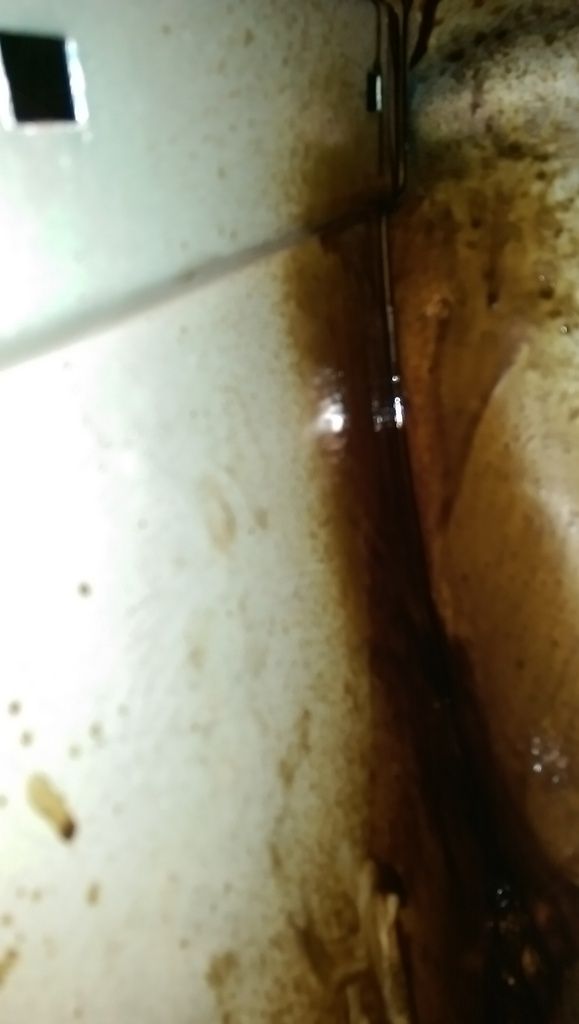
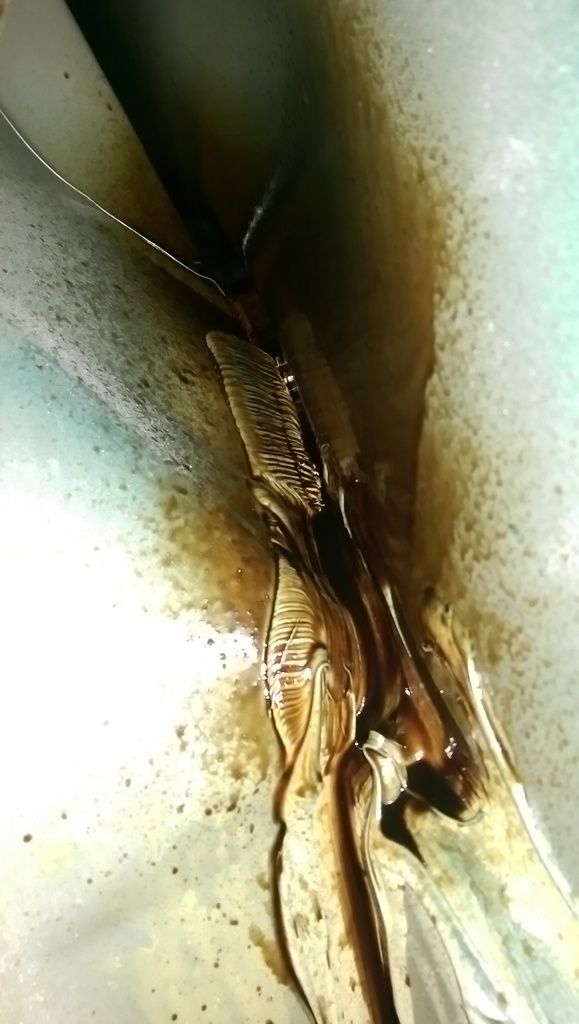
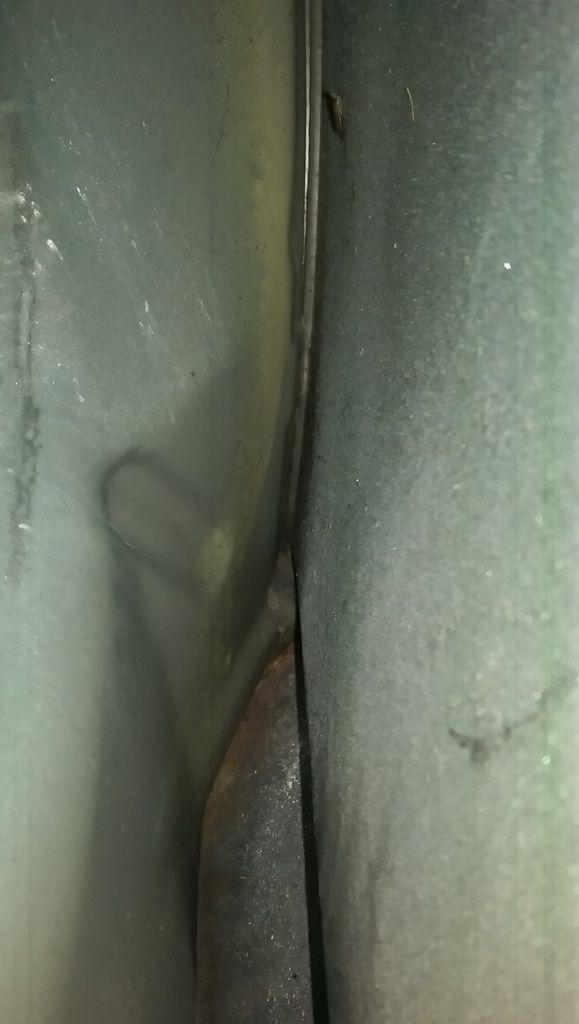
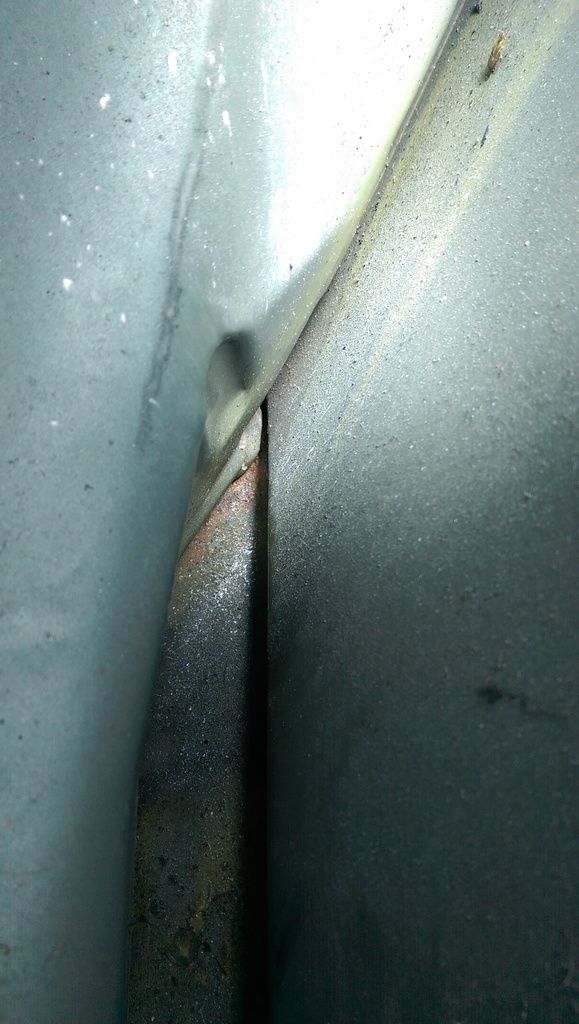
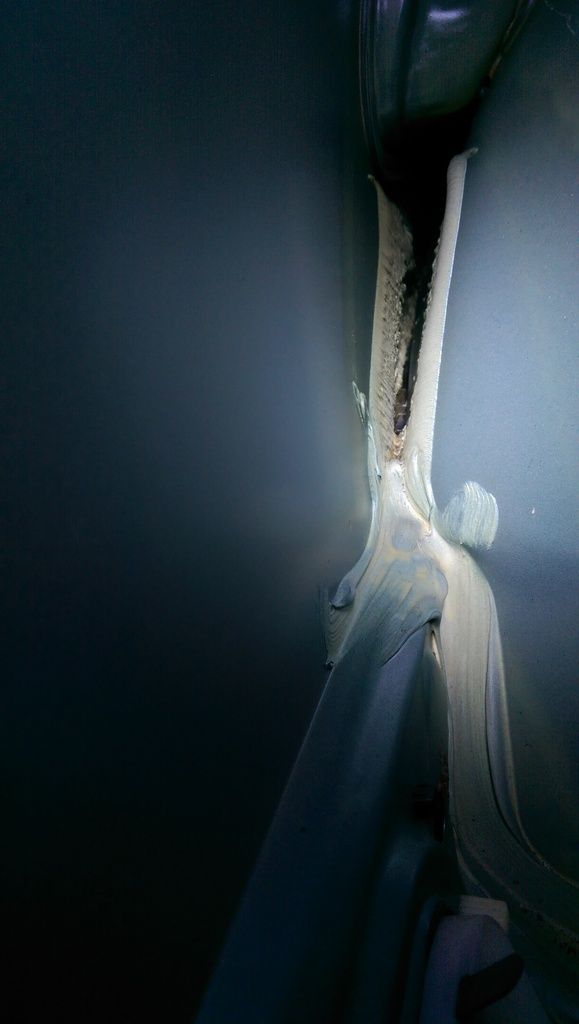
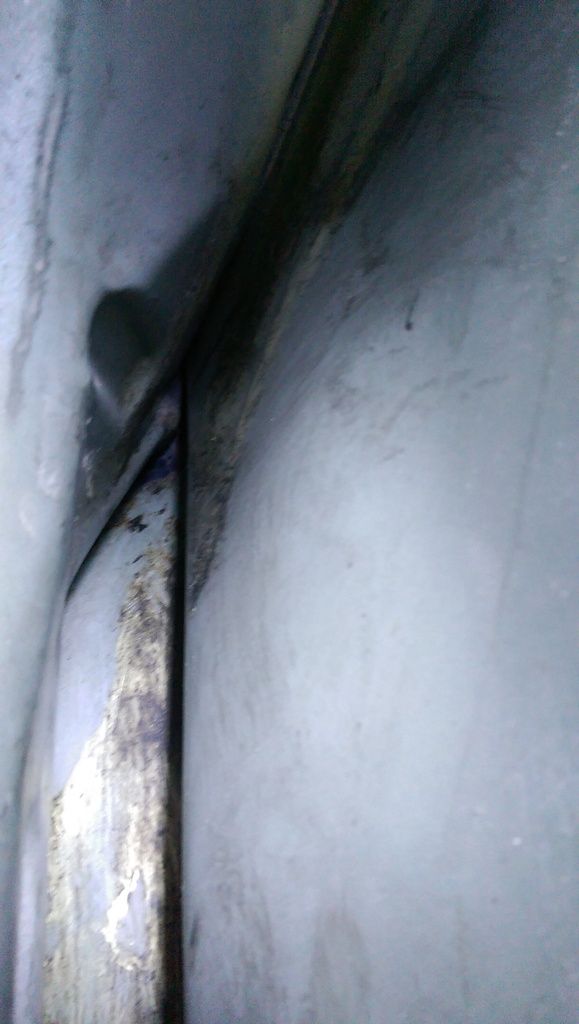
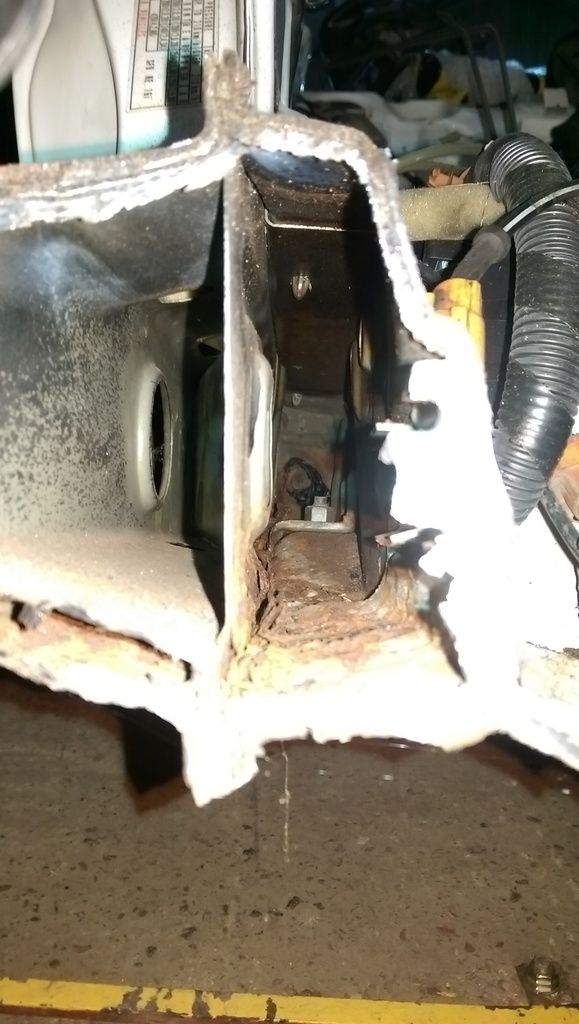
This is looking back into the passengers side sill;
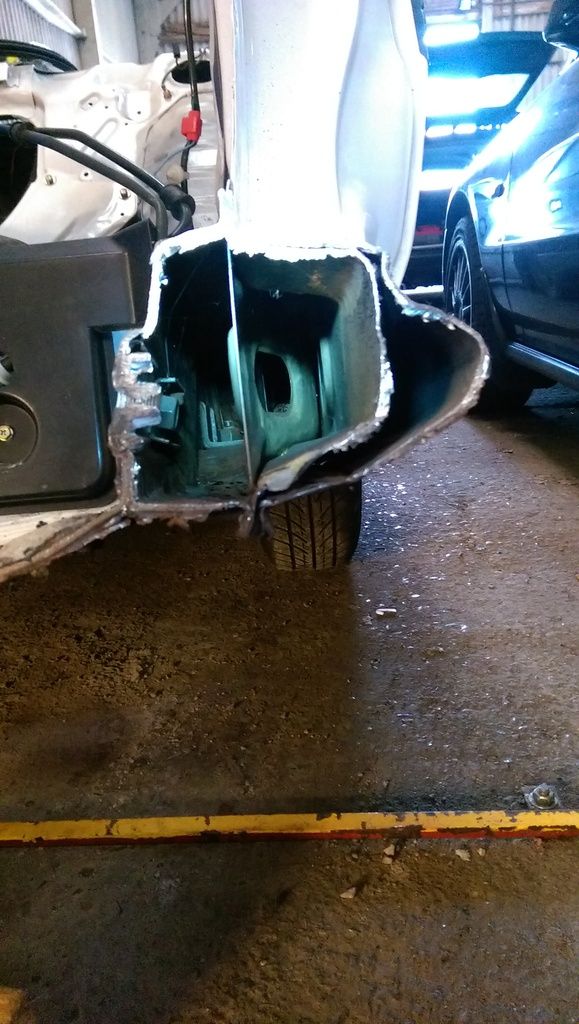
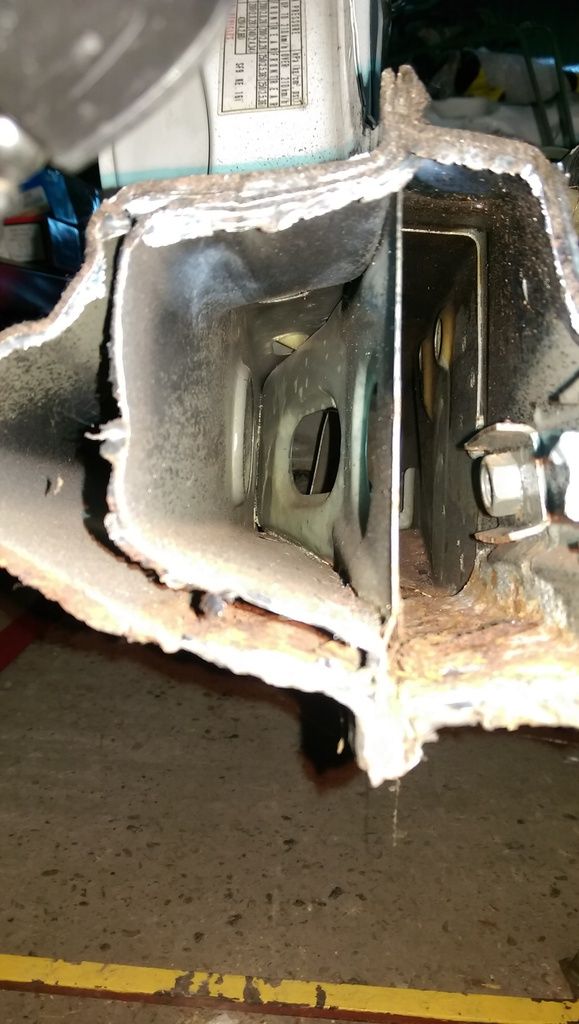
You can see there are 3 cavities. It is the outer cavity that you can see down into from inside the rear quarter panels. You can't see into the other 2 cavities.
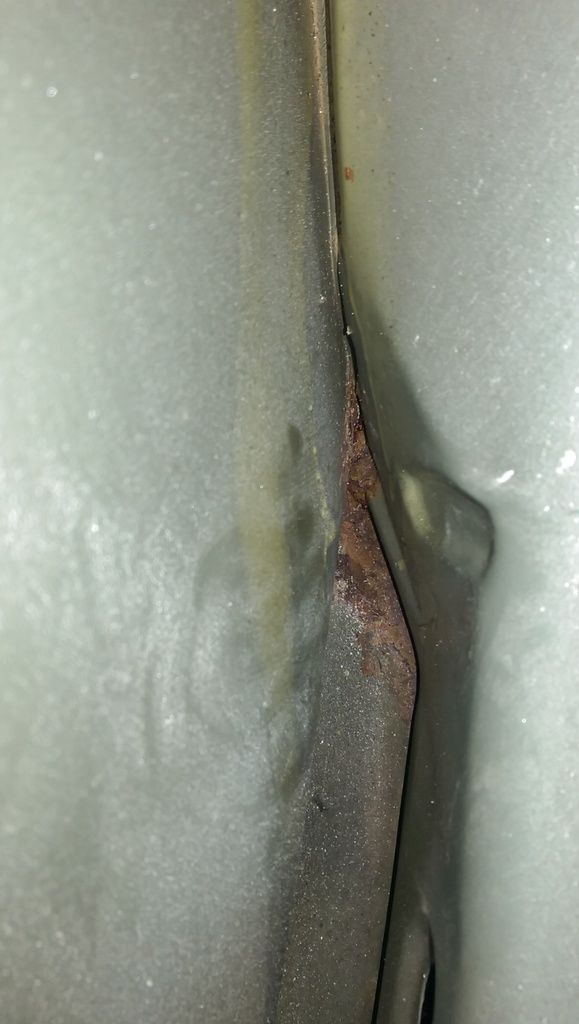
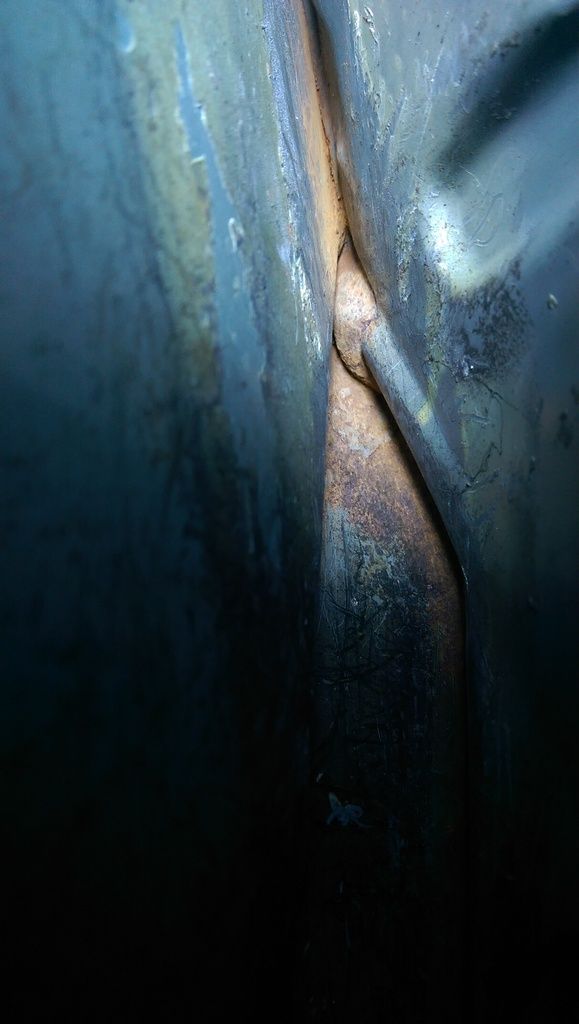
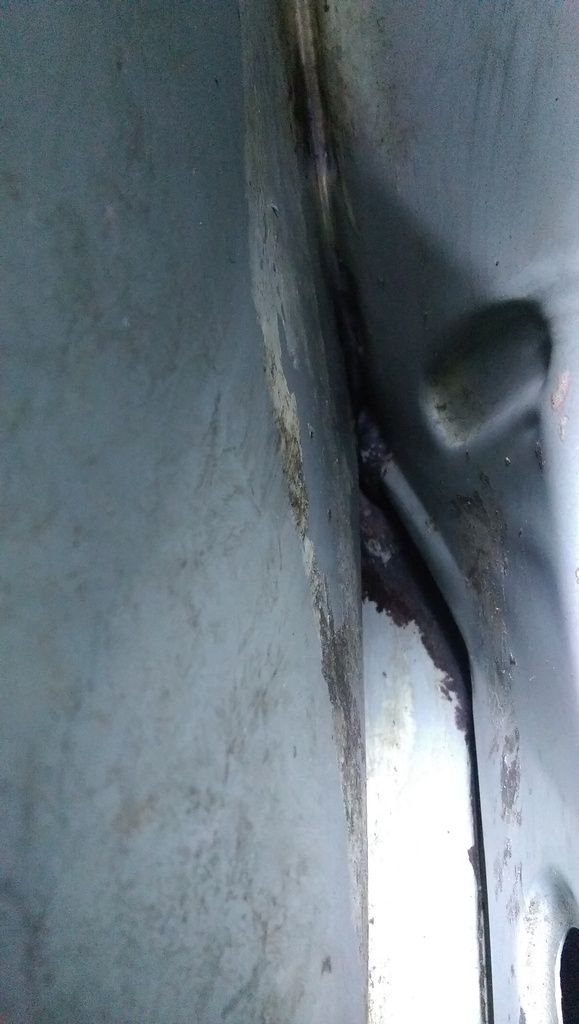
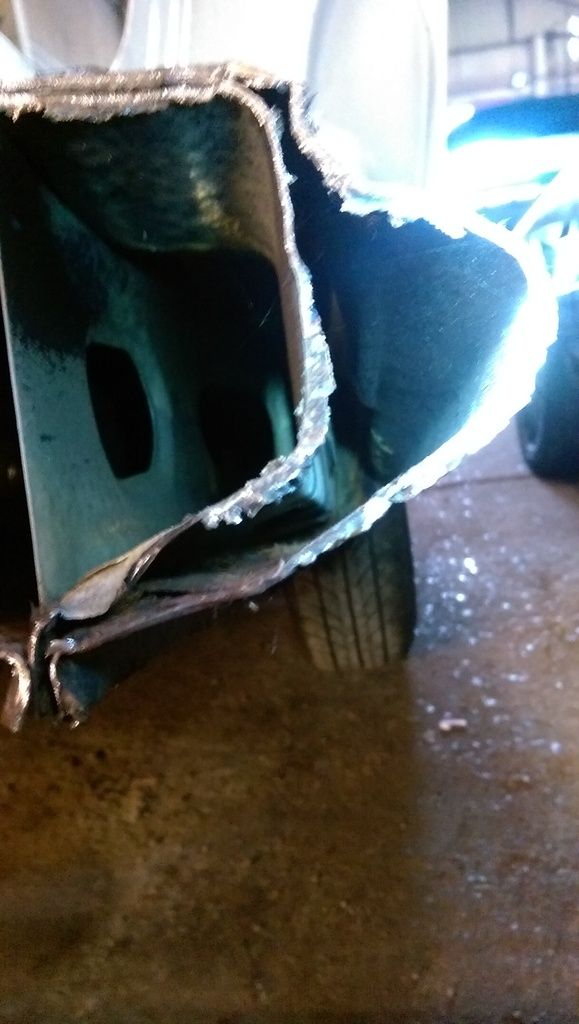
A similar view down the drivers side;
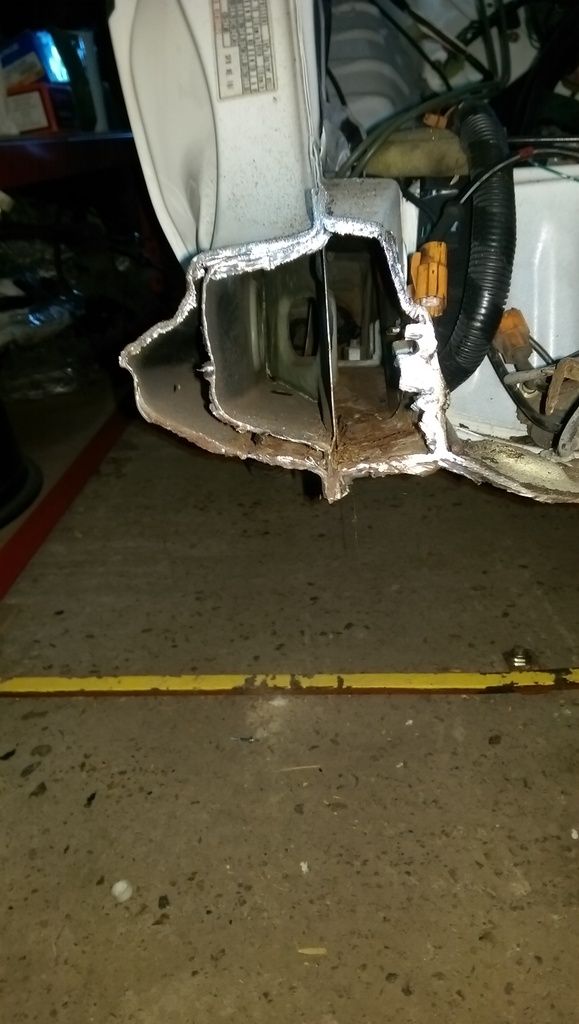
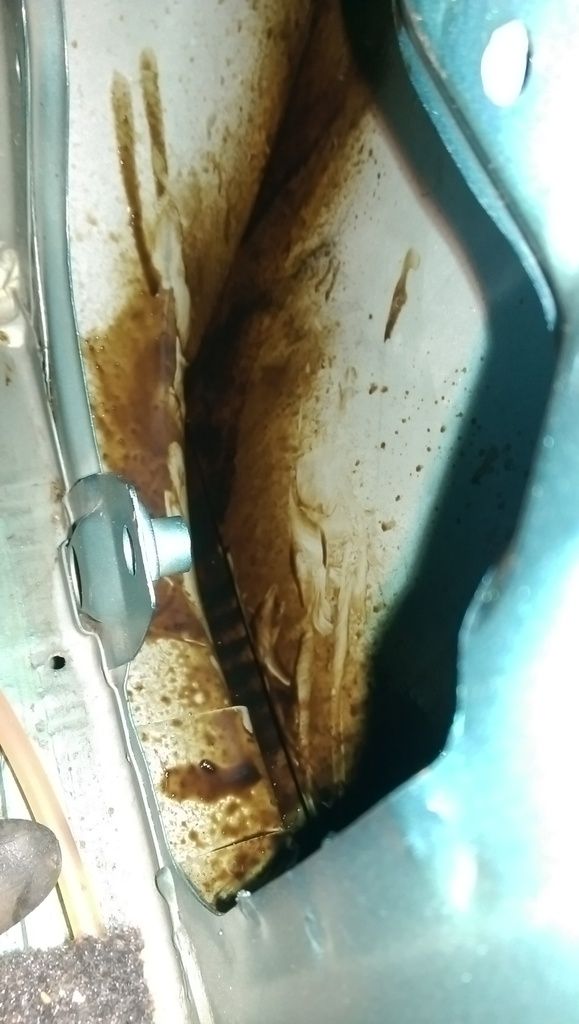
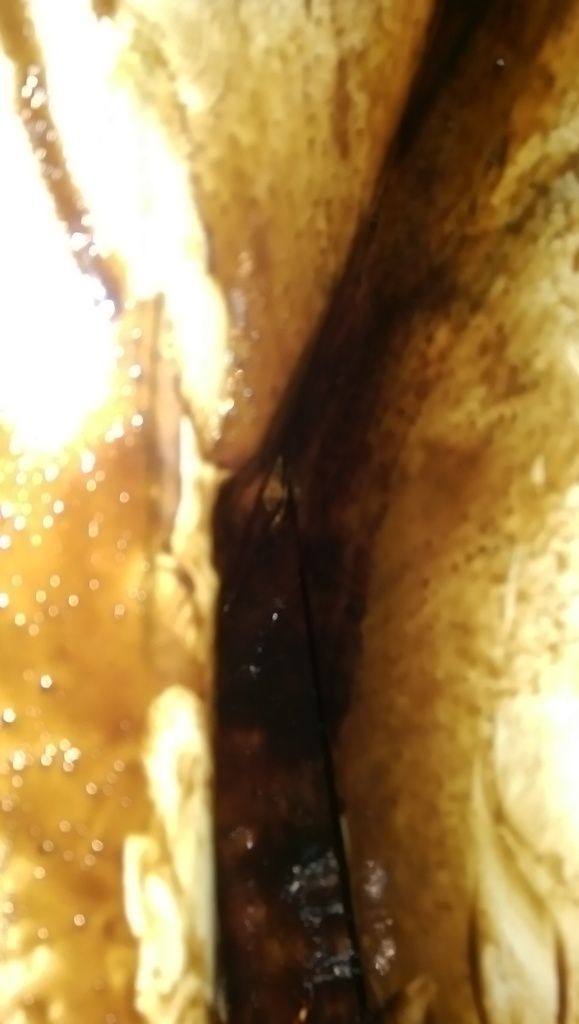
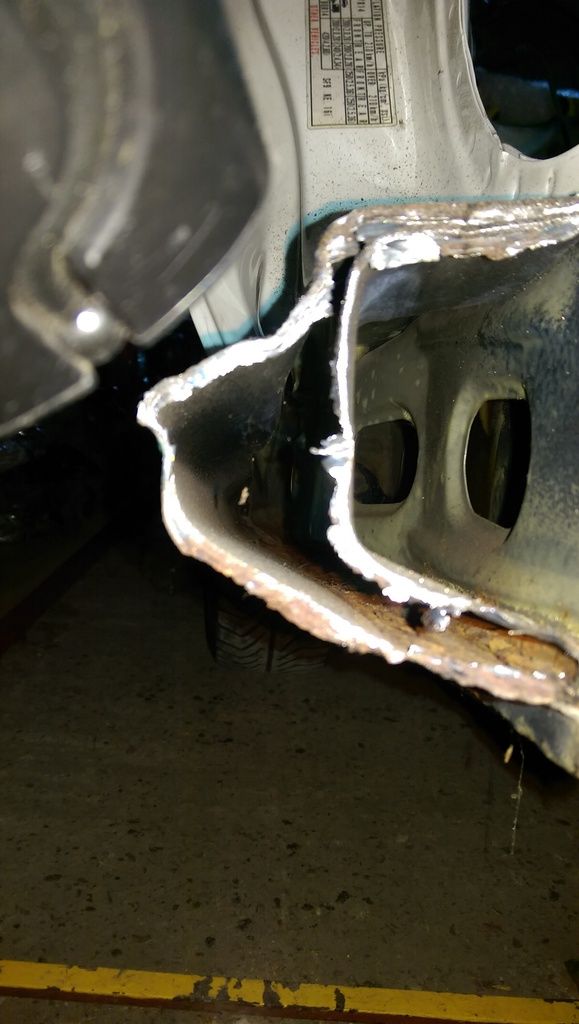
What you can see, is that the corrosion is actually worse in the 2 cavities you can't see/get into
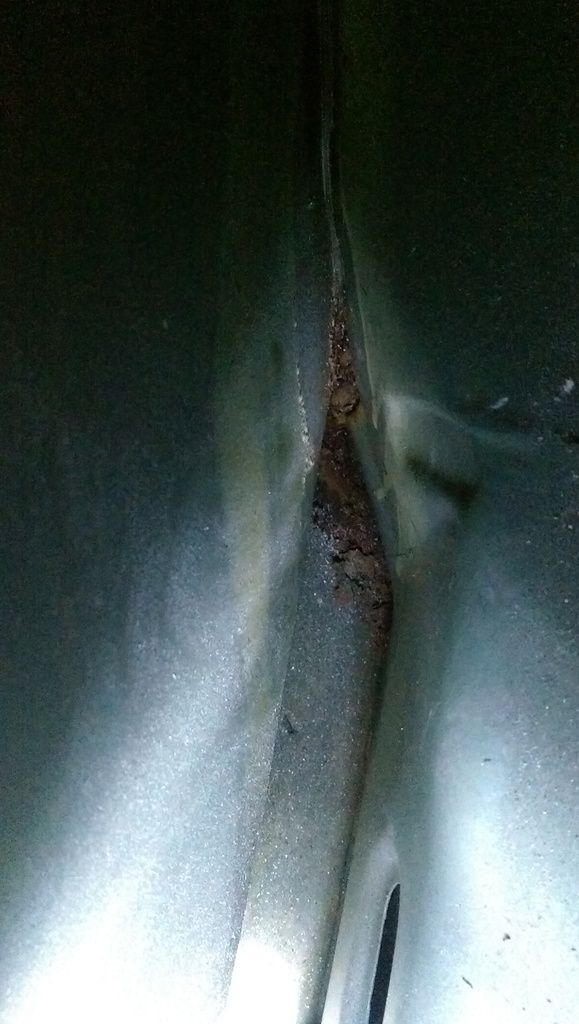
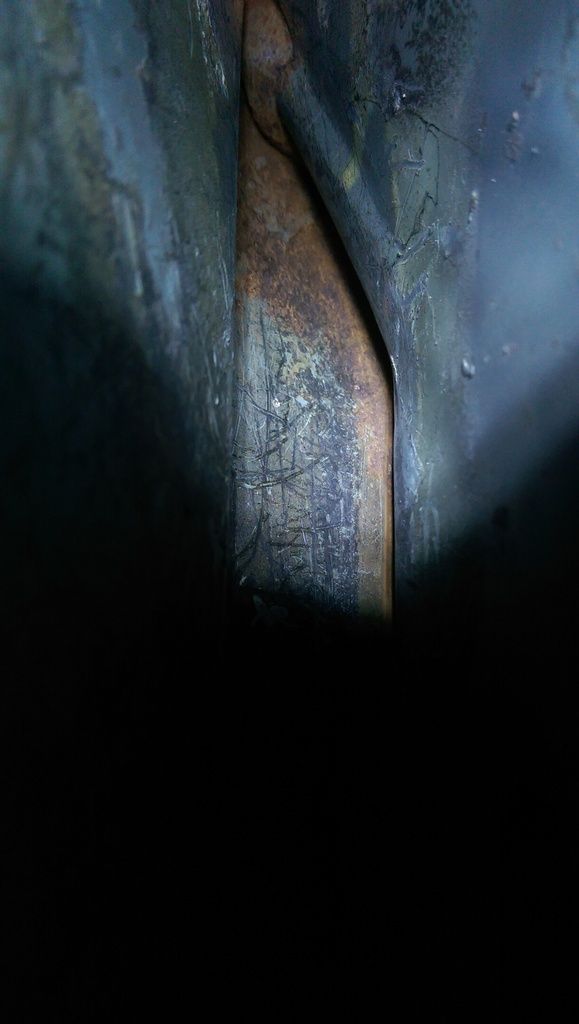
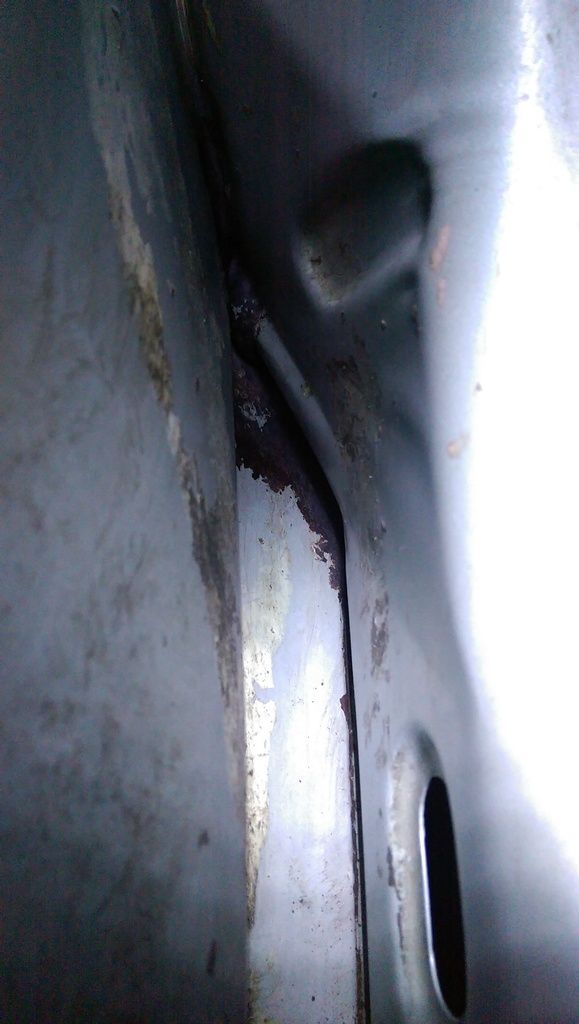
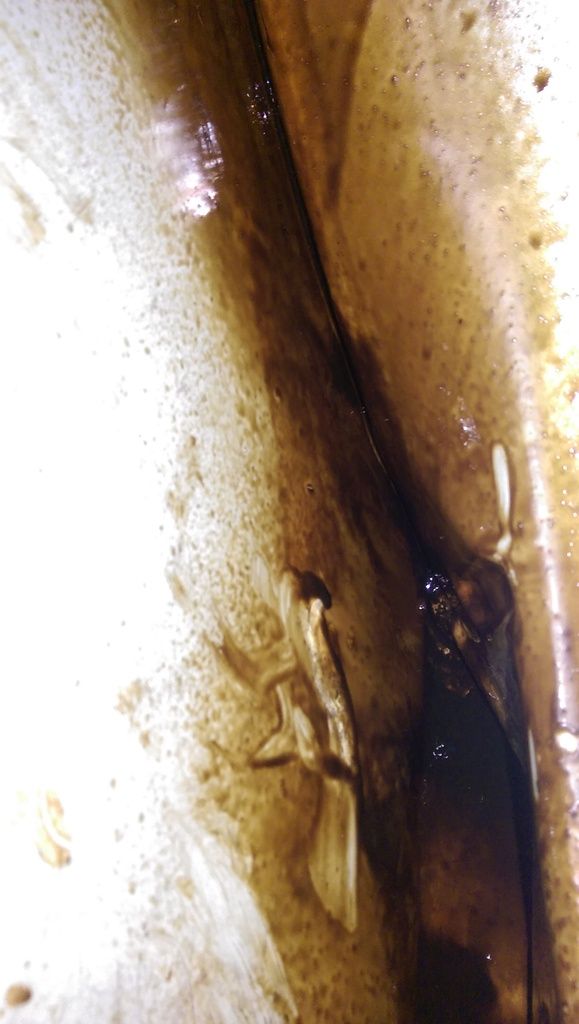
And along the bottom of the outer cavity, in the seam running along towards the front of the car;
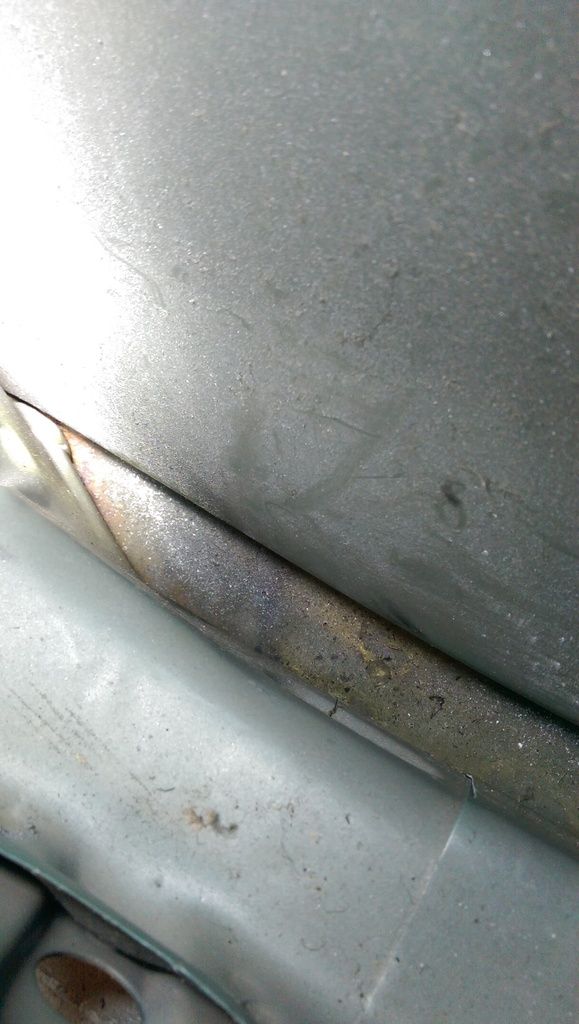
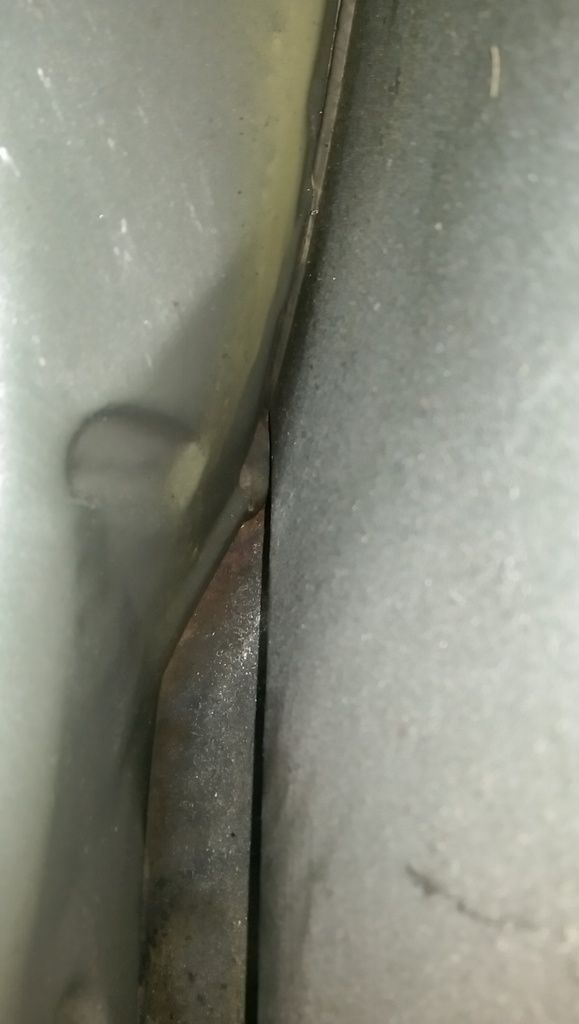
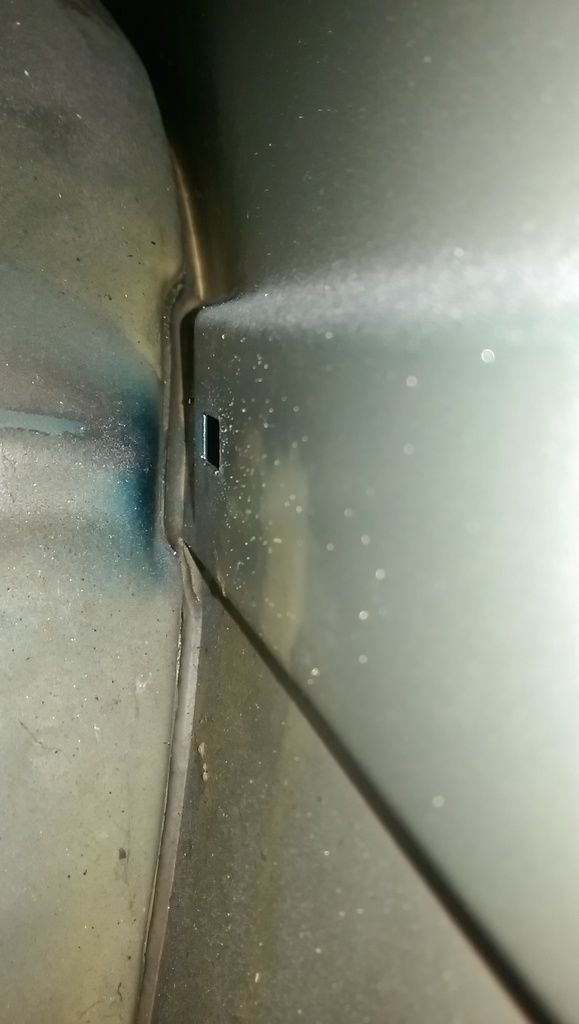
Some similar views from the passenger side on the car-b-cue and all is the same...;
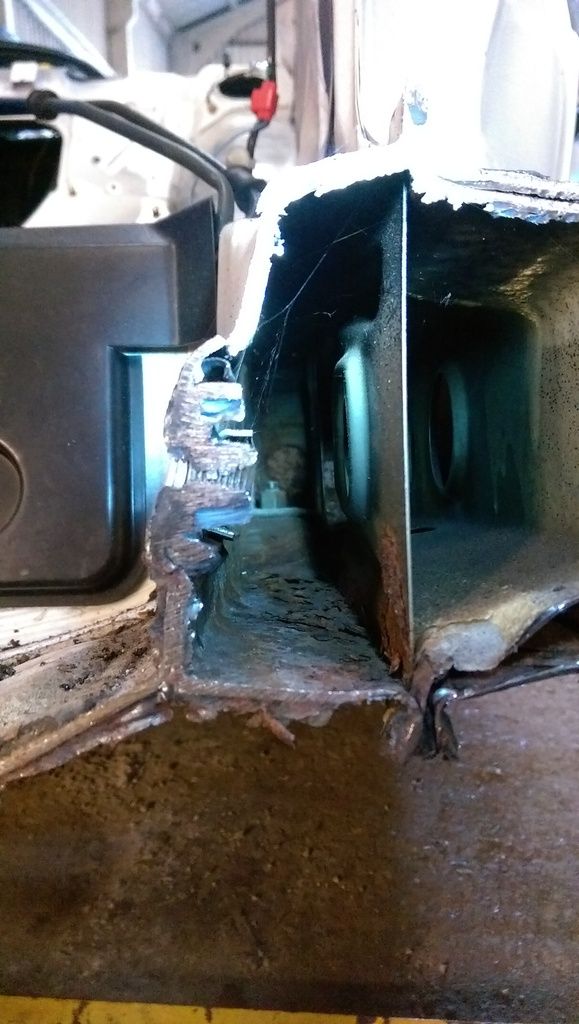
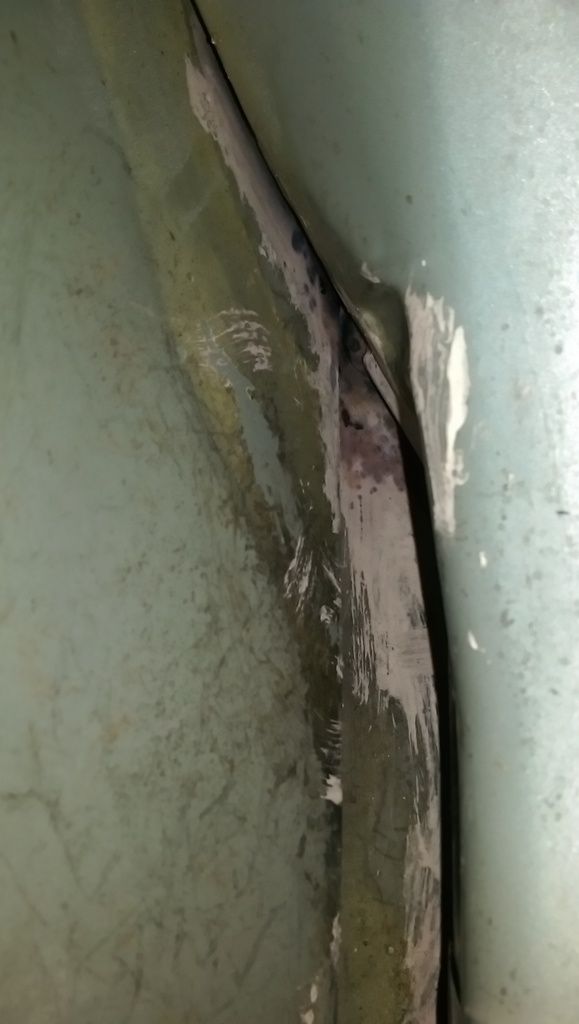
After viewing that, I got the extension nozzle hose thingy for the schutz gun and worked that into the centre cavity of the 3 (you can get to that via the outer cavity by fumbling around);

I'll need to drill some holes from the inner sill, underneath the car, in order to get into the last cavity (and then re-plug them again after treating).
The original factory applied seam sealant works absolutely perfectly, where it's applied - the problem is that they didn't get it into some of the places that matter the most! They stopped short of running it down in the quarter panels properly and I'm not convinced the panels were weld-through primed first
However, I then went and studied the car-b-cue (having a car cut in half is useful here!
This is looking back into the passengers side sill;
You can see there are 3 cavities. It is the outer cavity that you can see down into from inside the rear quarter panels. You can't see into the other 2 cavities.
A similar view down the drivers side;
What you can see, is that the corrosion is actually worse in the 2 cavities you can't see/get into
And along the bottom of the outer cavity, in the seam running along towards the front of the car;
Some similar views from the passenger side on the car-b-cue and all is the same...;
After viewing that, I got the extension nozzle hose thingy for the schutz gun and worked that into the centre cavity of the 3 (you can get to that via the outer cavity by fumbling around);
I'll need to drill some holes from the inner sill, underneath the car, in order to get into the last cavity (and then re-plug them again after treating).
--
Iain.
Iain.
Super Secret 1G (not really super secret!)
-
haRRibo929
- LotM Winner
- Posts: 119
- Joined: Tue Sep 17, 2013 4:11 pm
- My Generation: 5G
-
mercutio

- LotM Winner
- Posts: 14958
- Joined: Sun Aug 08, 2010 8:45 pm
- My Generation: 5G
- Location: Sunny Manchester
- Has thanked: 1 time
- Been thanked: 4 times
- Contact:
great work Wurly and Lisa wont the 4g rear brake light bar fit???
bristol_bb4 wrote:ahhh a 5th gen, i love 5th gens
Dino wrote:I loves the 5th gen really.... just dont quote me on it...
4thgenphil wrote:Mines 4 1/4 unches mate, sorry
http://www.ludegeneration.co.uk/profile ... -t618.html