Congratulations to vtecmec for winning May/June's Lude Of The Month, with his DIY Turbo BB1 build.

>>> Click Here For Profile <<<

Image

Ramp install - we haz soundz

Banter goes here, and doesn't have to be Lude related
User avatar
wurlycorner
Ye are glad to be dead, RIGHT?
Posts: 21511
Joined: Sat May 19, 2012 3:33 pm
My Generation: 4G
Location: Chelmsford, Essex
Has thanked: 2507 times
Been thanked: 317 times

Post by wurlycorner » Mon Feb 16, 2015 1:29 pm

Update...

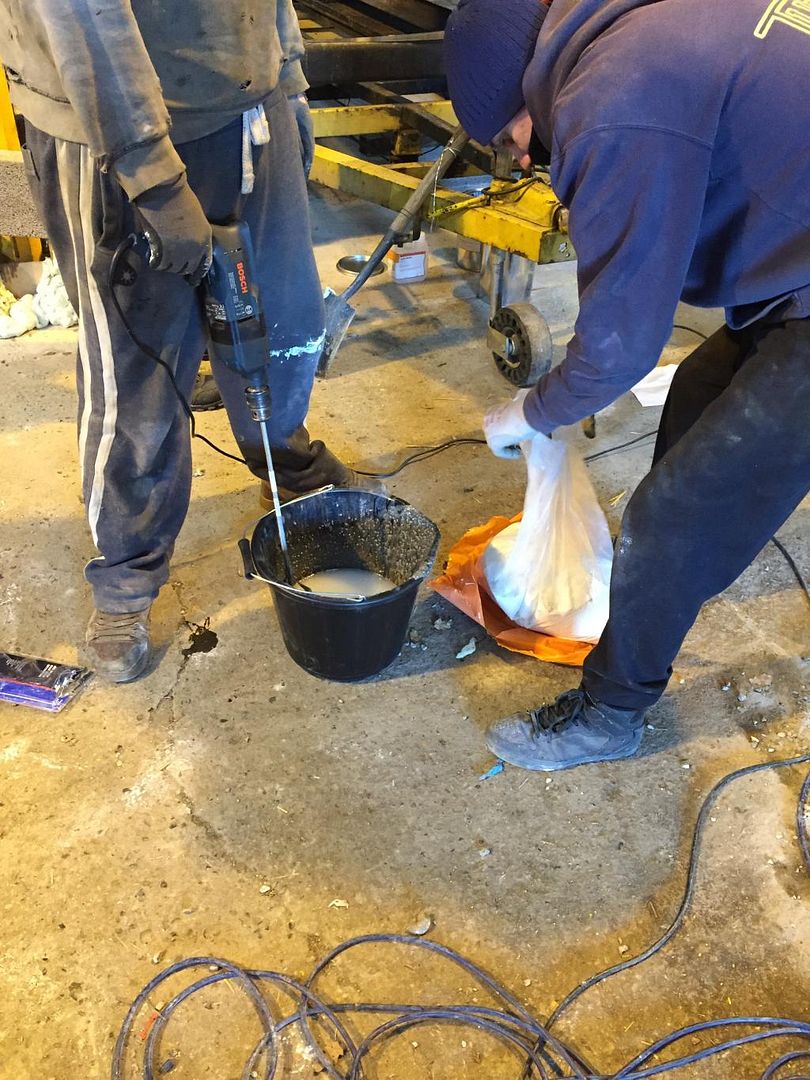
Took some time gathering more stuff needed to finish this off;
Image
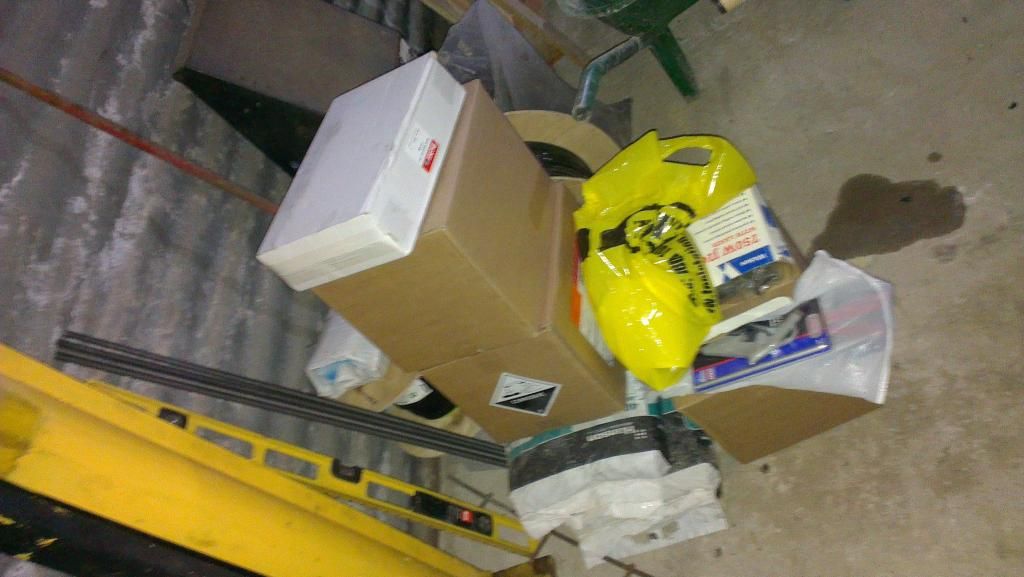
(Concrete not needed, but there's boxes of strutural resin, stainless studs and fixing resin + tooling in that lot).
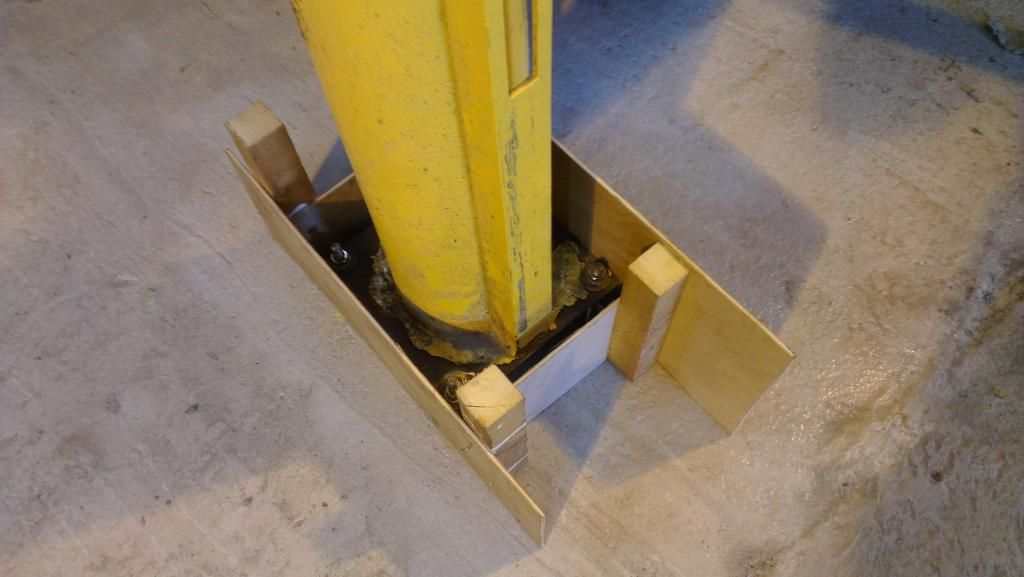
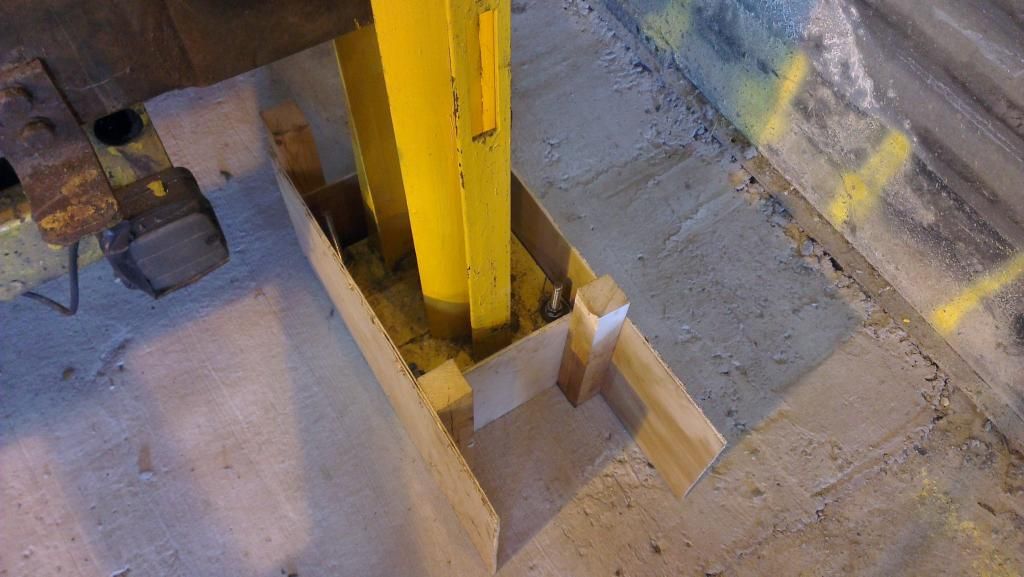
The resin wouldn't be needed if the floor was level, but because there's a slight slope on the floor of the barn, the front columns need to be elevated.

Phil and Donald very, very kindly gave up their valentines weekend to come down and help me getting it installed :hail: :hug:
At least, I think it was Donald? He might just have duped us all and sent a local 'yoof' scally in his place, from all we could tell...

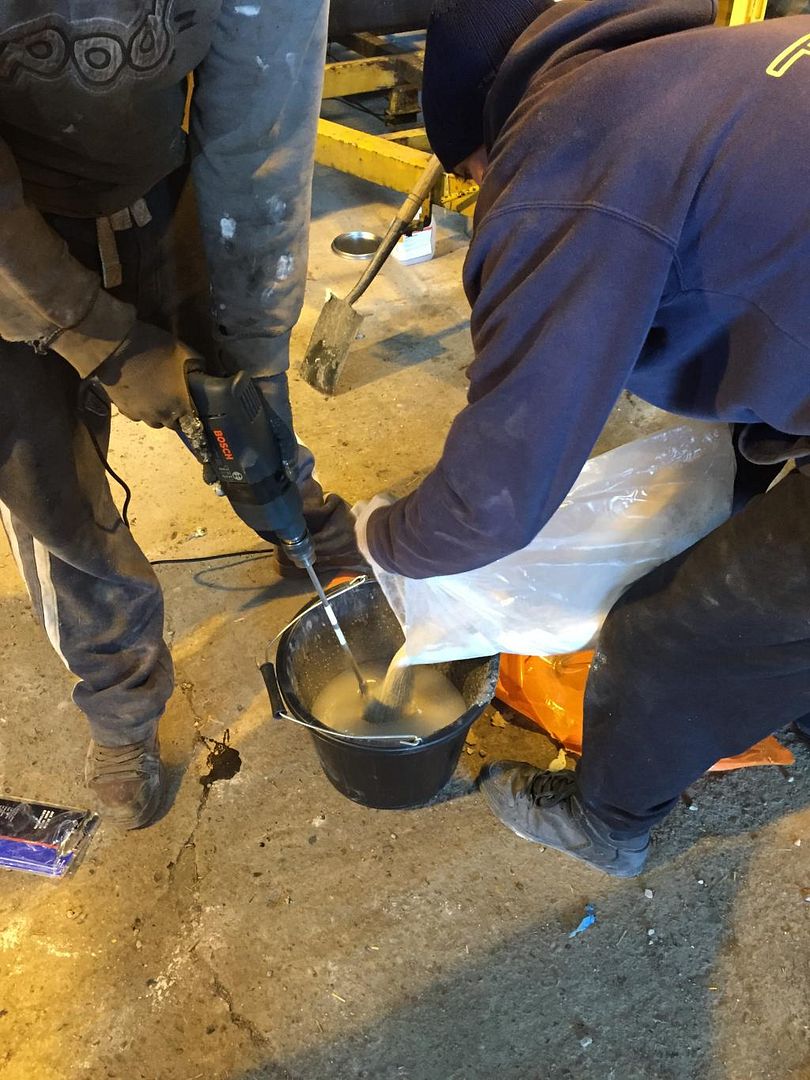
Because it was going to be cold, I'd bought winter grade stud fixing resin (works down to -5) but the structural resin needs +5 to cure in a reasonable time frame, so Donald and I went to pick up some heaters from HSS before starting on Day 1. Who knew it could take FORTY MINUTES to hire such simple equipment? :roll:
Image
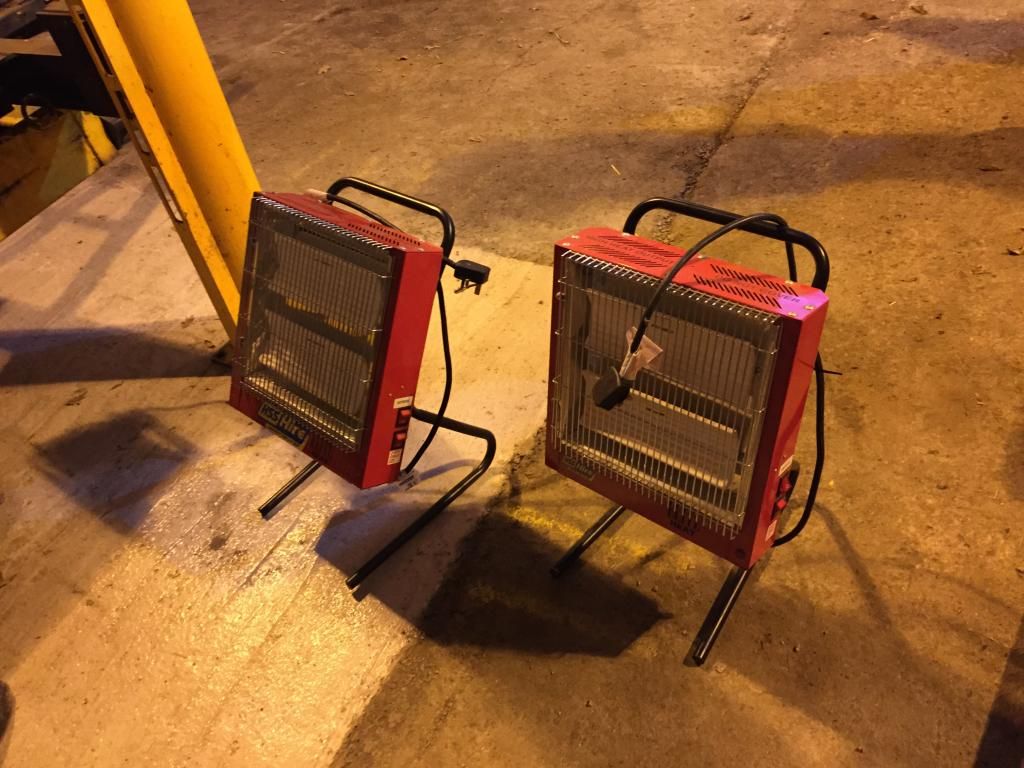
(The guy wasn't the worlds brainiest and was having a bad day I think...) Anyway, not helpful :evil:

Once at the barn, first job was to get all the cars out (one of the CX's was sat on the bed of the ramp and one was on the trailer). My planned patented cheap sump fix (gaffer tape :lol: ) couldn't be done because of bum droppings access, so that was abandoned then the other CX was a PITA to start (electrics on that one are NOT well...)
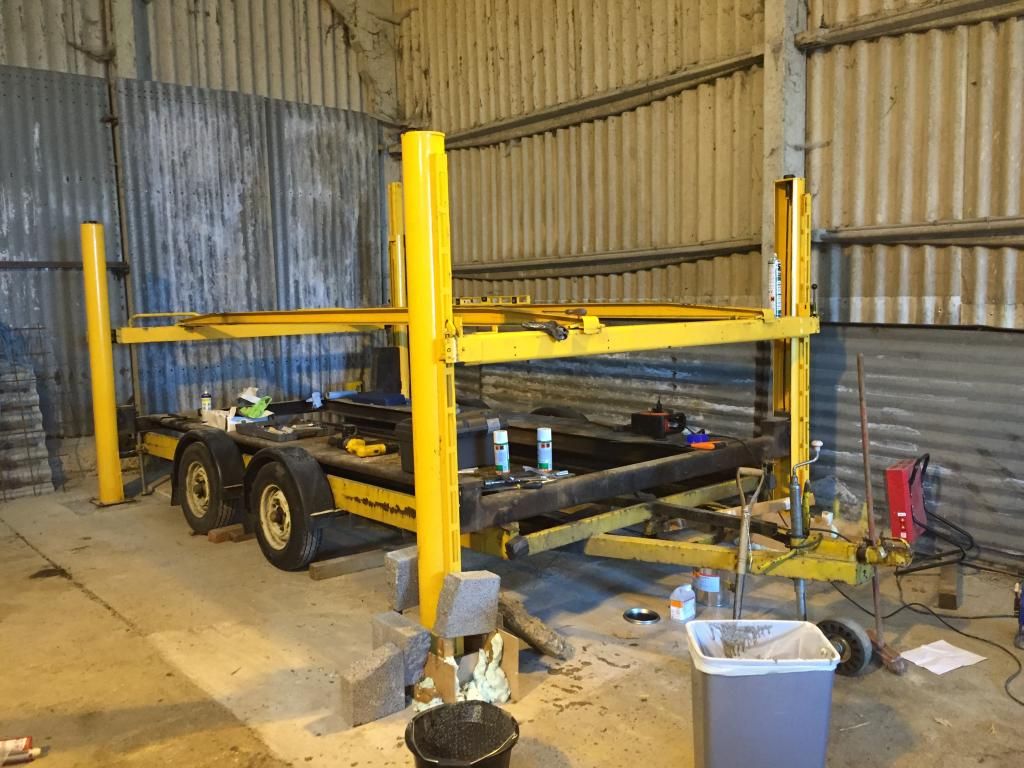
After that we had to get the (fully assembled) bed of the ramp off the floor onto the trailer, so we could move it around and level it etc.
This was a monster effort and ball-ache (worse than expected) so no pics taken.

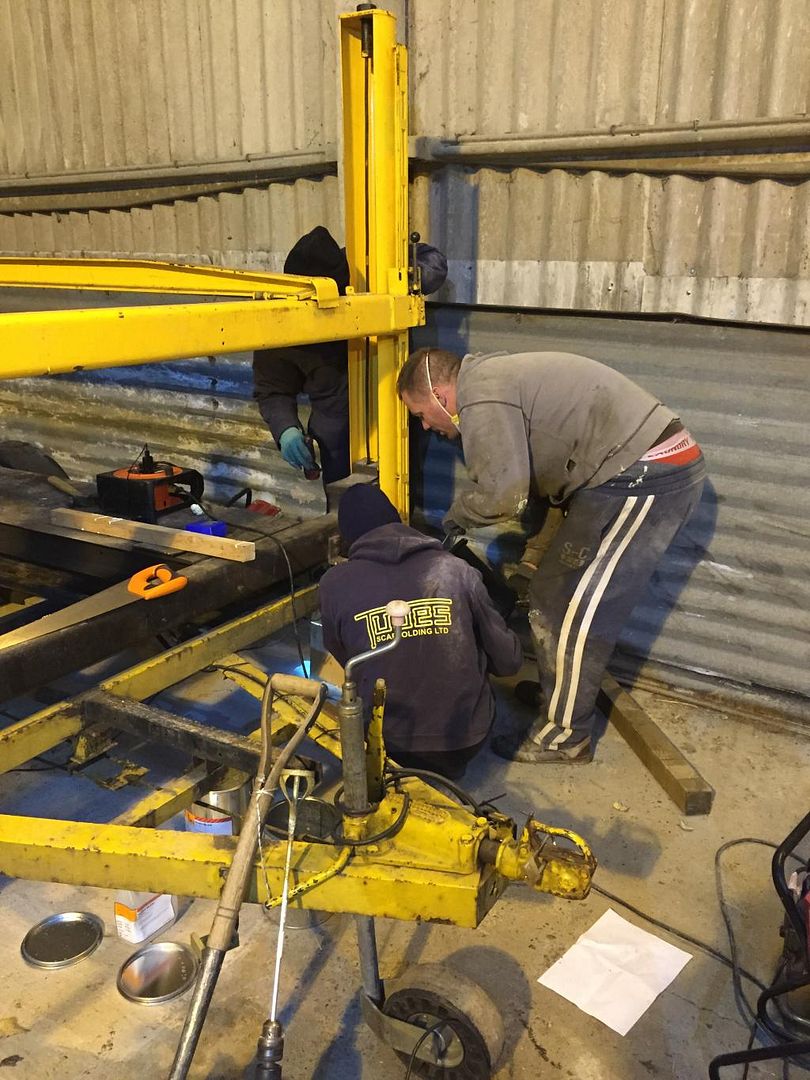
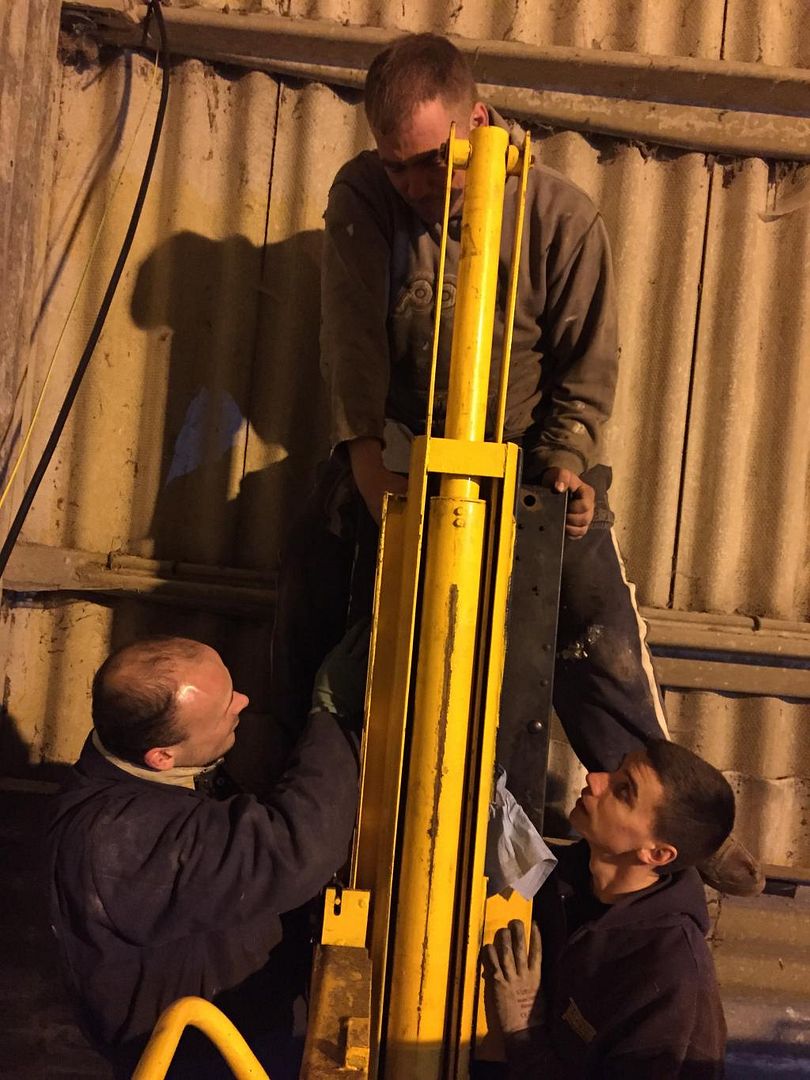
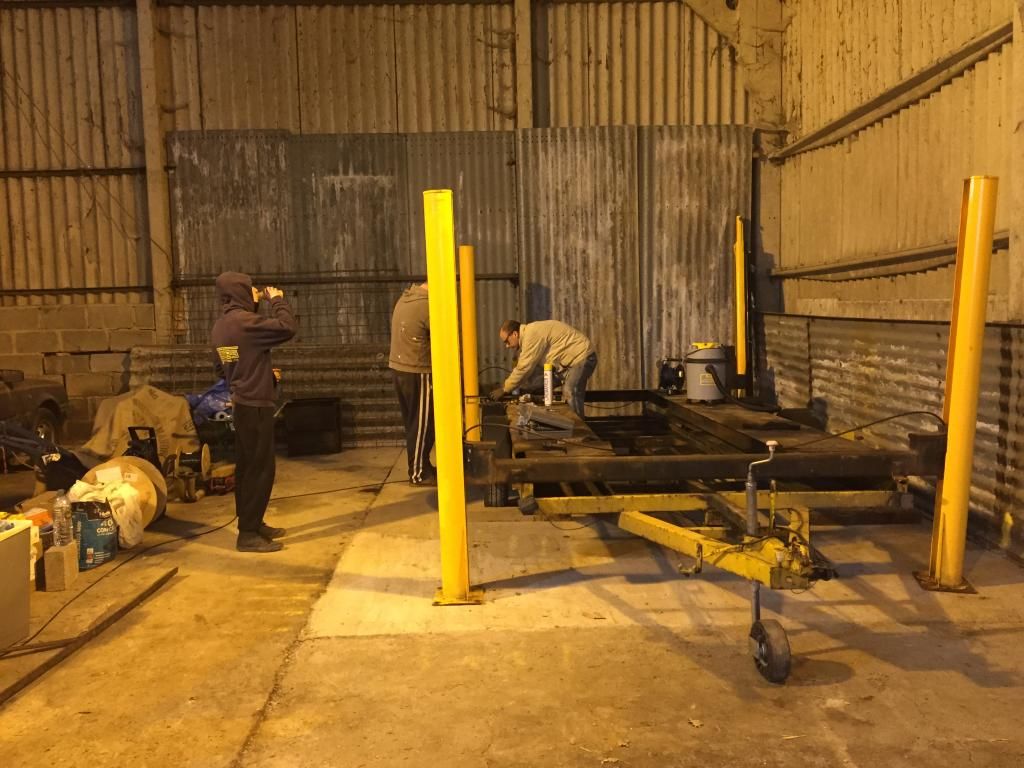
After it was loaded onto the trailer, we got the bed in position and started offering the legs up around it to check position.
Image
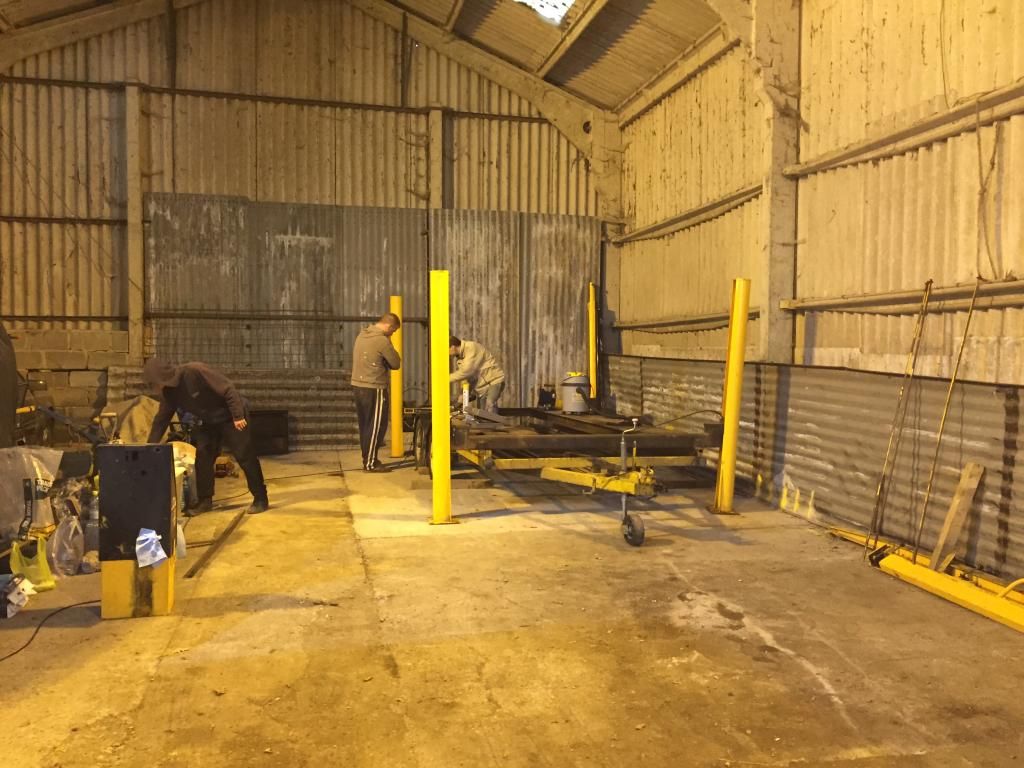
Needed to avoid clashes between the column stud positions and rebar in the floor. This was also a major, major ball ache and took us a while (as expected)

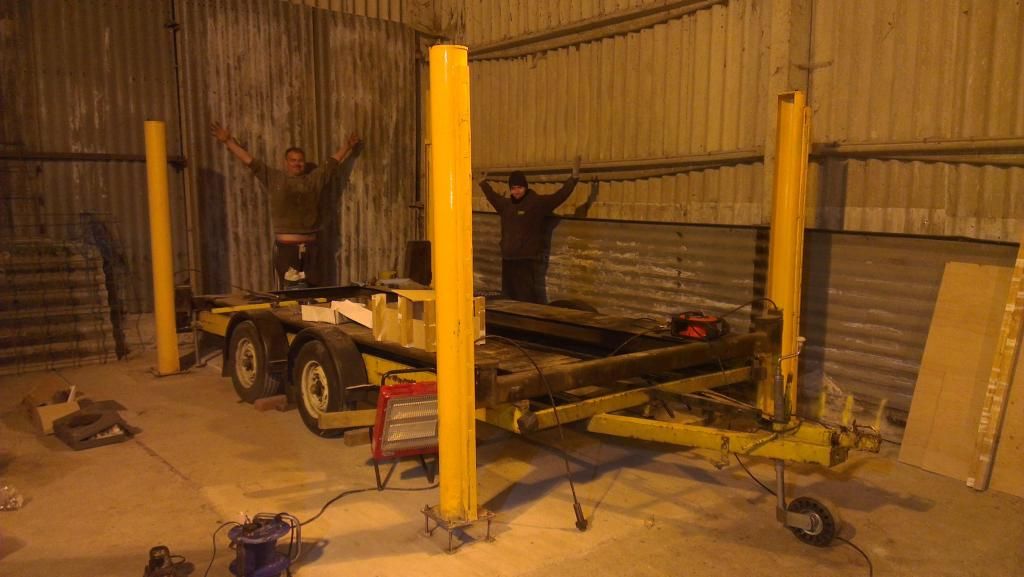
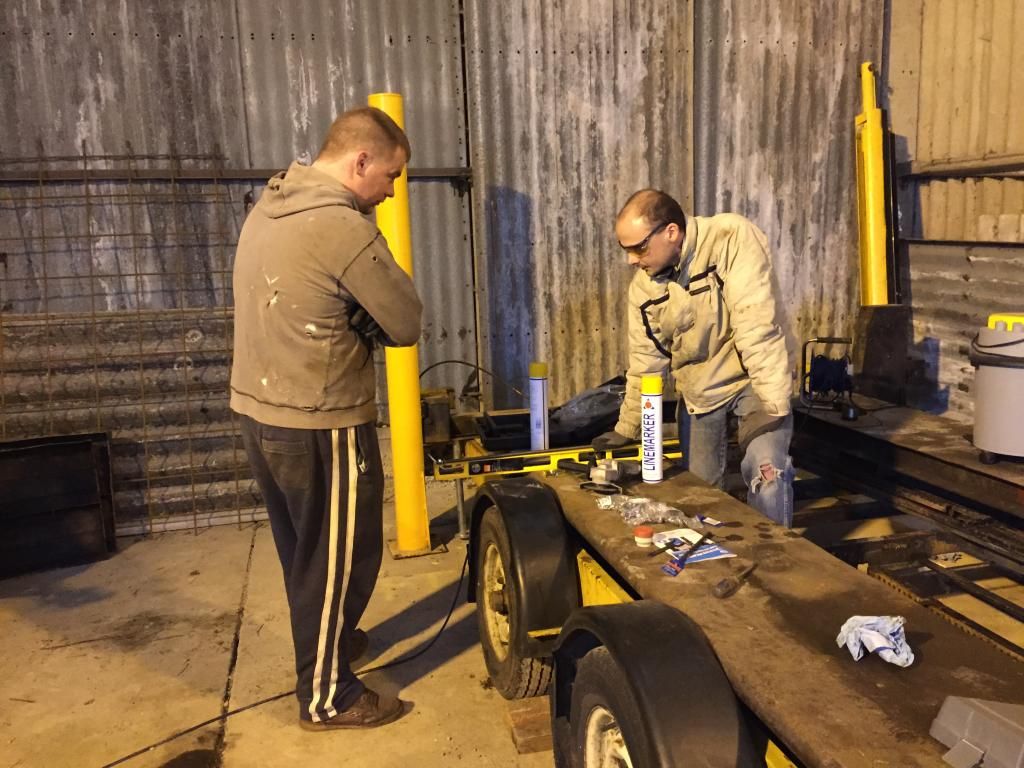
Donald offered expert advice and guidance;
Image

Then Phil offered his pearls of wisdom about stud length... :hurr:
Image

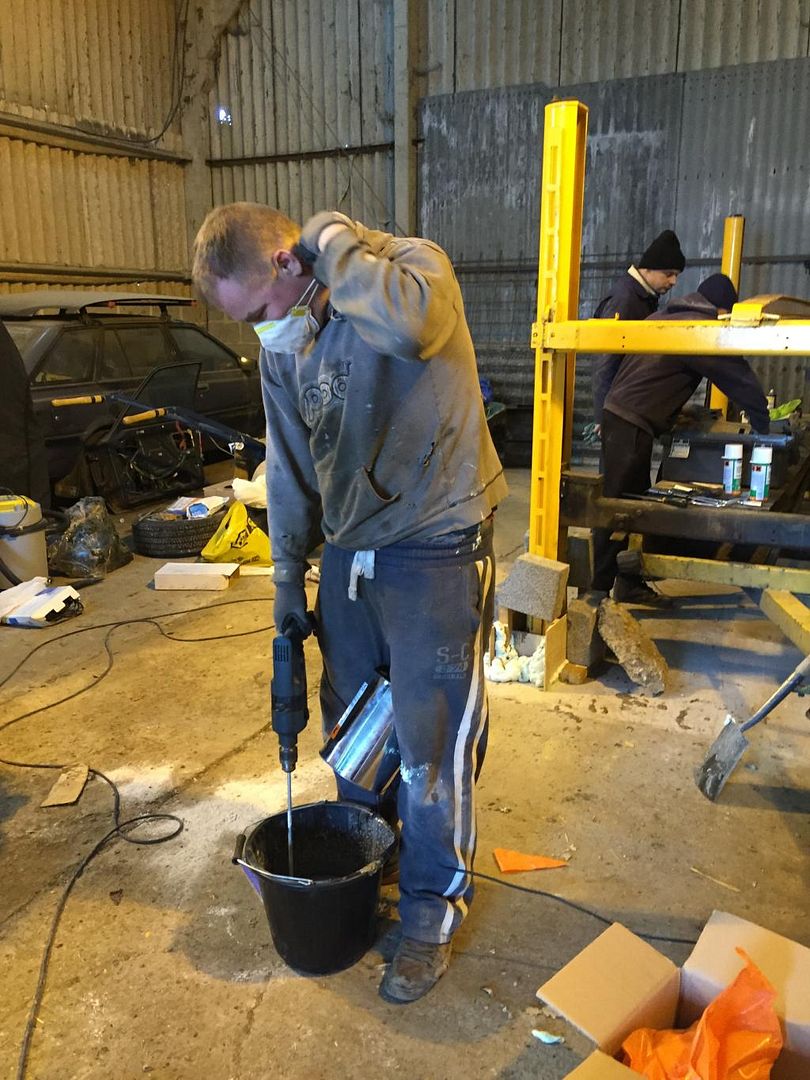
Who knew Donald could deliver such pleasure with an industrial vacuum cleaner? :D
Image
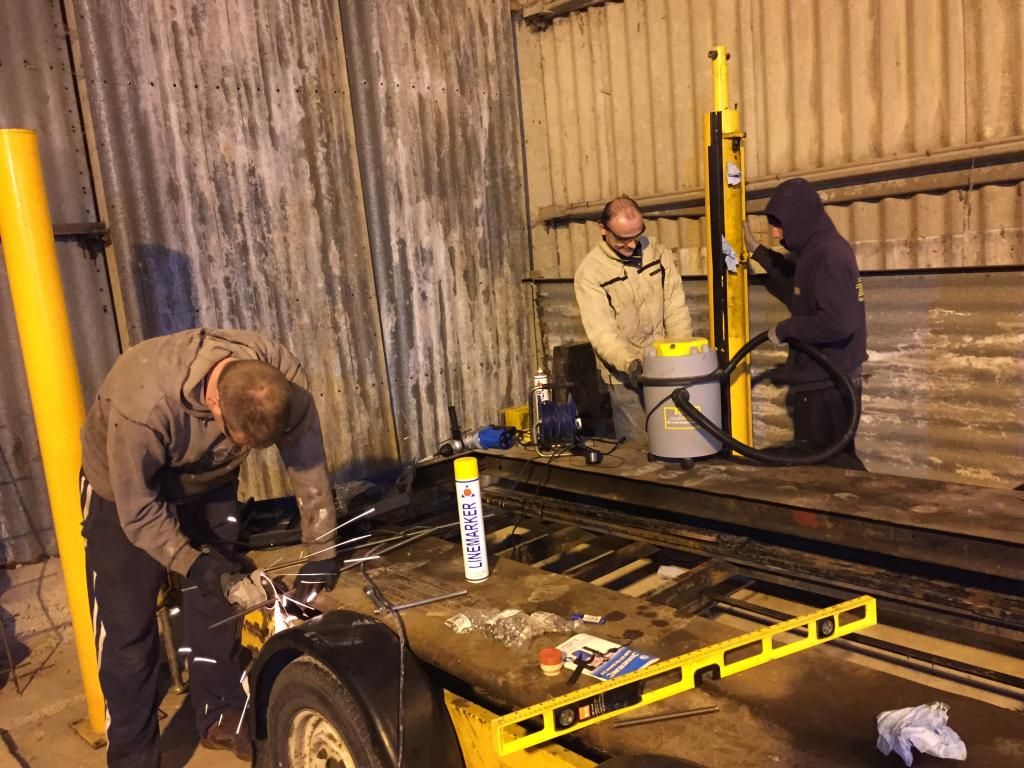
On a serious note though, was massively impressed with the £50 Silverline SDS drill :rock: Went through the C40 concrete with no problems :hail:

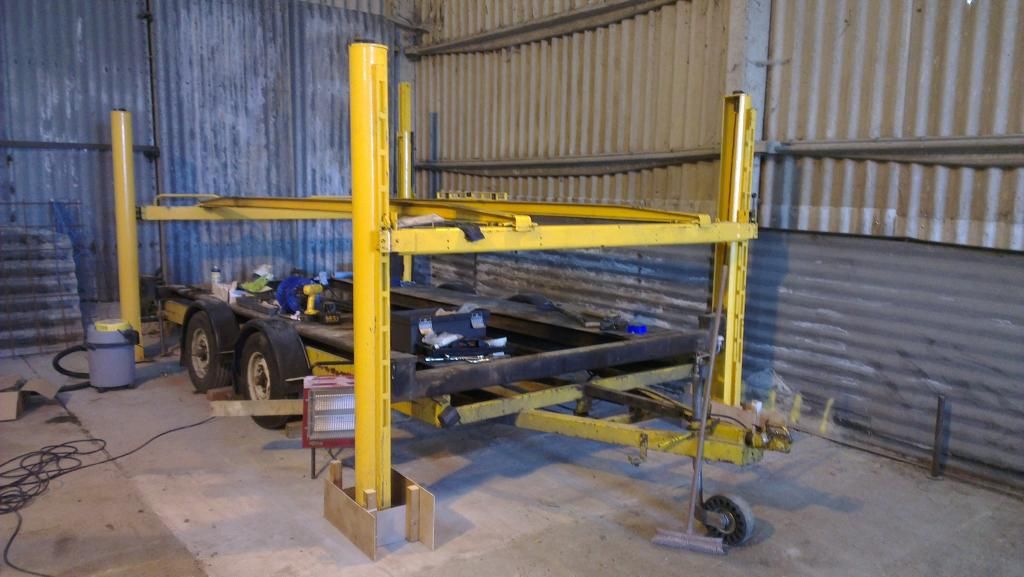
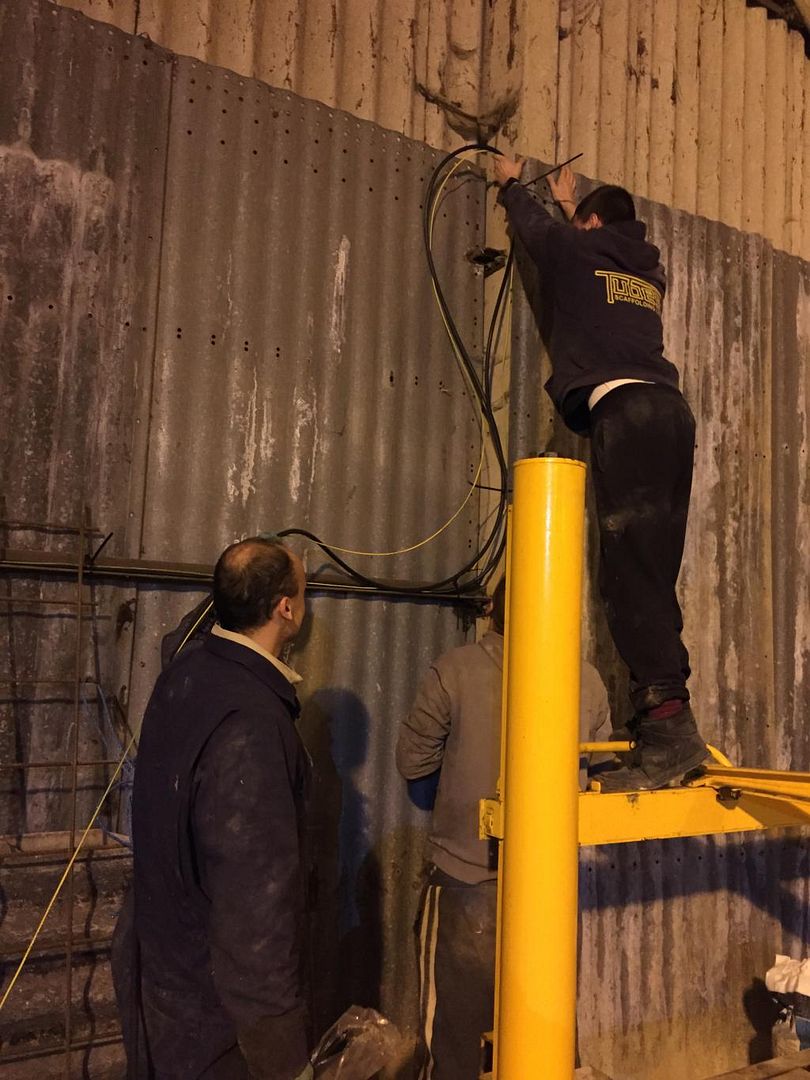
End of day one - about 2 hours behind where we wanted to be... All columns loosely located and studs installed;
Image

User avatar
indigolemon
The Chaos Engine
Posts: 6682
Joined: Wed Jun 30, 2010 1:45 pm
My Generation: 4G
PSN GamerTag: M149YSL
Location: Kelty, Fife
Has thanked: 24 times
Been thanked: 71 times
Contact:

Post by indigolemon » Mon Feb 16, 2015 2:21 pm

Party Hard! :rock:
'On two occasions I have been asked, 'Pray, Mr. Babbage, if you put into the machine wrong figures, will the right answers come out?' I am not able rightly to apprehend the kind of confusion of ideas that could provoke such a question.' - Charles Babbage

User avatar
wurlycorner
Ye are glad to be dead, RIGHT?
Posts: 21511
Joined: Sat May 19, 2012 3:33 pm
My Generation: 4G
Location: Chelmsford, Essex
Has thanked: 2507 times
Been thanked: 317 times

Post by wurlycorner » Mon Feb 16, 2015 2:30 pm

Day 2 started with arsing about levelling the columns precisely - packing under the rear columns with spacers and washers, working out the precise height differential between the front and rear columns and then winding the front ones to the correct height and level.

At this point we shat ourselves because by measurement, the foot of the main column seemed to be 22mm lower than the opposite side. Before taking a breaker to the top of the concrete so we could lower the other side (raising the main hydraulic column was not an option) we stuck the wheels free locking beam onto its sliders and somehow (for reasons I still don't understand) it sits perfectly level. :huh: Anyway, happy with that, so onto the next thing - put the locking beam on the front columns to check the distance between them is consistent...

WTF? It doesn't fit? :suicide: More angst and head scratching... :? Columns can't be too far apart because they appear to fit the bed fine? :huh:
Turned out the foot of one of the columns was slightly twisted, which by massive lever and combined Phil/Donald power, was soon rectified :rock:

All level and square, front columns boxed round, ready to have the structural resin poured;
Image
Image
Image
One of these was made by Donald and one by Phil. Guess which one leaked... :roll: :poke: ;) :lol:

First one poured, emergency leak repair mechanism in place because the expanding foam sealant round the formwork hadn't cured :roll: :lol:
Image

Impressive multi-taking - Giving birth and stirring the porridge, all in one go :D
Image

So that's the 2-part resin mixed up, on the right is the filler material that needs to be added to it;
Image
We're gonna need a bigger cake tin at this rate...
Image
Pouring into the shuttering, ready to pounce at the first sign of any leaks!
Image

Donald failed his try out for the circus, but finally found an outlet for his talents;
Image

50-odd meters of armoured cabling and earth coming up (power would be in the opposite corner of the barn, of course!)...
Image
Image

I'll leave the captioning on this one to your imagination :facepalm:
Image

(Nearly) all done...
Image

Jobs left;
- Resin to fully cure
- Strike (remove) formwork under the front columns
- Install isolator and connect power at ramp end
- Fit plug to supply end of power cable
- Adjust lifting cables
- Switch it on and try it out... :scaredtoss:


I truly cannot thank Phil and Donald for their time, muscle, patience, skill and abuse over the weekend so this could happen. And also to Lisa for everything :hail: :hug: to all.

I just hope Phil's penis is still in one piece as a result!
Last edited by wurlycorner on Tue Feb 17, 2015 8:36 am, edited 2 times in total.

User avatar
mercutio
LotM Winner
Posts: 14958
Joined: Sun Aug 08, 2010 8:45 pm
My Generation: 5G
Location: Sunny Manchester
Has thanked: 1 time
Been thanked: 4 times
Contact:

Post by mercutio » Mon Feb 16, 2015 5:20 pm

great work guys 8-)
bristol_bb4 wrote:ahhh a 5th gen, i love 5th gens :D :lol:
Dino wrote:I loves the 5th gen really.... just dont quote me on it... ;)
4thgenphil wrote:Mines 4 1/4 unches mate, sorry

http://www.ludegeneration.co.uk/profile ... -t618.html

Online
User avatar
Vtecmec
LotM Winner
Posts: 5504
Joined: Fri Aug 06, 2010 5:43 pm
My Generation: 4G
XBOX GamerTag: vtecmec
Location: East Midlands
Has thanked: 154 times
Been thanked: 443 times

Post by Vtecmec » Mon Feb 16, 2015 5:45 pm

8-)

prahunt
Posts: 599
Joined: Thu Jun 19, 2014 11:53 am
My Generation: 4G
Location: Sandy, Bedfordshire
Been thanked: 1 time

Post by prahunt » Mon Feb 16, 2015 8:18 pm

This is an impressive weekends work. Well done guys
'We need some meat for the lions'

User avatar
Doggo
Court Jester
Posts: 2895
Joined: Wed Jan 09, 2013 11:26 pm
My Generation: 5G
PSN GamerTag: FfyreDog
Location: Glasgow

Post by Doggo » Mon Feb 16, 2015 9:39 pm

Nice to see such spirit.

A laudable endeavour and an impressive erection.

Great stuff :D

User avatar
Merlin
Moderator
Posts: 12397
Joined: Fri Aug 06, 2010 9:04 am
My Generation: 5G
PSN GamerTag: Merlinbadman
Location: Edinburgh
Has thanked: 71 times
Been thanked: 306 times

Post by Merlin » Tue Feb 17, 2015 9:01 am

Awesome stuff!!!!
Image
BA8......... BB4......... BB8.........The JDM Muscle Bus

User avatar
wurlycorner
Ye are glad to be dead, RIGHT?
Posts: 21511
Joined: Sat May 19, 2012 3:33 pm
My Generation: 4G
Location: Chelmsford, Essex
Has thanked: 2507 times
Been thanked: 317 times

Post by wurlycorner » Wed Feb 18, 2015 10:44 am

Actually, some thanks must also go to indigo...
His 7dayshop bluetooth speaker ably fills the barn with good quality sound* and kept us entertained all day both days, on a single charge :rock: :lol:

I was contemplating taking a hifi over there for the future, but I'm not sure I'll bother. I might just buy a second on of those speakers.

(*Also with the assistance of Planet Rock)

User avatar
bennyboy
Art Mechanic
Posts: 2826
Joined: Sat Aug 20, 2011 11:59 am
My Generation: 4G
PSN GamerTag: OCbennyboy
Location: St Albans, Herts.
Has thanked: 7 times
Been thanked: 23 times
Contact:

Post by bennyboy » Wed Feb 18, 2015 10:45 am

wurlycorner wrote: (*Also with the assistance of Planet Rock)
:10:
UKDM BB1 H22A8 NH561P 244bhp 173lbft

'Nigella'

www.benaskem.co.uk

Post Reply

Return to “General Chat”