

Oh
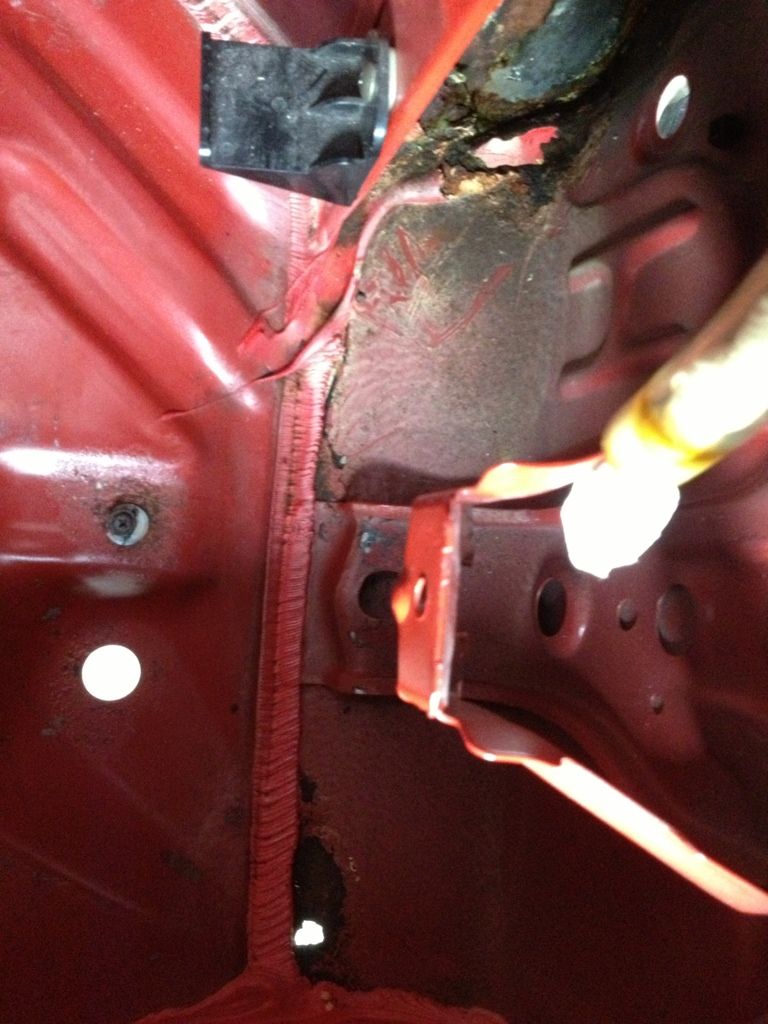
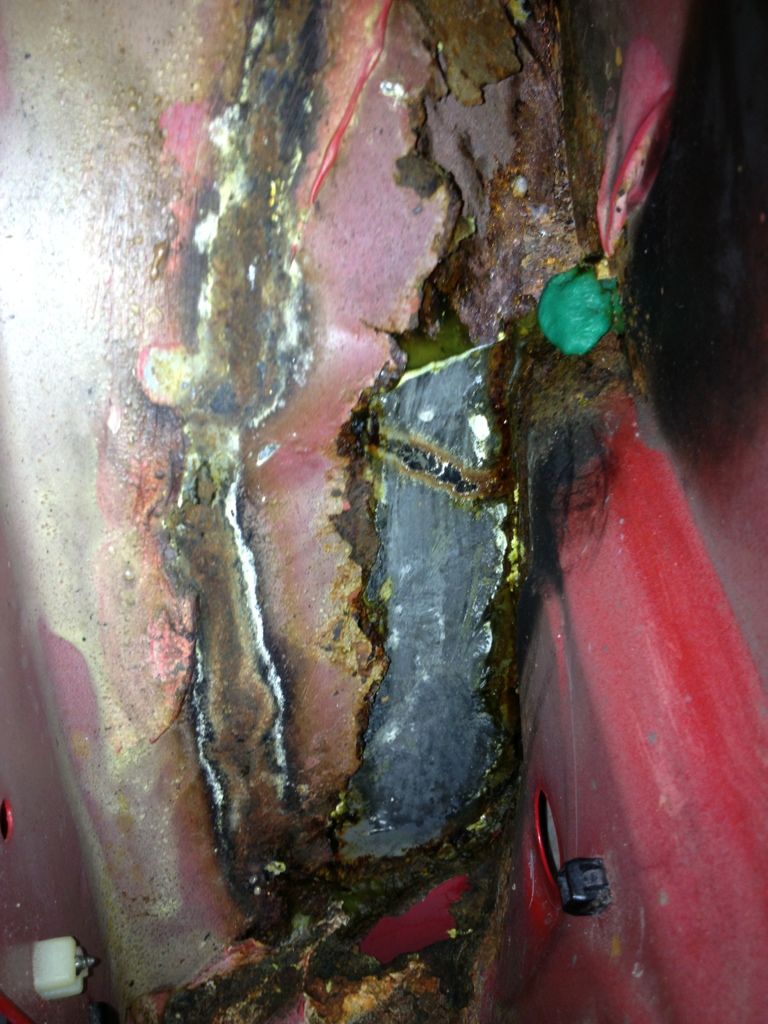
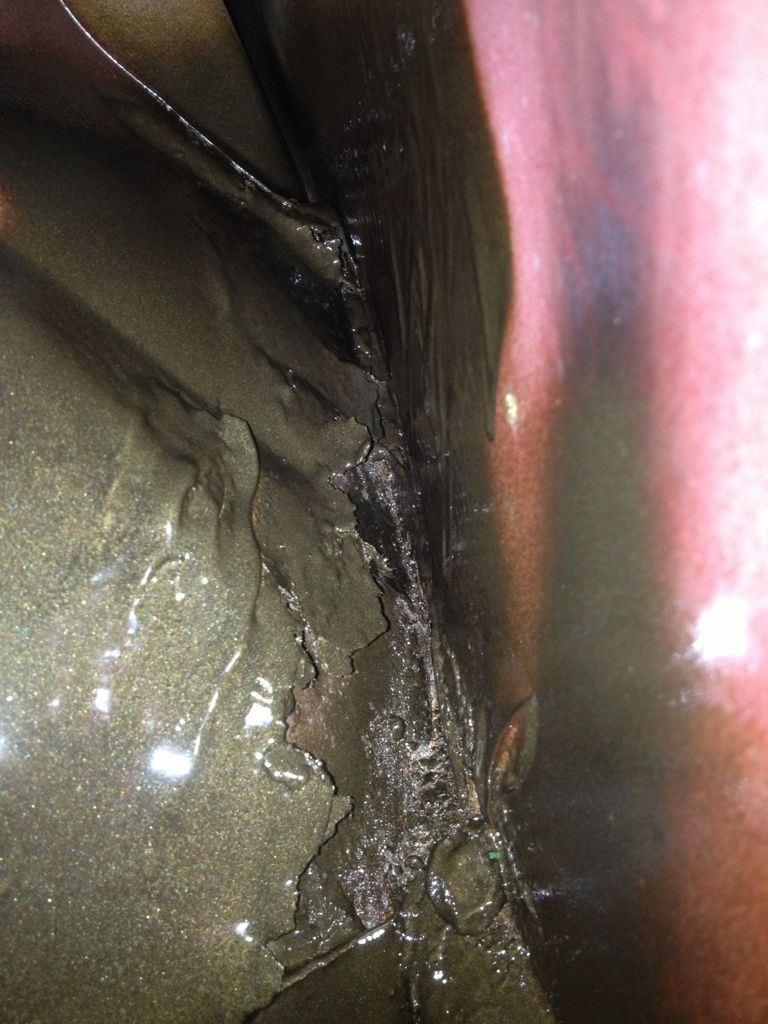
The rust starting to bubble thru both rear arches - so its may not be just welding those 2 holes.
I prefer to cut out parts of both arches bubbling thru + the rear wing (with 2holes) and weld all that in.
Congratulations to vtecmec for winning May/June's Lude Of The Month, with his DIY Turbo BB1 build.
>>> Click Here For Profile <<<

>>> Click Here For Profile <<<
Luke: 1989 4ws auto in Yorkshire
Re: Luke: 1989 4ws auto in Yorkshire
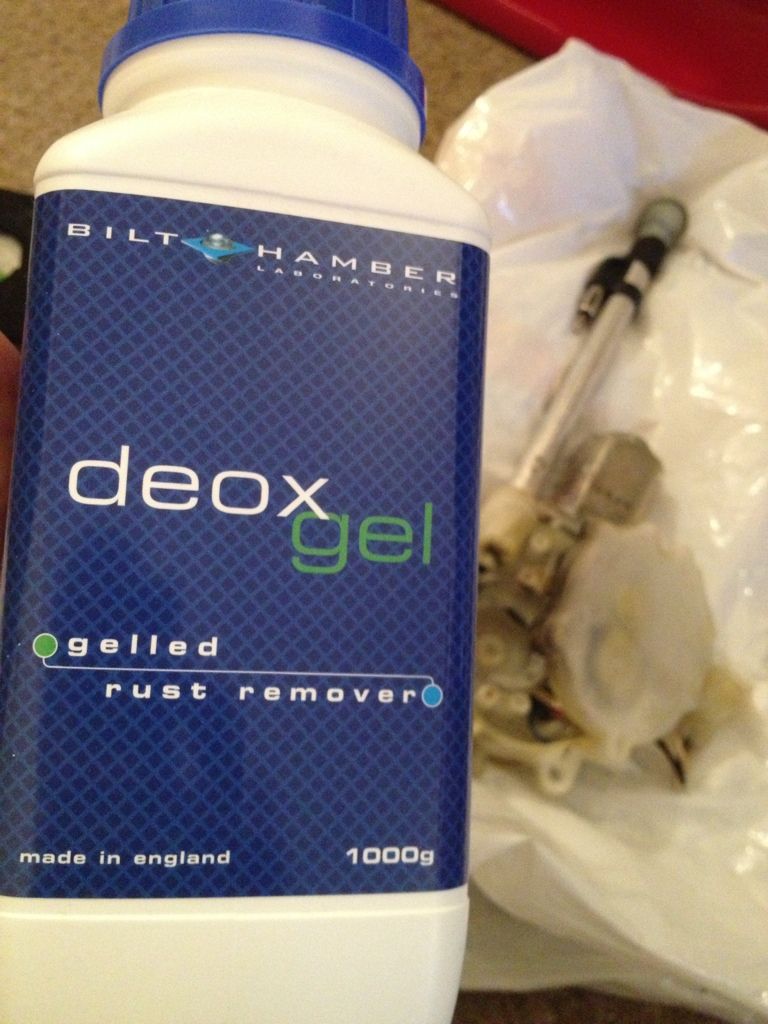
2 applications of BH Deox Gel over 2 days:
1st application of Dinitrol:

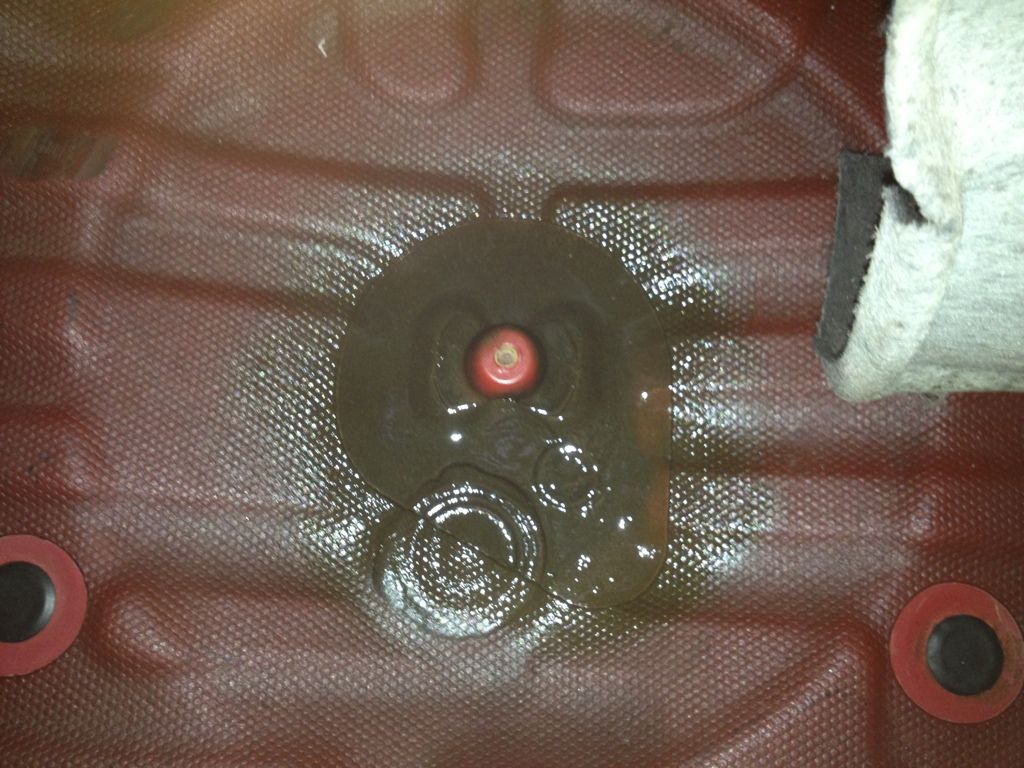
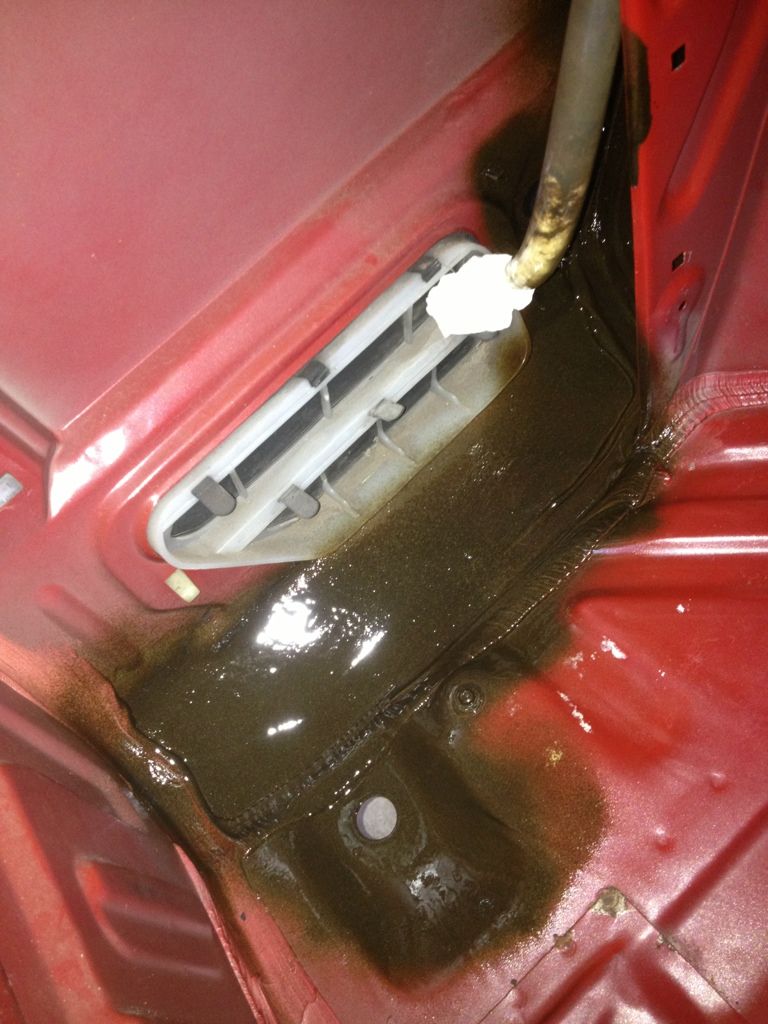
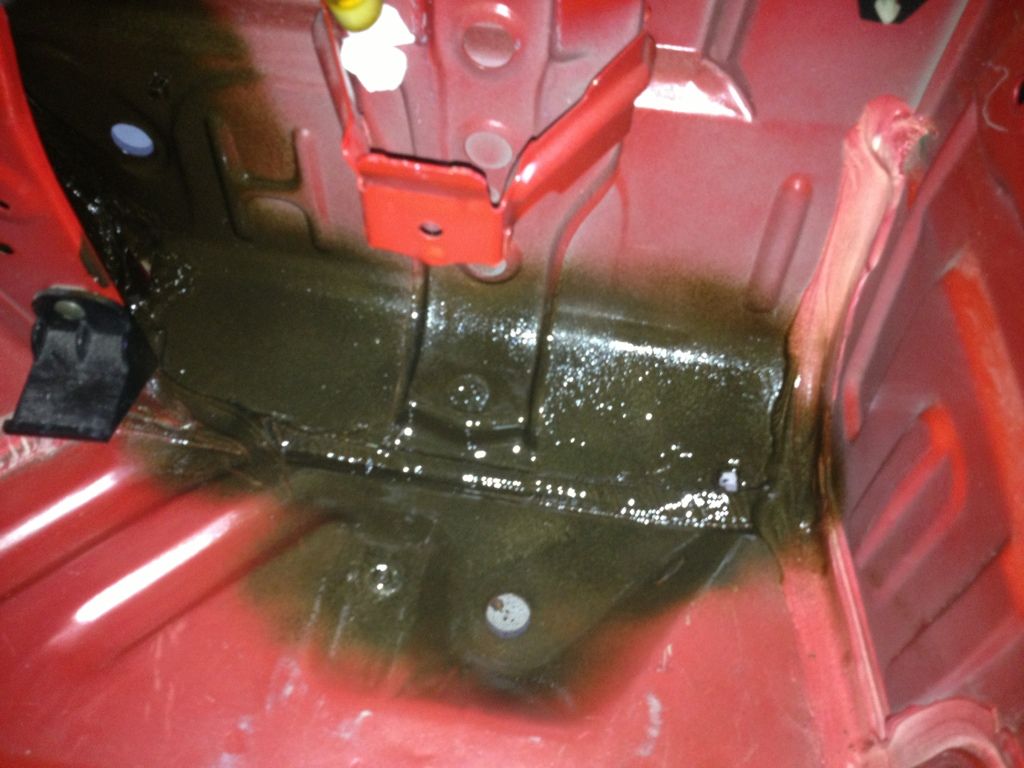
1st application of Dinitrol:
-
RattyMcClelland

- Moderator
- Posts: 9208
- Joined: Wed Aug 04, 2010 10:02 pm
- My Generation: 5G
- PSN GamerTag: RattyMcClelland
- Location: Leicestershire
- Been thanked: 203 times

Re: Luke: 1989 4ws auto in Yorkshire
Cheers Ratty
Luke s in the garage.
One more application of Dinitrol tomorrow -
and then he got 4 days to dry off - hopefully all well by then
Luke s in the garage.
One more application of Dinitrol tomorrow -
and then he got 4 days to dry off - hopefully all well by then
Re: Luke: 1989 4ws auto in Yorkshire
Well
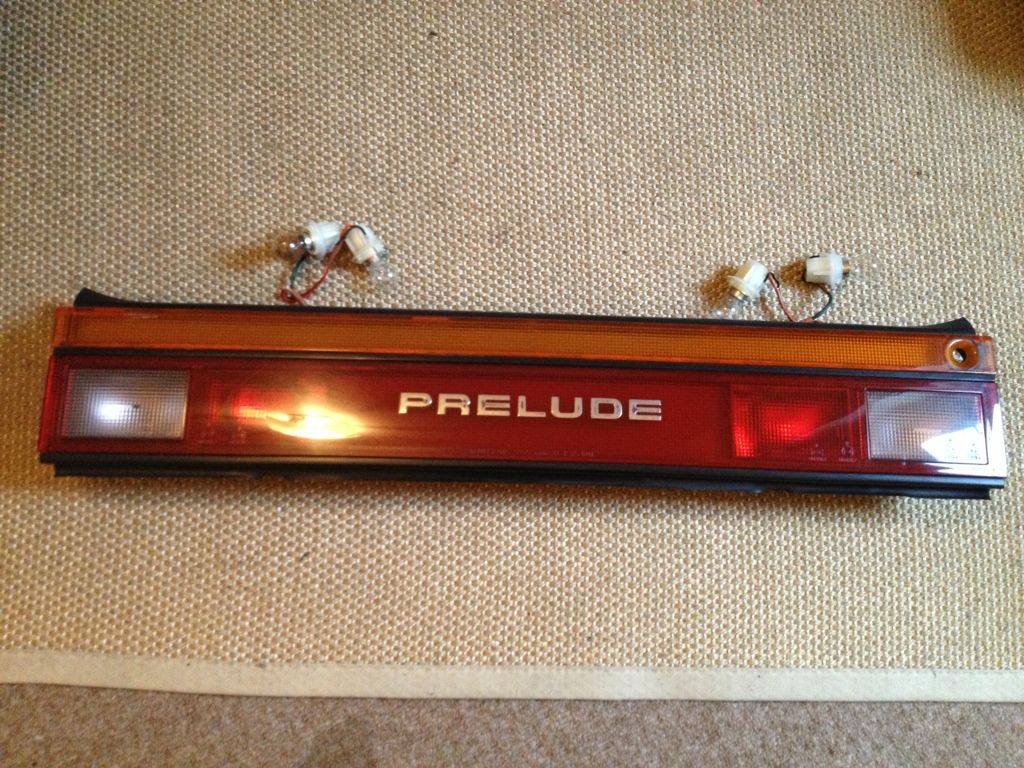
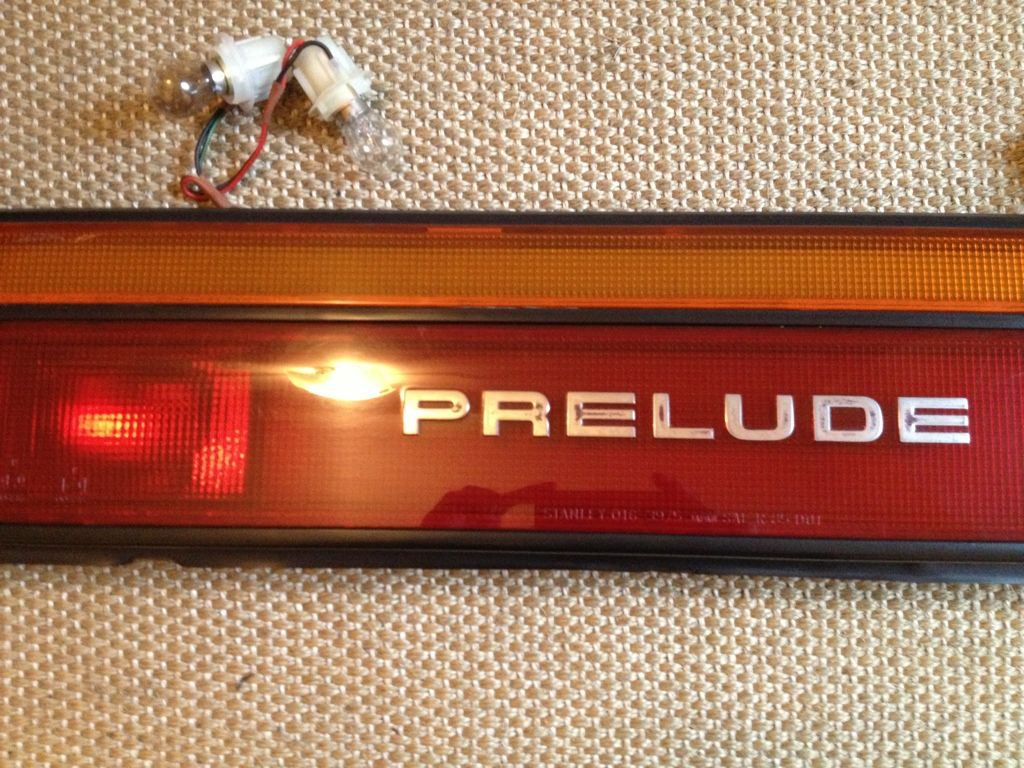
Foam to make own rear light gaskets STILL not arrived from eBay
So
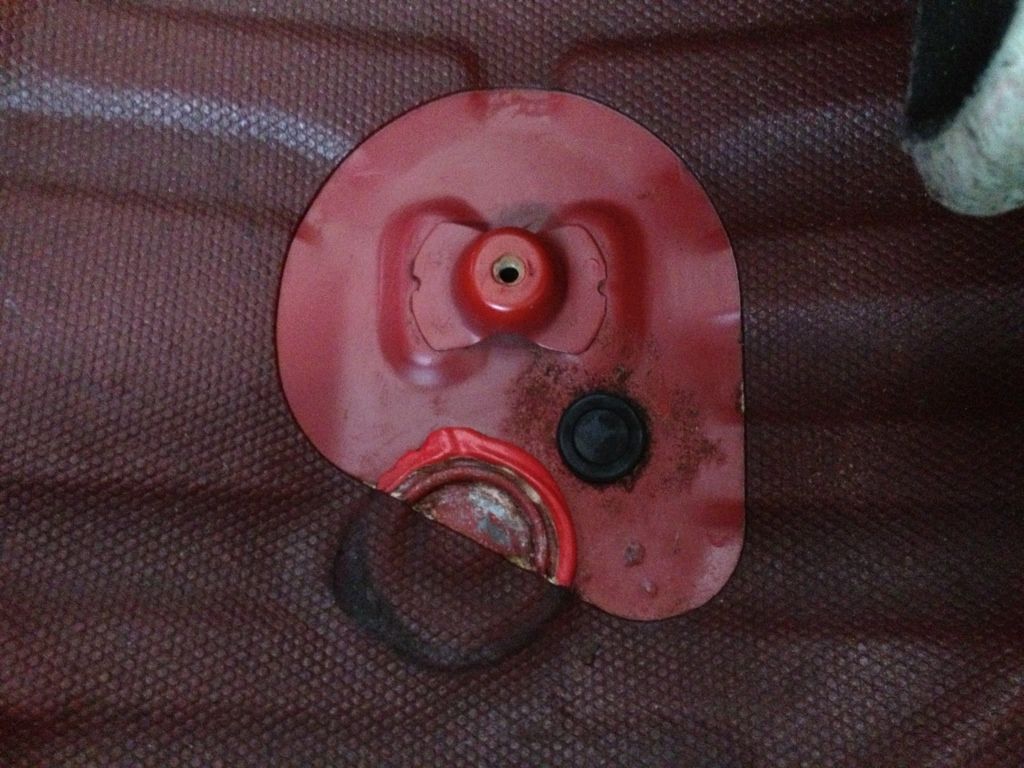
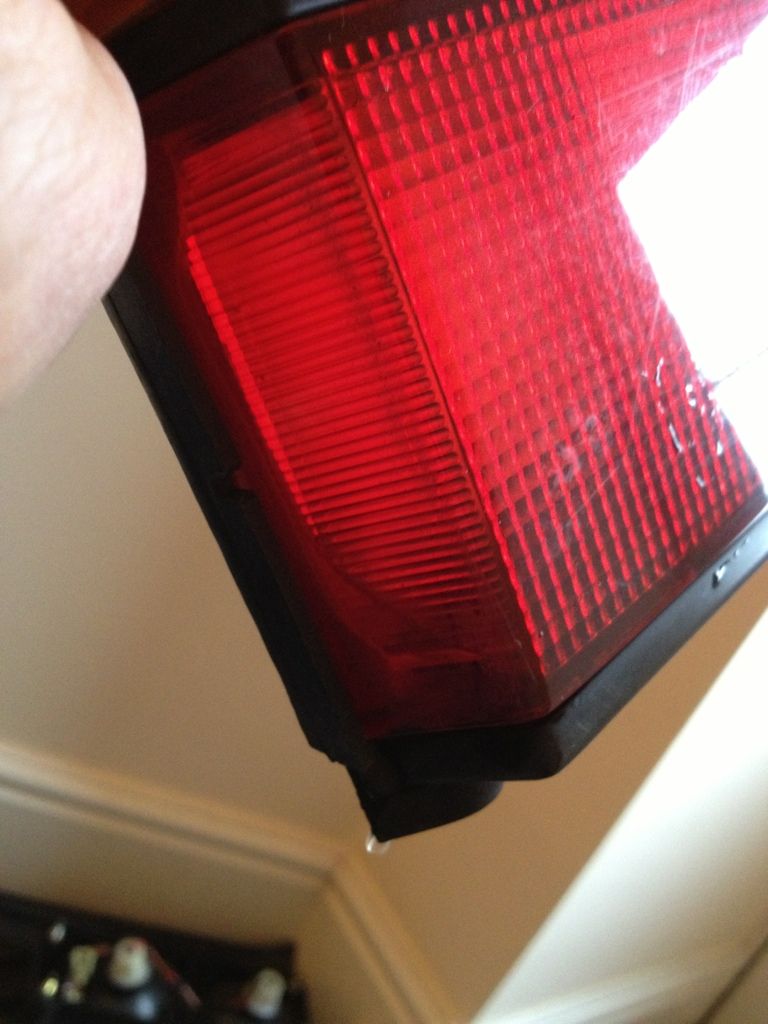
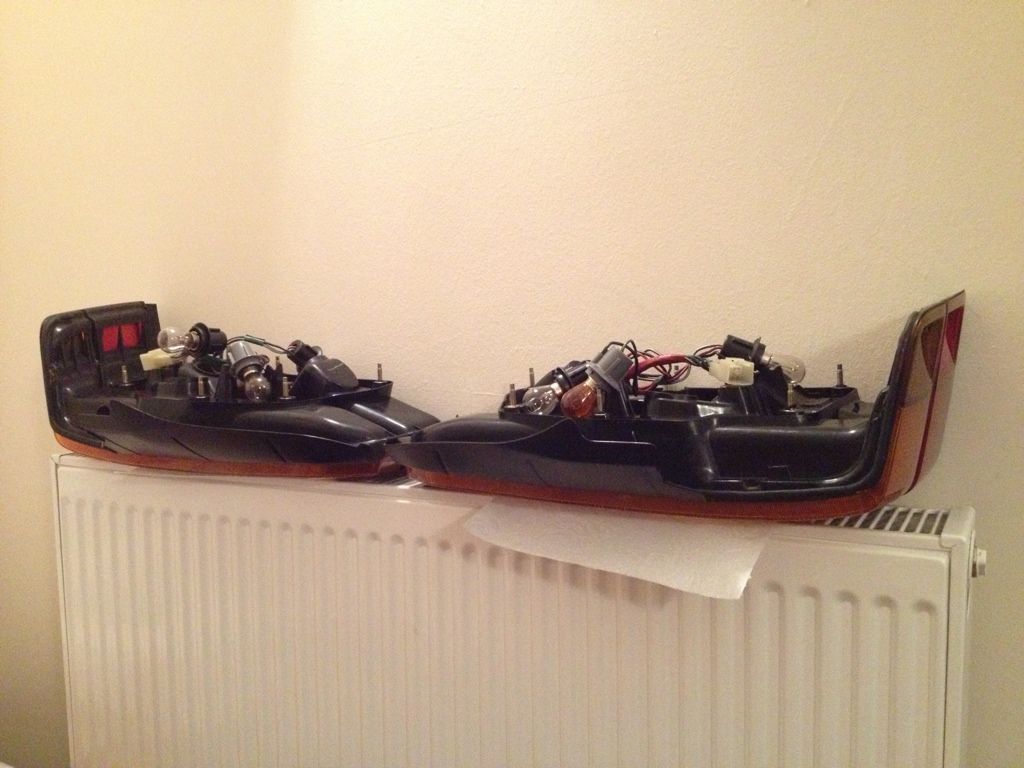
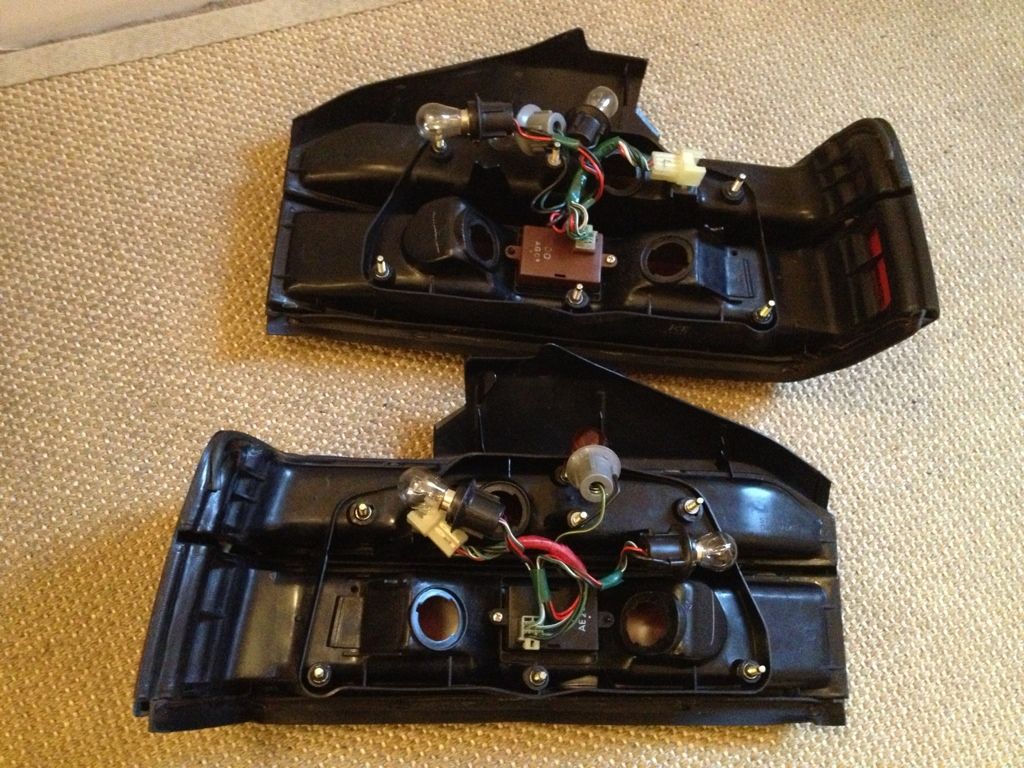
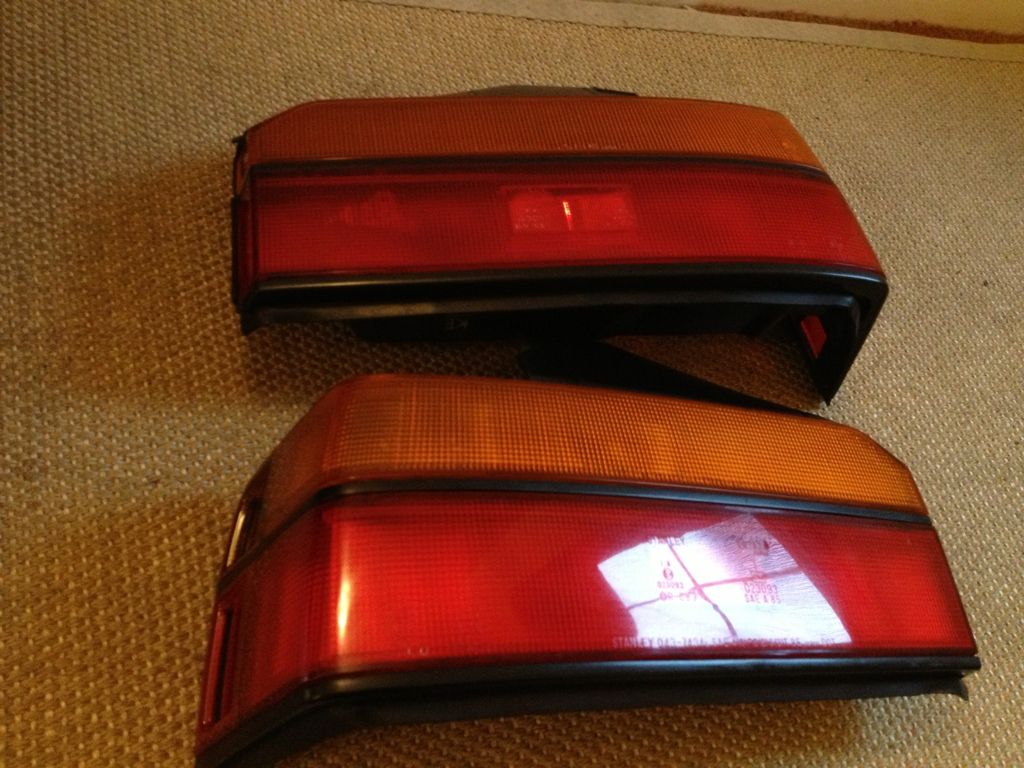
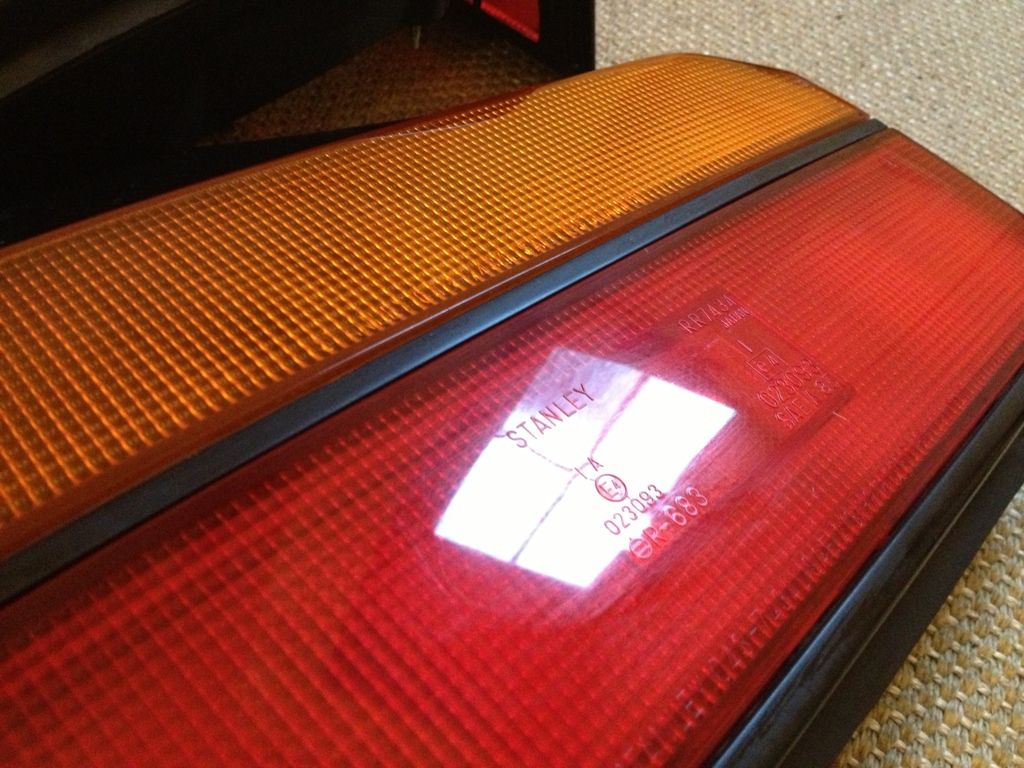
Can only clean them up for now (lights):
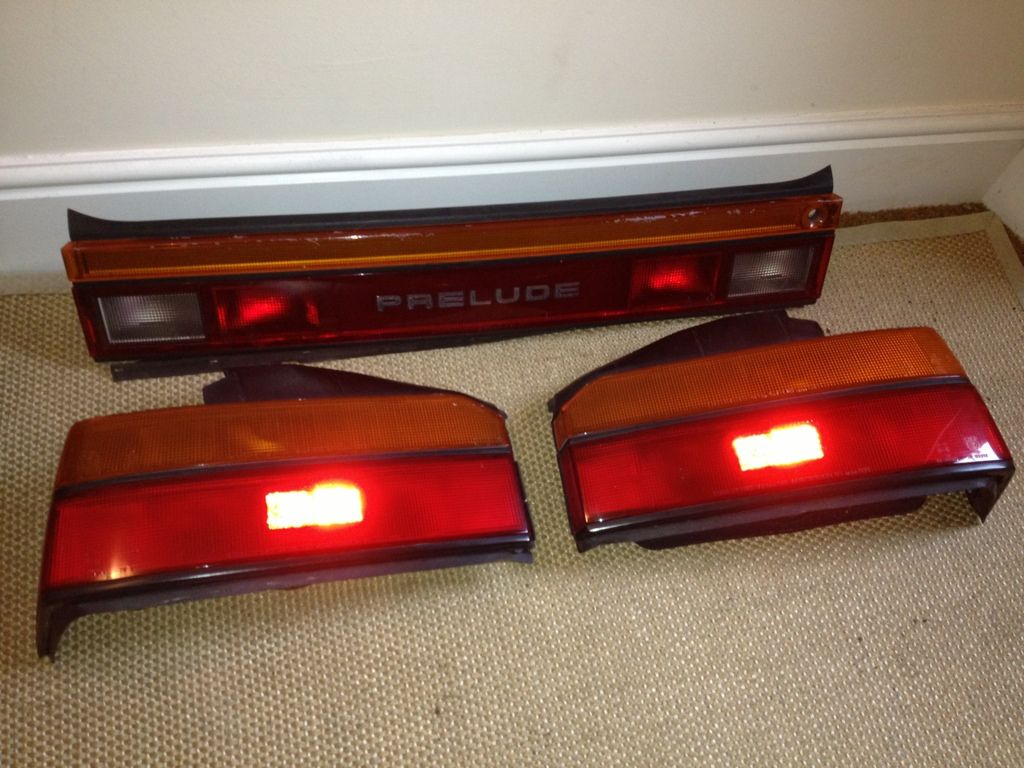
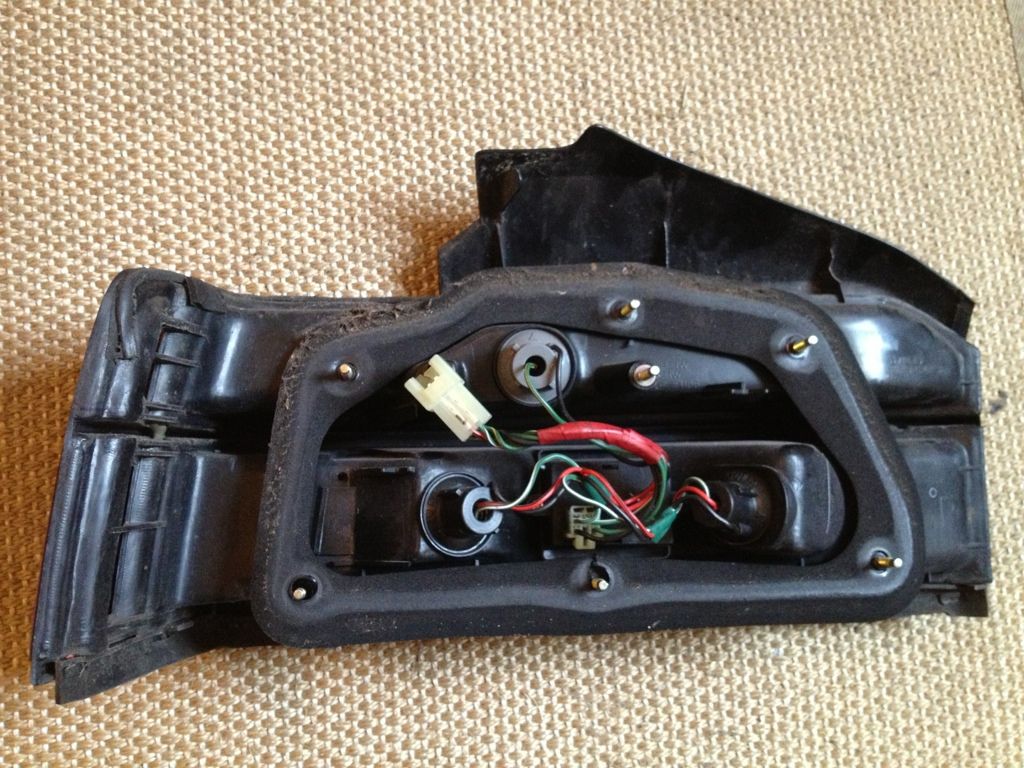
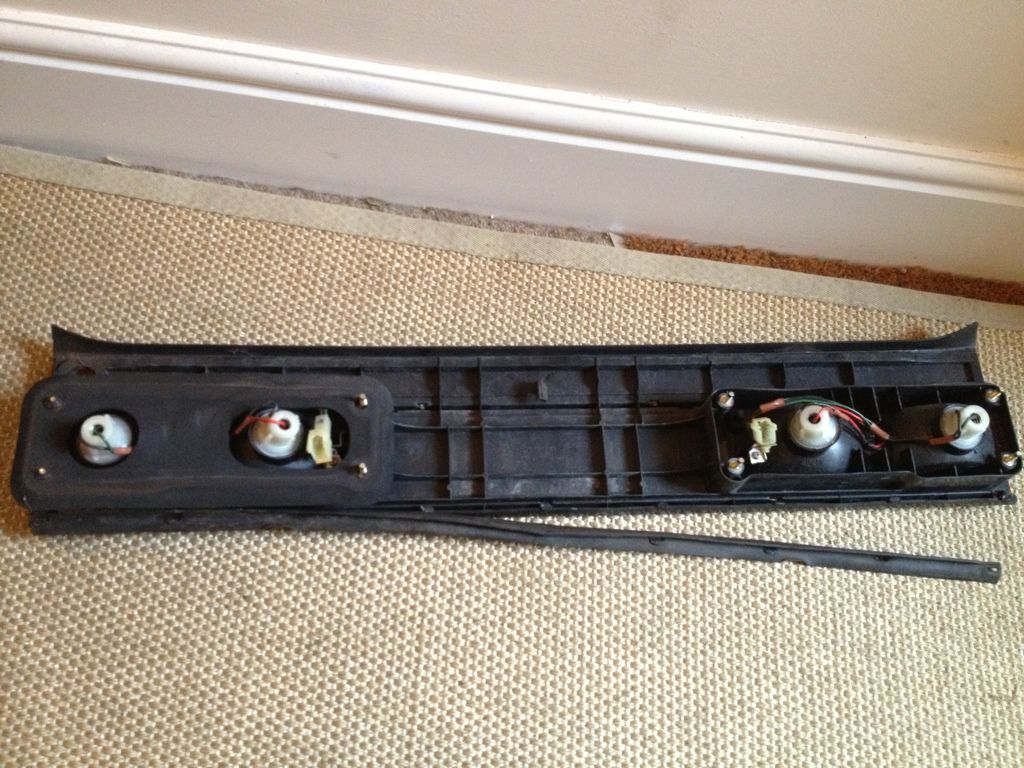
Still rainwater in lights due to leaks.
Thanks to member "Pushki" recommendation to place lights on radiator to dry ...
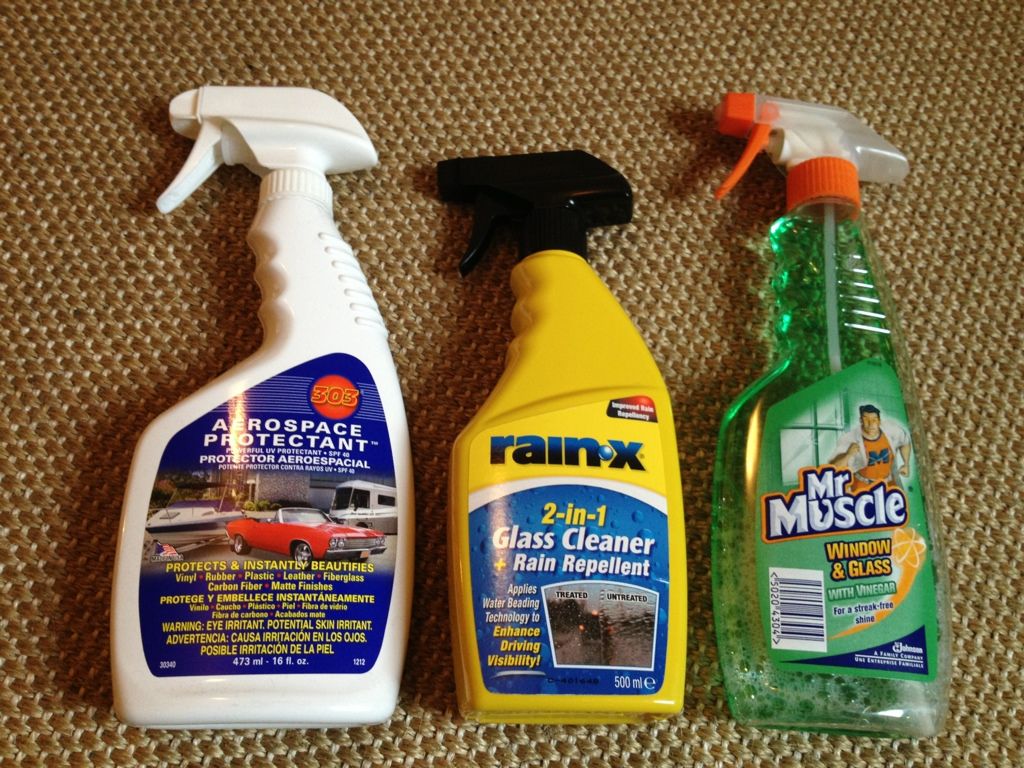
Cleaning products:
Done!
Foam to make own rear light gaskets STILL not arrived from eBay
So
Can only clean them up for now (lights):
Still rainwater in lights due to leaks.
Thanks to member "Pushki" recommendation to place lights on radiator to dry ...
Cleaning products:
Done!
Last edited by Wayne2014 on Thu Jan 01, 2015 8:50 pm, edited 1 time in total.
Re: Luke: 1989 4ws auto in Yorkshire
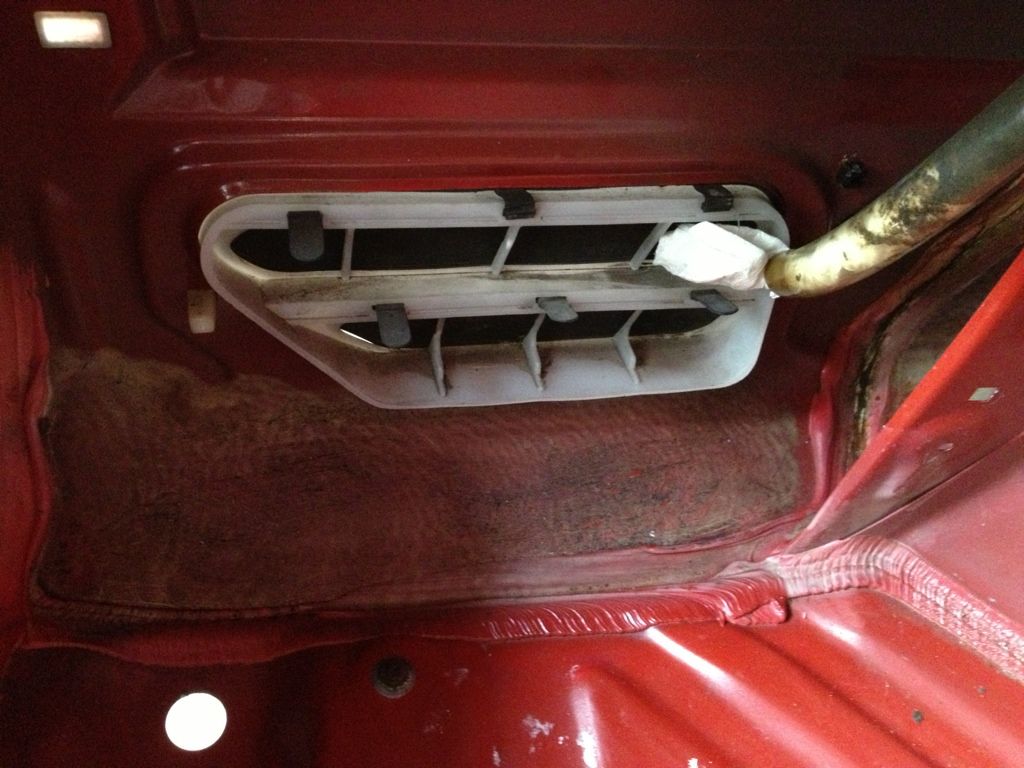
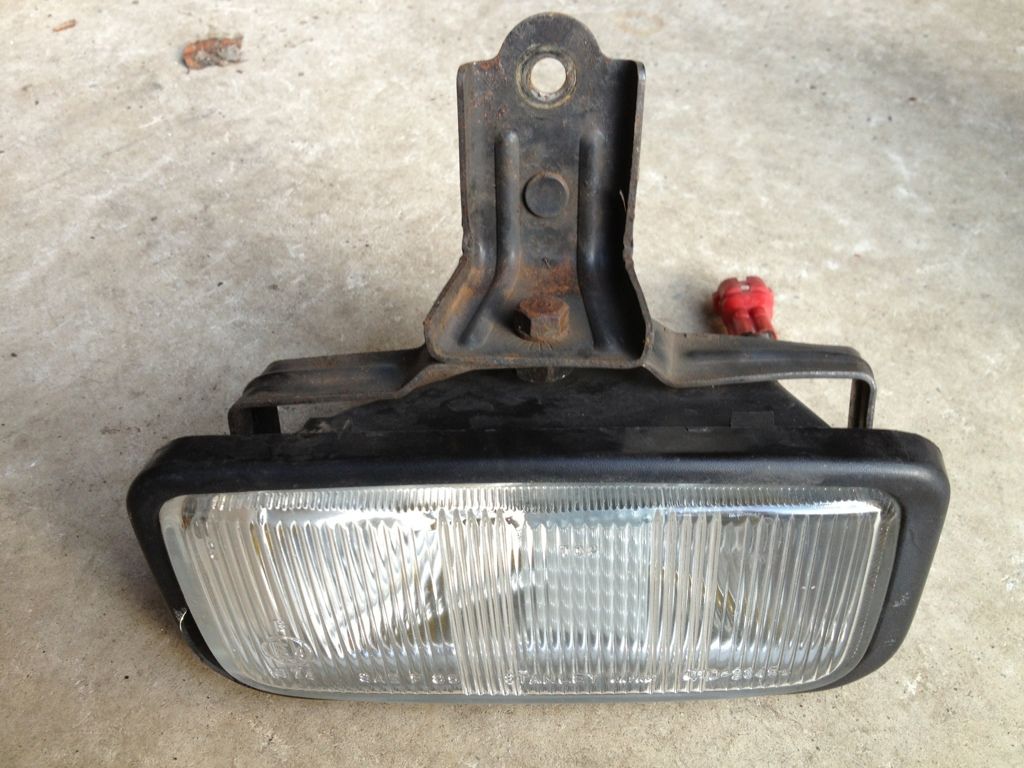
Ref front Fog lights
Still cant get the blasted screws off the back of fogs to check bulbs! Grrrr
Tried:
1. WD40
2. De-rust
3. Anti AND Clockwise turns
4. Whack with hammer
5. Not keen on heating it nor drill it out ...
Plan B
- buy multi meter to check voltage
- if voltage then "maybe" buy new fogs
- if no voltage, will leave it.
-
wurlycorner

- Ye are glad to be dead, RIGHT?
- Posts: 21511
- Joined: Sat May 19, 2012 3:33 pm
- My Generation: 4G
- Location: Chelmsford, Essex
- Has thanked: 2507 times
- Been thanked: 317 times
Re: Luke: 1989 4ws auto in Yorkshire
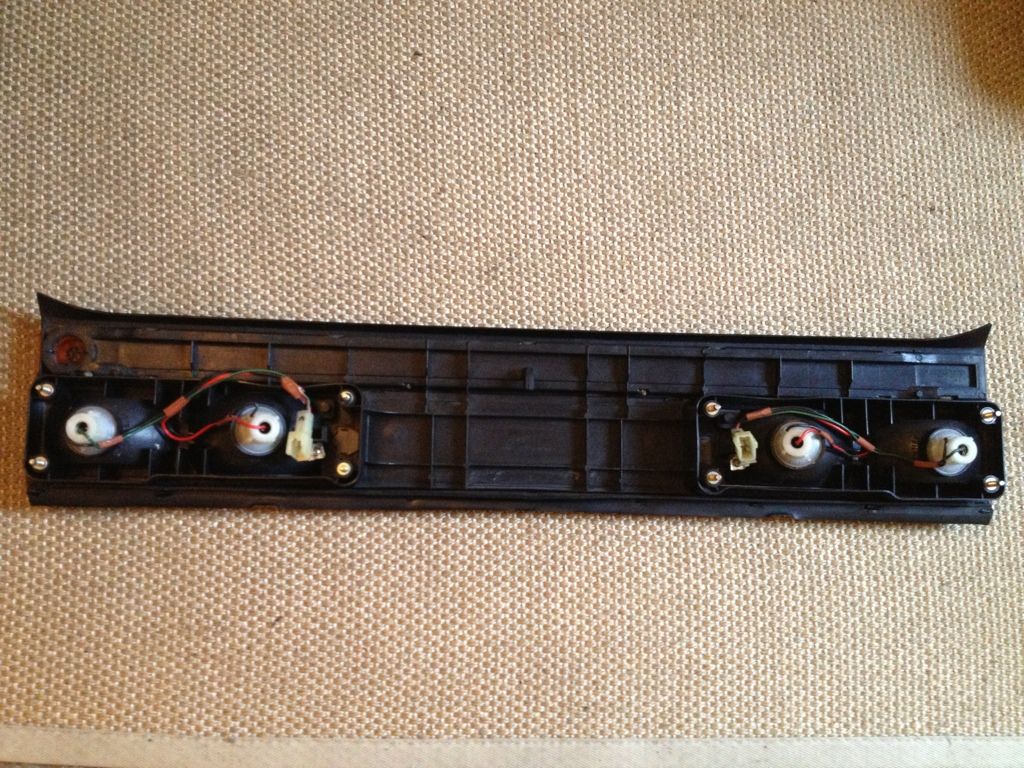
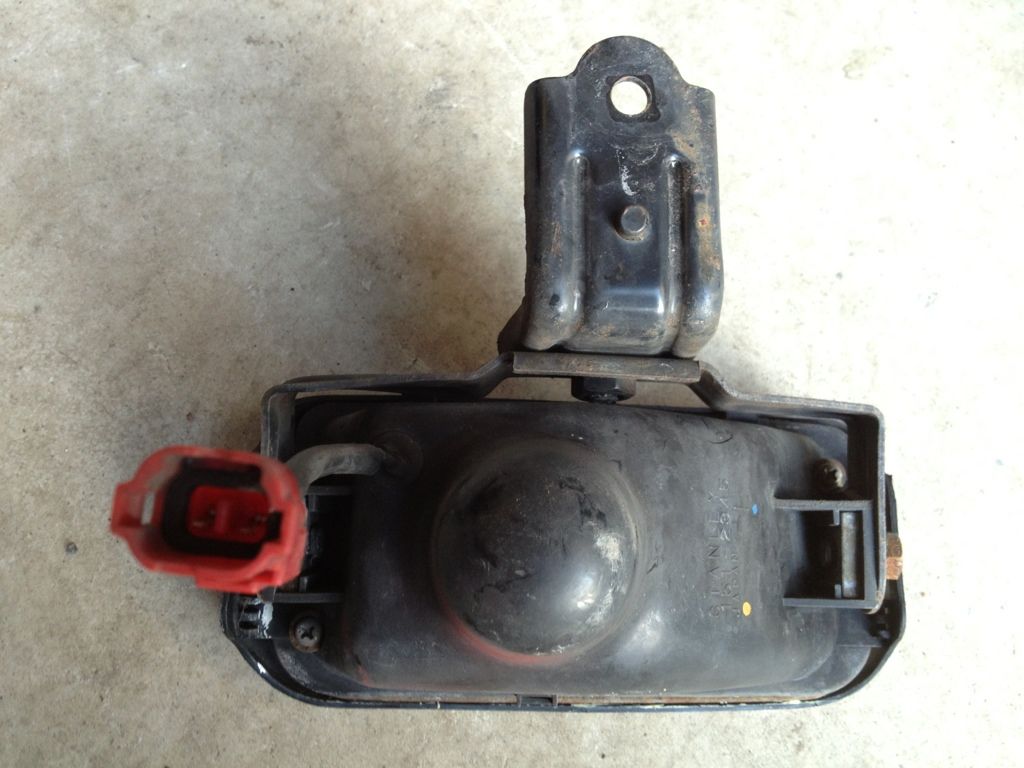
The 2 Philips on the back of the plastic cover.wurlycorner wrote:Which screw is it you need to get out? Is it the top rusty bolt that we can see in that bottom pic?
These need to be removed to access the bulb to replace
Re: Luke: 1989 4ws auto in Yorkshire
Left bottom screw
And top right screw (just hidden by fog light bracket)
And top right screw (just hidden by fog light bracket)
-
wurlycorner
- Ye are glad to be dead, RIGHT?
- Posts: 21511
- Joined: Sat May 19, 2012 3:33 pm
- My Generation: 4G
- Location: Chelmsford, Essex
- Has thanked: 2507 times
- Been thanked: 317 times
Ah ok, I was going to suggest an impact gun, but an air normal impact gun would probably just strip the heads off those and you couldn't use one of the kind that you hit the back of with a hammer (less likely to strip the head) because you'd effectively be hitting against the glass and that would just smash.
An electric impact gun should work fine though.
Otherwise brute force is the only way I'm afraid.
An electric impact gun should work fine though.
Otherwise brute force is the only way I'm afraid.
--
Iain.
Iain.
Super Secret 1G (not really super secret!)