Well, as with my last update, it’s been a while since I updated this build. Progress is non existent at the moment with the loss of our baby son CALEB. My life is starting to resemble some kind of normality now, but it is hard. The New Year is here, 2011 will be BUILD YEAR!
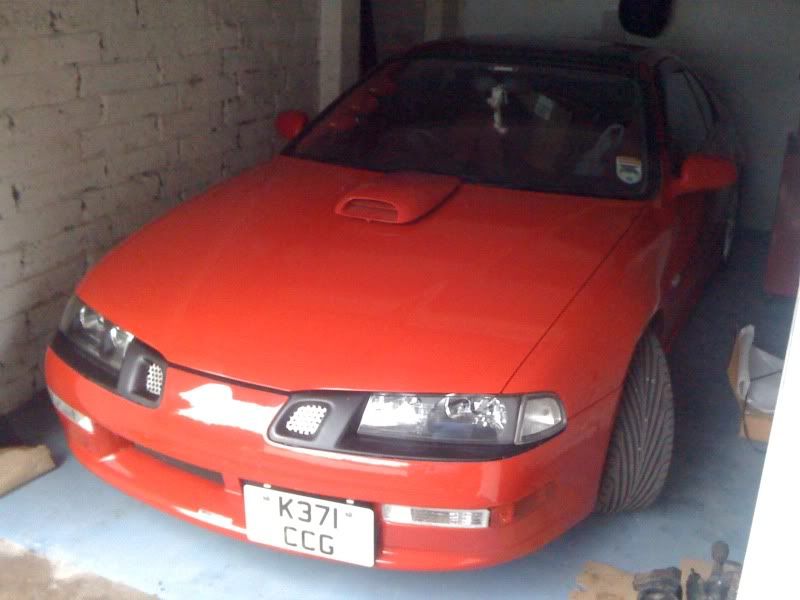
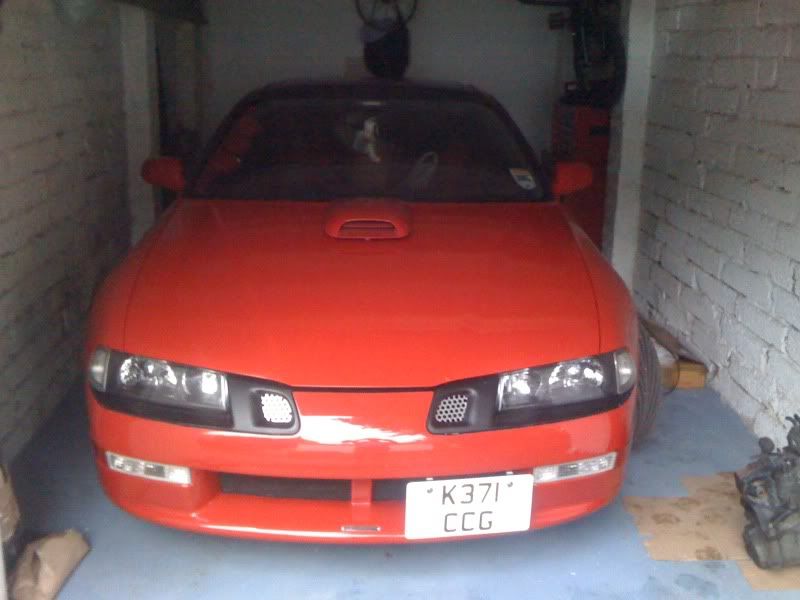
While I have not found the energy to pick up some tools and start things, I have managed to spend money, gathering more and more parts for my build (and other bits that I didn’t intend to get!). The car is officially off the road, no tax, no insurance and an expired MOT – which is saving me a bit of money to put into getting parts. I have also been rearranging my own garage workspace to get cracking on most parts at home, mainly so I can be close to the wife. Space is tight but I think I can manage. I’ll update the changes to the garage with pics. Just the work bench to build and a lick of paint left.

Beyond the work I can do in my garage, it’s then being trailered over to my friends garage to change the gearbox/clutch/flywheel + some other bits and pieces – mainly because he has a ramp and other items to make the work easier and quicker.
Well…some more essays await below, if anyone dares to read on…
PART 4) – Build parts (Continued)
Transmission & Cooling
Transmission
Clutch
Well, not too many items to discuss specifically on my build, but as with the rest, it is still an important piece to bring it all together and harness the extra power I’ll need to transfer it to the road.
The standard clutch system WILL NOT hold the power goals I am looking at. From reading many JRSC projects in the states, in most cases the clutch ends up slipping and will eventually fail. I need something that can handle the increased power and torque I am aiming for, meaning of course that a new and uprated clutch is needed. And in the good words of Rich at Performance Autoworks, ‘If you can, always go one step further on your clutch in order to add a little contingency to your plans and the manufacturer’s figures and claims’. Basically translated to my build – the Stage 3 I was looking at, if I can afford it, go with the Stage 4!

My original plan was to buy a well trusted brand name – ACT. To read more on them, check out the link below:
ACT Clutches
Quotes were obtained from Rich + fitting prices for the Heavy duty pressure plate/6 pad sprung race disc kit. However due to unfortunate turn of events with cashflow and the build now on a budget I have reverted to a somewhat cheaper brand, but I have chosen the highest branded Stage they do so it (hopefully) holds up ok. A few people run them and rate them on here and in the states, while there is also some that have had bad experiences too with the brand – just Google and you’ll see the controversy. Fingers crossed for me! I think with the modest power increases of the supercharger route, it should hold up well for a while.
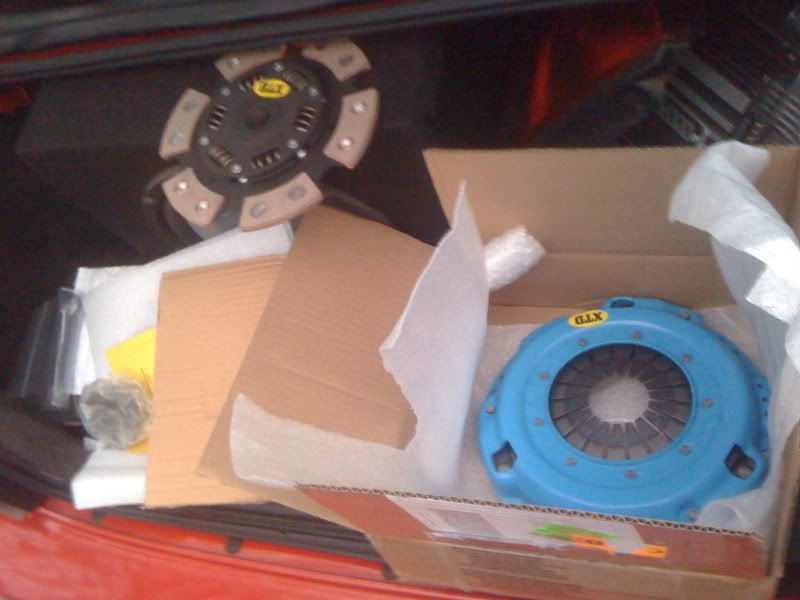
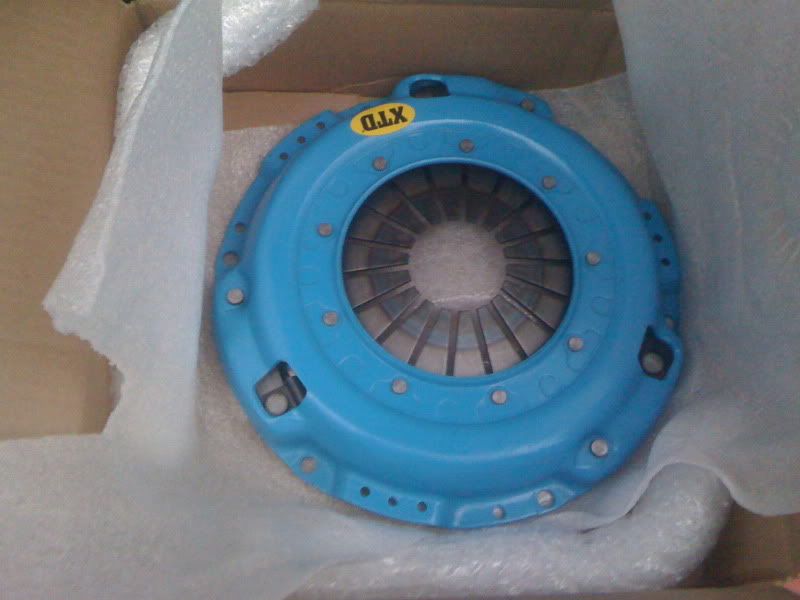
I have chosen an XTD Stage 4 clutch kit – consisting of their extreme heavy duty pressure plate, 6 puck (paddle) ceramic clutch disc, Nachii throwout (release) bearing & alignment tool. Here are some pics:


They state that this clutch should handle 25% increased pressure, 385ft/lbs and hold 410HP. So with my modest power goals of the 9 psi pulley I’ll be looking for up to 300bhp and around 200+ ft/lbs torque. So even if these are inflated claims, it should be more than enough for my modest power goals. Only time will tell!
I also found a 5 page thread of people’s experiences with XTD specifically for ludes on Honda-Tech:
http://www.honda-tech.com/showthread.php?t=1305401
Lot’s of happy customers including a few running some 300bhp+ turbo setups with Stage 3/4’s. Most negative comments seem to come from the Stage 1 & 2 kits.
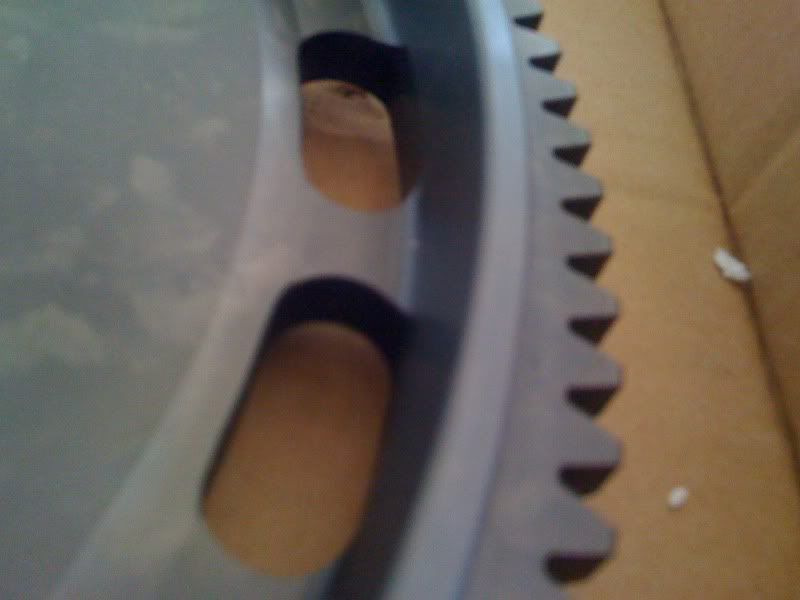
I have been warned of the thin amount of material on the disc and the studs that attach the ceramic materal to the disc protrude a little from the plate.
See here:
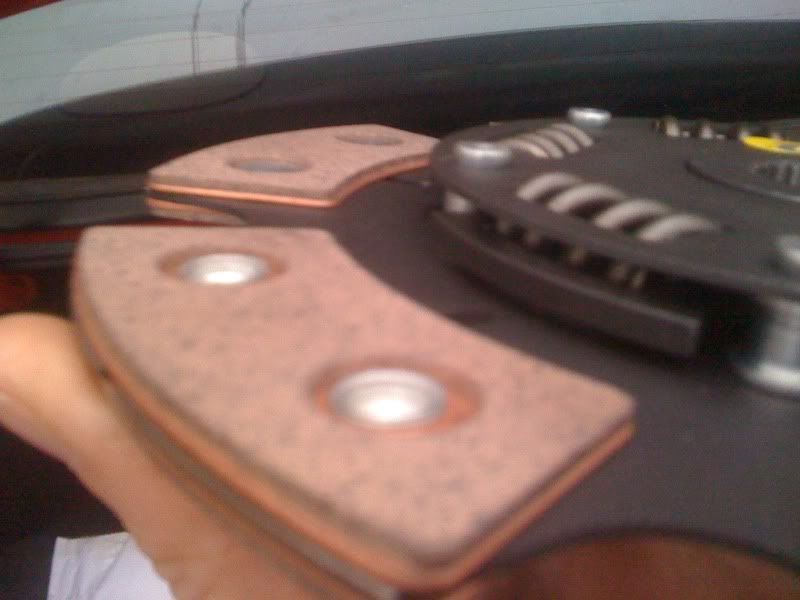
People that run them for a while have experienced low pad wear and the studs have contacted and scored the flywheel. I certainly do not want to score my shiny new flywheel (read on), so I’ll try to shave down a bit of the stud head (but only enough that it doesn’t jeopardise the pad material + I’ll also be saving up for a more reputable clutch for the near future. I hope to change it out at 5-10k miles. But that’s a lot of miles for my non daily drive lude though, so may be sooner.
Flywheel
So what does a Lightened flywheel do?
In a basic sense it eliminates a source of power storage. The heavy stock flywheel located between the engine and the gearbox acts as a storage place for the kinetic energy of the engine – as the engine builds up speed and momentum the flywheel increases it’s rotational force in the form of Kinetic energy.
In a stock car a heavier one is desirable because it is easier to shift and will engage smoother as it resists changes in engine speed. Great for cruising speed in your family saloon but bad when you need a fast engine response from a performance perspective.
The lightened flywheel does not store as much kinetic energy and thus takes less time and energy to get spinning to a certain rpm. This means that the engine will rev up faster and also rev down faster. It apparently takes a little getting used to and some practice shifting to keep things smooth, but it does eliminate a source of power loss - no energy storage device is 100% efficient. The pro ways up the con in my eyes in all honesty. You will actually be going faster but not gaining any horsepower. It’s like taking more weight off the car (in a sense). You will not gain any horsepower from stripping your interior, but you will help your acceleration. Lightened pulleys and removing items run off the crank like power steering, etc also act in a similar way for the performance gains by releasing more energy/power back to the crank.
For my build…
While the gearbox is off having the clutch fitted, it seemed rude not to change out the flywheel for a lightened item. First of all, I managed to pick up an 8lb Fidanza item on here from CA121. Many thanks buddy and good luck in your own build. Here is a piccy:
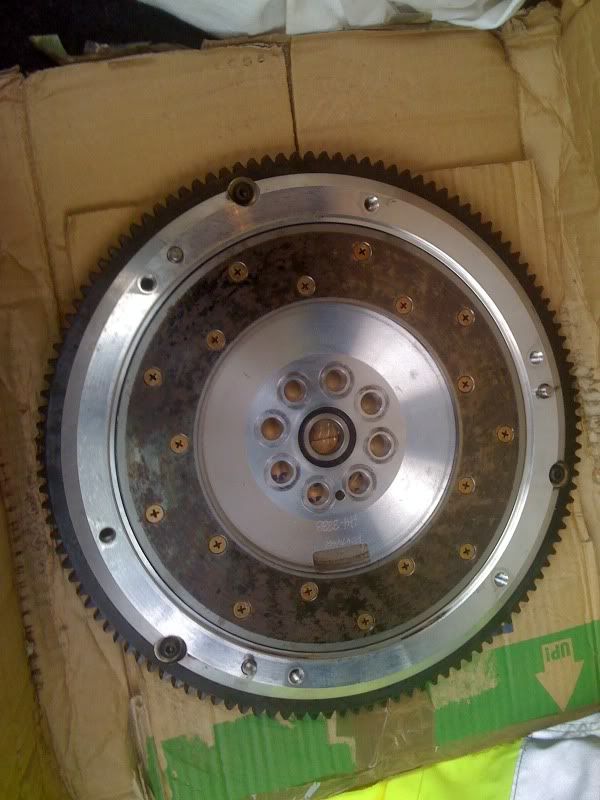
It is used as can be seen from the friction plate wear but overall in very good nick. These are a two piece designed flywheel consisting of a heavy-duty 6061 t6 aluminium main body flywheel and a friction surface made from 1045 steel. Its design is both lighter and improves heat dissipation.
However…
…
…
…
…
…
…
…
…
My ebay eager eye stumbled upon another flywheel – YES another!


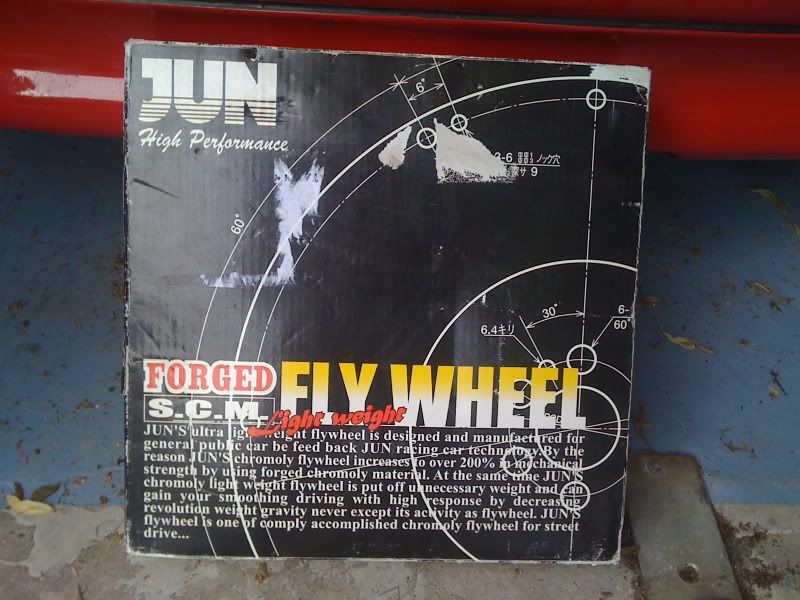
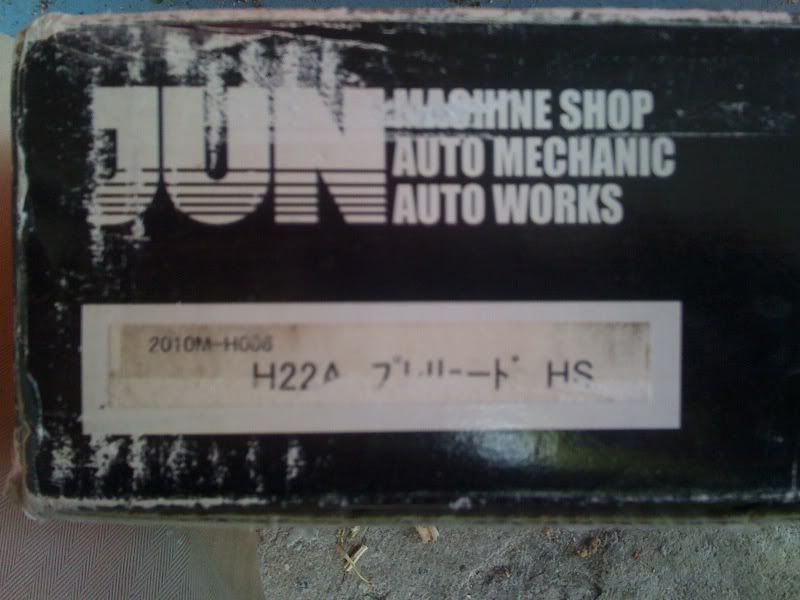
But this baby was brand new, in it’s box and made by non other than our JDM heroes – JUN! It’s there Ultra Light Flywheel.
For the bargain bid I got it for I’m not looking back and the Fidanza has since been sold on to someone on here.
The Ultra Light is a 5.2KG flywheel, which is about 11.4lbs. It is a solid one piece design which is similar(ish) in looks to ACTs and XTDs flywheels but not half as sexy! JUN’s machine shop really are artists. The OEM flywheel weighs in at 8.5KG (18.5lbs), so the JUN item is considerably lighter.
So why not use the Fidanza as it’s lighter at 8lbs?
A small reason is the reduced drop in revs when changing gear especially just for road driving / cruising speeds. But the main reason is its material and method of construction – it utilises a Chrome-molybdenum steel which is also heat-treated, which they claim makes it 200% stronger than an OEM flywheel. So not only is it lighter than stock but it’s stronger. The Fidanza on the other hand is an aluminium flywheel – it is still strong mind you, using heavy-duty 6061 t6 aluminum and is a well recommended uprated item. But I’d class the JUN as a stronger item – probably more than my build will test, but it is a part that is future proofed. I’m here for the long run and will be on the hunt for more power one day!
In addition the CNC design looks like it dissipates heat more efficiently than the Fidanza item – like the ACT/XTD ones should also.
Here’s some pics:
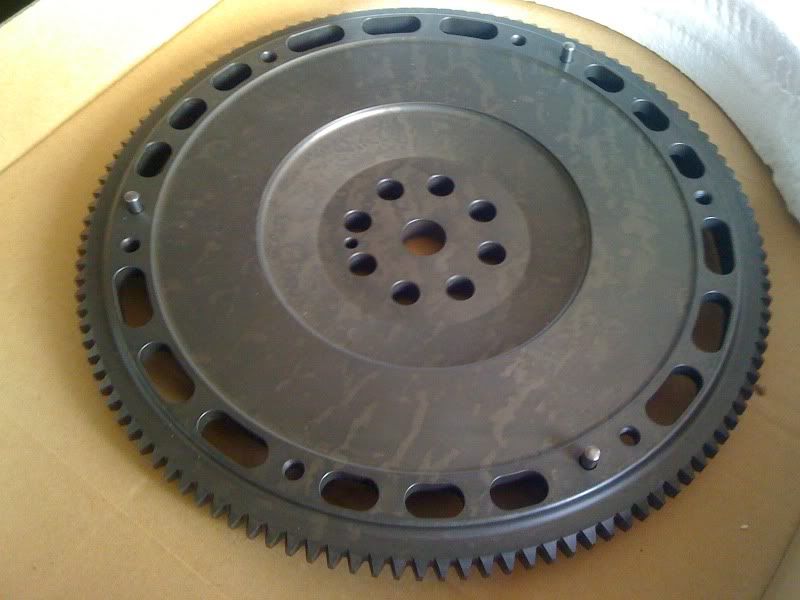
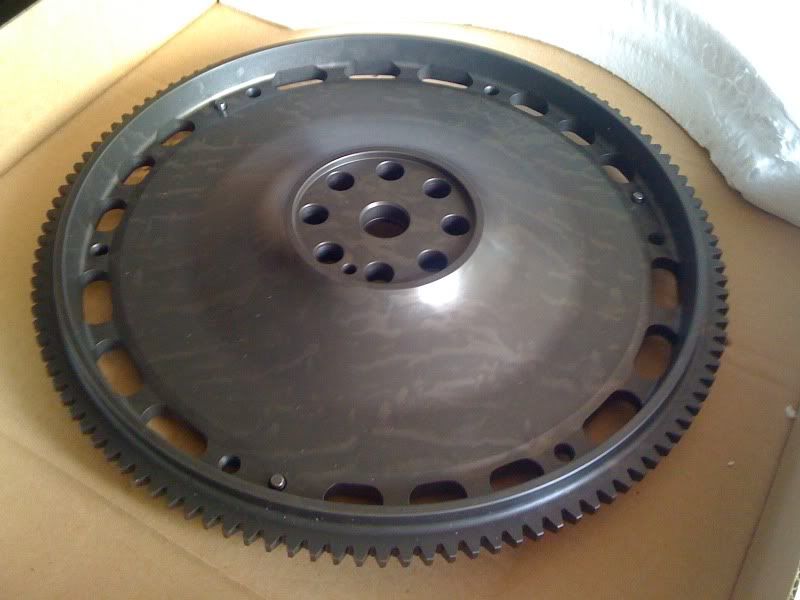
I absolutely love the marking left from the heat treatment – I should really frame it and hang it on a wall!
Here’s the link to JUN’s site, English translation is um…interesting!
http://www.junauto.co.jp/products/drive ... ex.html?en
Gearbox
Well original plan was that while the gearbox is off having the above fitted I’ll be replacing a couple of oil seals and giving it a damn good clean.
However, my current gearbox has a very annoying crunch going from 2nd to 3rd at around 6-7k. It was caused when I changed my clutch master cylinder a few years back and couldn’t get the system bled properly. I ended up driving it about 20 miles to a friend’s garage with no working clutch pedal. It was very interesting to say the least and certainly a skill to learn if you ever get stuck. However, on my journey I accidentally got caught out on a hill by some traffic and crunched the aforementioned gears! Numpty I know.
In terms of driving it, when I am on the drag strip I find for my lude it is best to shift around 7-7.5k as power tends to trail off after this, but I have to accelerate to nearly 8k to just about miss it. Not ideal though and I can only do this with one of my chipped ECU’s otherwise I’m stuck bouncing at just over 7.5k.
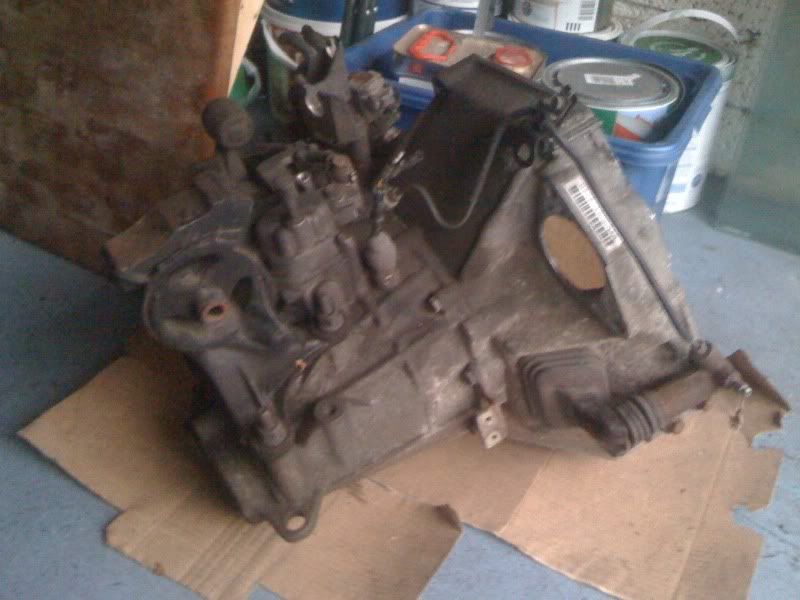
So with the above in mind, I picked up a cheap (£50) second hand box to throw in while I’m doing the clutch and flywheel. Finding a JDM box would have been beneficial for some better gearing ratio’s to improve my acceleration slightly but my luck landed me with another UKDM box. What? You want to know more about gearbox ratios and builds?...
…
Ok…read on then!
…
What I would also like to do one day…
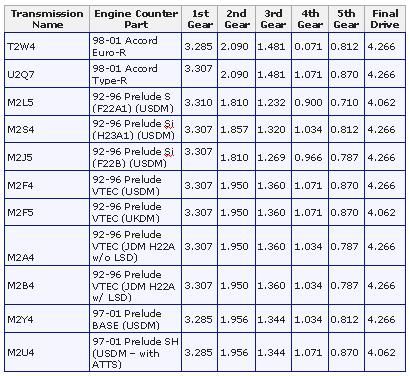
Finding a JDM box would have been beneficial for some better gearing ratio’s to improve my acceleration slightly. It’s not in the actual gears but the final drive that makes the difference. A JDM box has a 4.266FD and a UKDM box has a 4.062FD. A later model Accord Type R gearbox (U2Q7) would be my choice with a fairly decent LSD from the factory and the best combination of ratio’s and final drive of the bunch for the H22 that you can get a hold of in this country from Mr. Honda – but £££ to buy. Here is a small but not exhaustive list of gearbox ratios:
A good explanation of the difference between our UKDM boxes and the JDM’s was provided by our tranny expert (not just gearboxes!
), Mr. Marc Dino:
[quote=’Dino’]Gear spacing between gears 1-4 on both boxes are the same.
5th gear on the Uk box is closer to 4th (Less rev drop) than that of the JDM box A4/B4.
The JDM box has a higher final drive, making the OVERALL gearing closer.
The Final drive does not alter the gear spacing on the box, but alters the overall speed of the box.
Try putting the ratios in here.
http://www.teammfactory.com/gearcalculator.php
Try changing the final drive and see the comparisons before & after. Try a different gearbox. Try comparing different gearbox ratios and see how the numbers affect the gear speed and rev drops.”[/quote]
Very good little explanation and makes complete sense having a play with the above calculator. I found another one here, but it does the same thing:
http://www.fatboyraceworks.com/gears/index.php
Using the MFactory link Dino provided, I’ve mapped (& hopefully saved the results in this link:
UKDM vs. JDMstats & graph
Something which also crossed my mind from reading up on Prelude gearbox differences is that the UKDM must have a higher potential top speed than the JDM’s due to the final drive gearing differences. What they are exactly remains to be tested properly.
Beyond switching different OEM gearboxes there are also aftermarket items such as higher final drives and Limited Slip Differentials (LSDs) from the likes of Mfactory, Kaaz, etc to really get the best acceleration and performance out of your boxes. So, a gearbox build would be great if I had the cash. One day my precious! See Dino’s forthcoming build.
Spare UKDM box it is then. It’s in good condition, well-informed that it is smooth with no crunches and it came out of a 98k mile car. Only 1k less than mine!
At least being a spare I have more time to give it a good clean up, a fresh lick of paint and replace the Oil seals. The seals I may replace depending on the condition of the existing ones are as follows if people want the part nos:
Part no – Honda part description – My description – price (incl VAT)
1) 91205-PX5-003 or 005 - OIL SEAL, 35X56X8 (ARAI) - Clutch housing oil seal to n/s driveshaft - £10.40
2) 91216-PH8-003 or 005 - OIL SEAL, 28X41X7 (ARAI) - Clutch housing oil seal to clutch/crank - £9.24
3) 91206-PX5-003 or 005 - OIL SEAL, 40X58X8 (ARAI) - Trans housing oil seal to n/s driveshaft - £11.62
4) 91215-PK5-000 - OIL SEAL, 16X27X14 - Gearbox shift rod seal - £11.87
In addition will be some fresh transmission oil to change – currently looking at the very well recommended Amsoil MTF but I’ll see what Opie’s have going nearer the time. Oh and I’ll also be adding a magnetic drain plug from Tegiwa Imports. I have the engine oil magnetic drain plug so time to complete the set – a worthy item to add when doing an oil change on either.
Lastly, in terms of labour my preferred option at the start was to hand it all over to Rich at Performance Autoworks for his trusted skills to complete the job in no time and I advise most of you to do the same if you shy away from picking up a spanner. Again though, my shoestring budget now finds this not as an option and I have decided to fit it all myself, well with the help of a couple of friends, one being a mechanic!

We have a ramp, all the tools required, and some knowledgeable people around so it’s something I’d like to learn as I like to get stuck in TBH. Sorry Rich, I’d have taken her up to you in a flash if it wasn’t for the damn recession cutting my pay and hard times!
Onto the next section - another post me thinks...