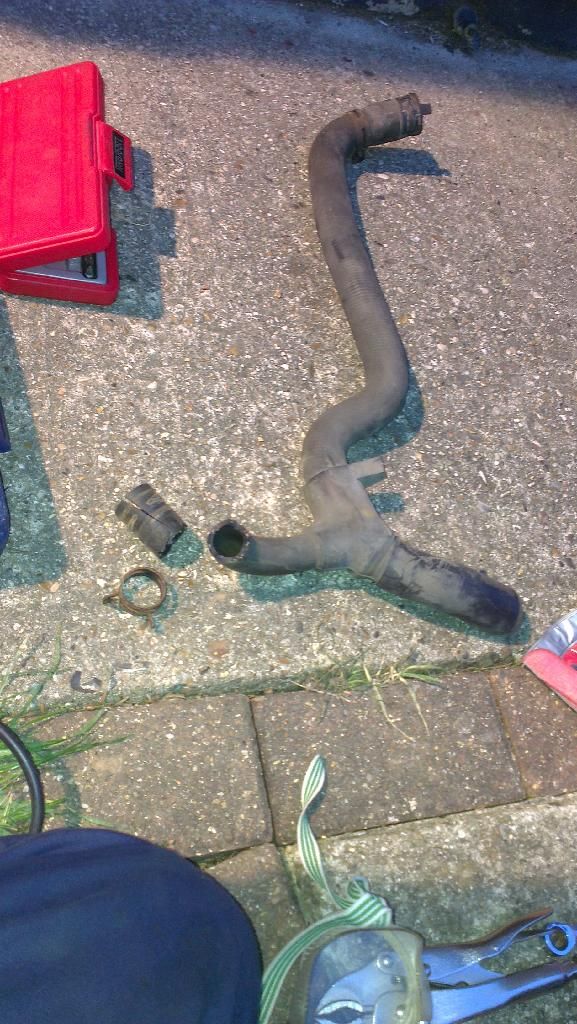
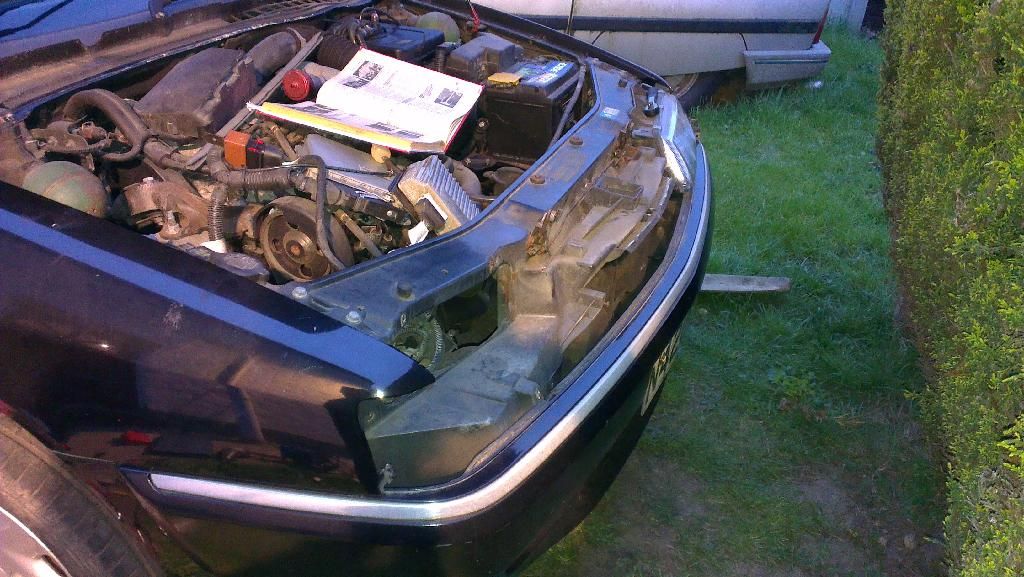
6 hours more fun and games today, 4 bolts angle ground off, side cutters used to full effect, various skin off arms and I've finally reached the point where it's in more bits than I orignally wanted, but probably (hopefully) as many as I need to complete the 'rad' change

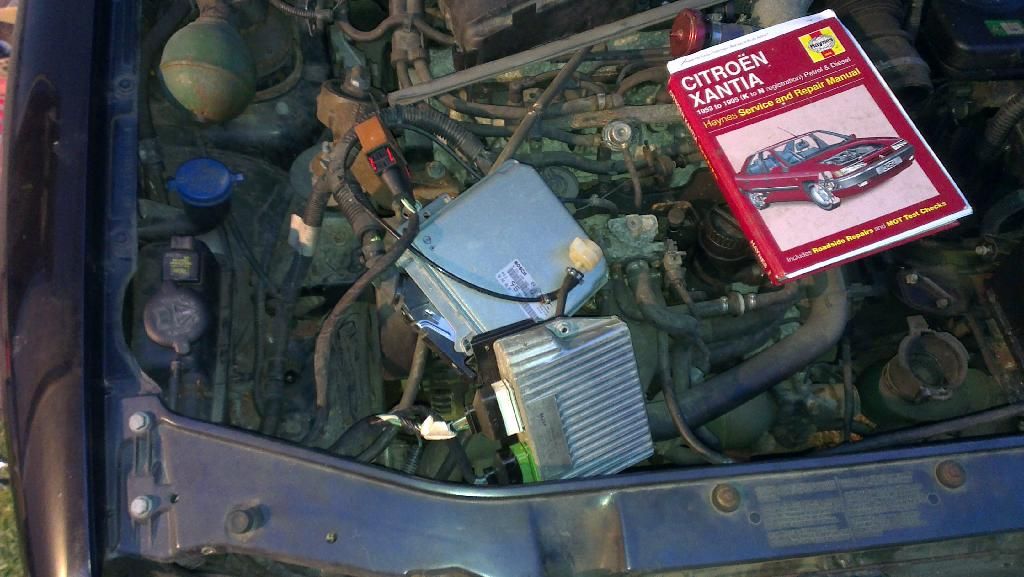
(Notice the chocolate teapot in the last of those 3 pics

)
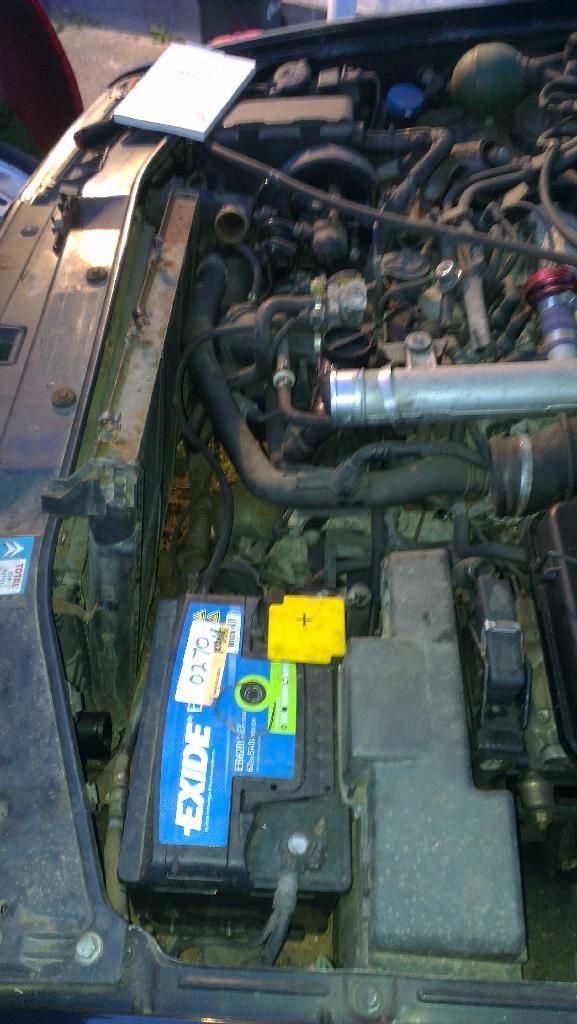
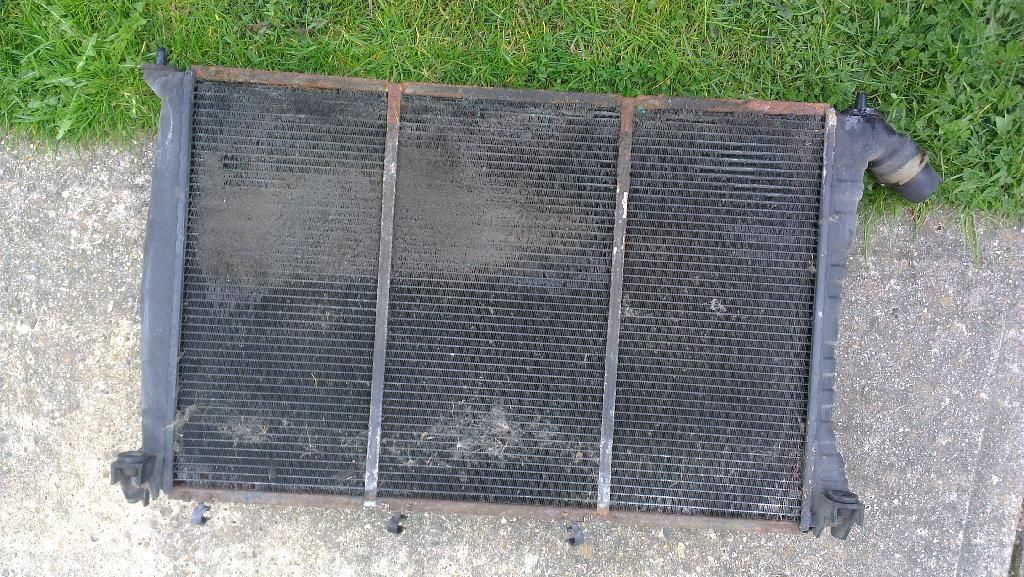
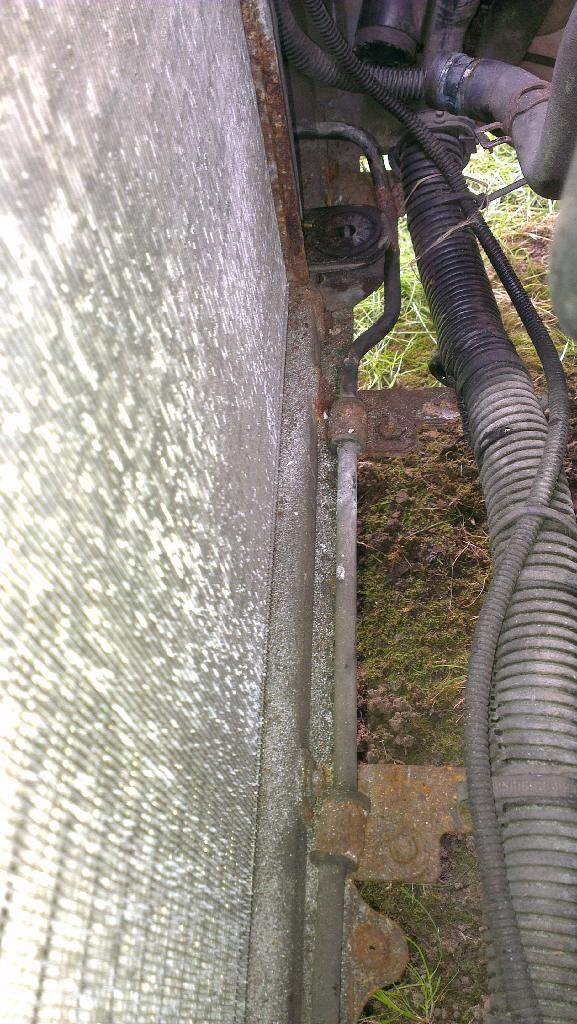
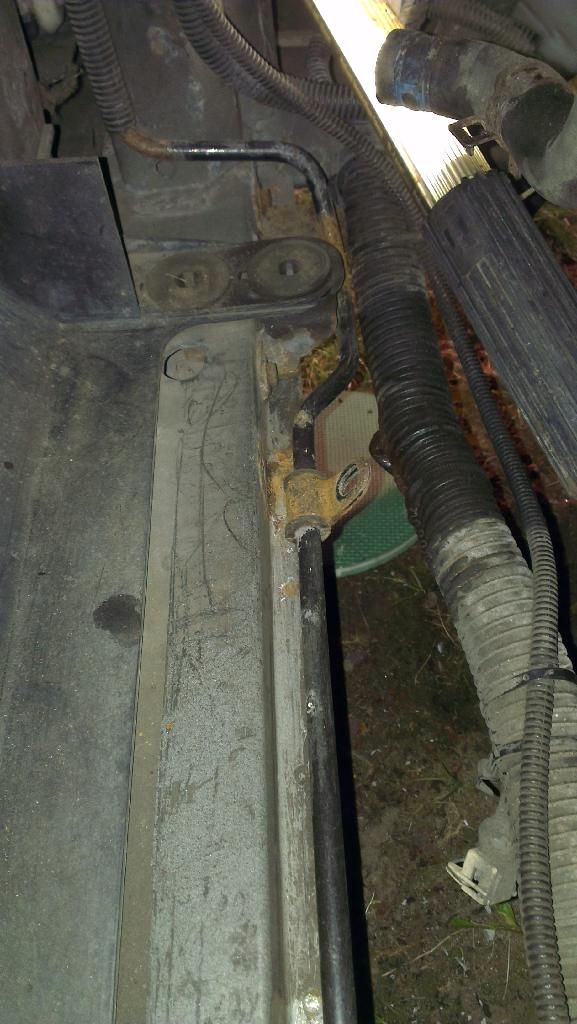
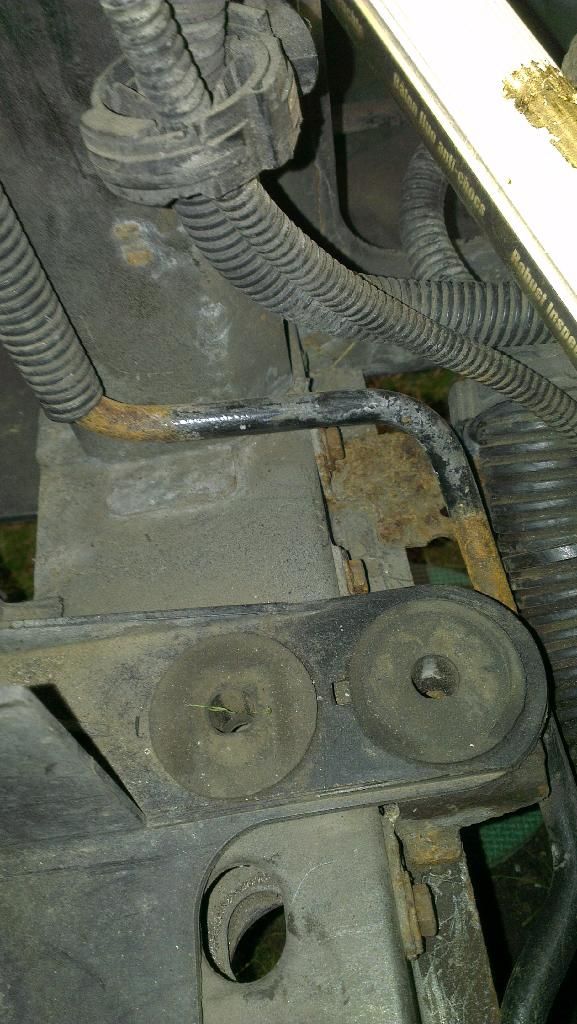
Here's the son of a bitch that started making life difficult;
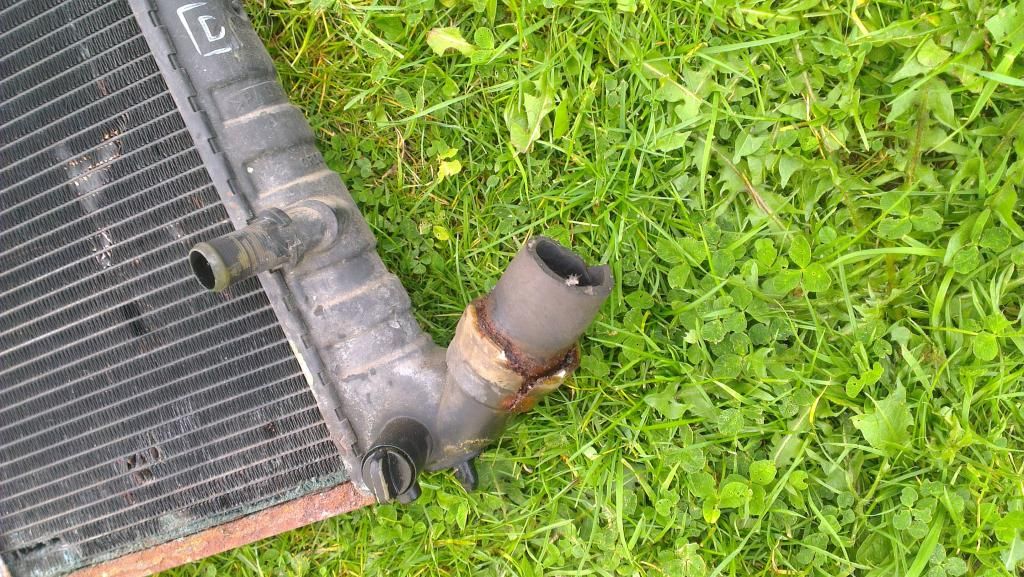
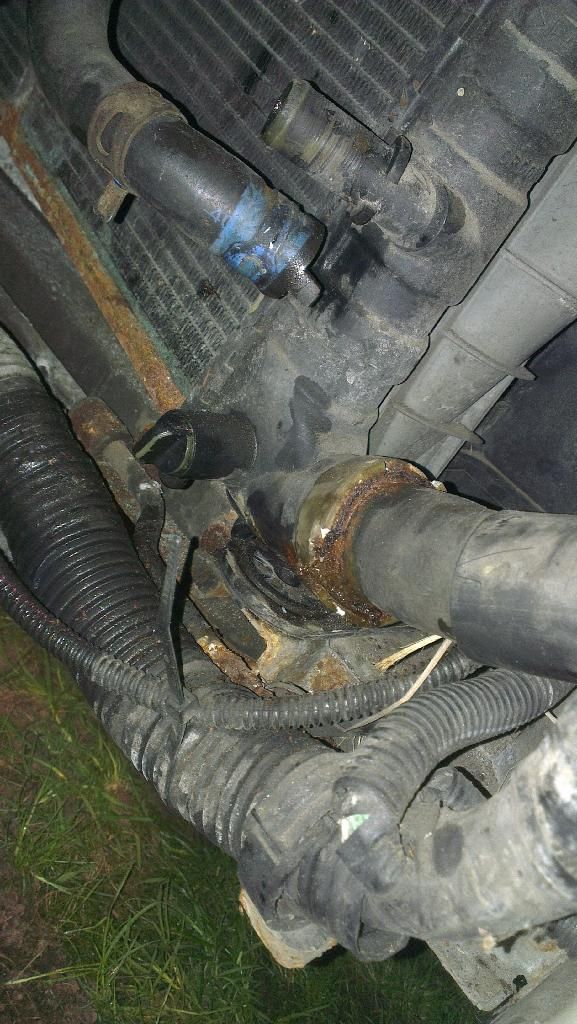
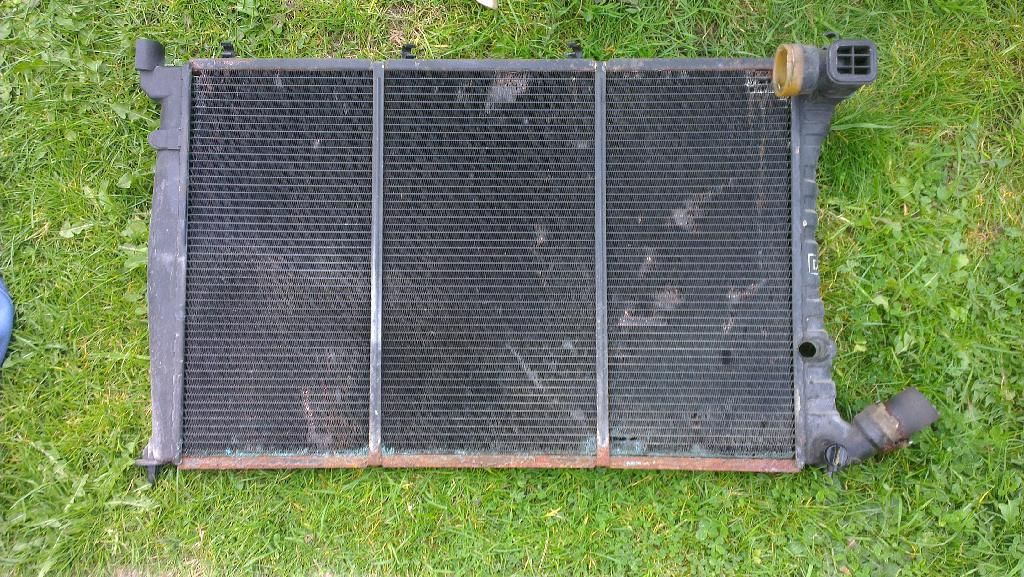
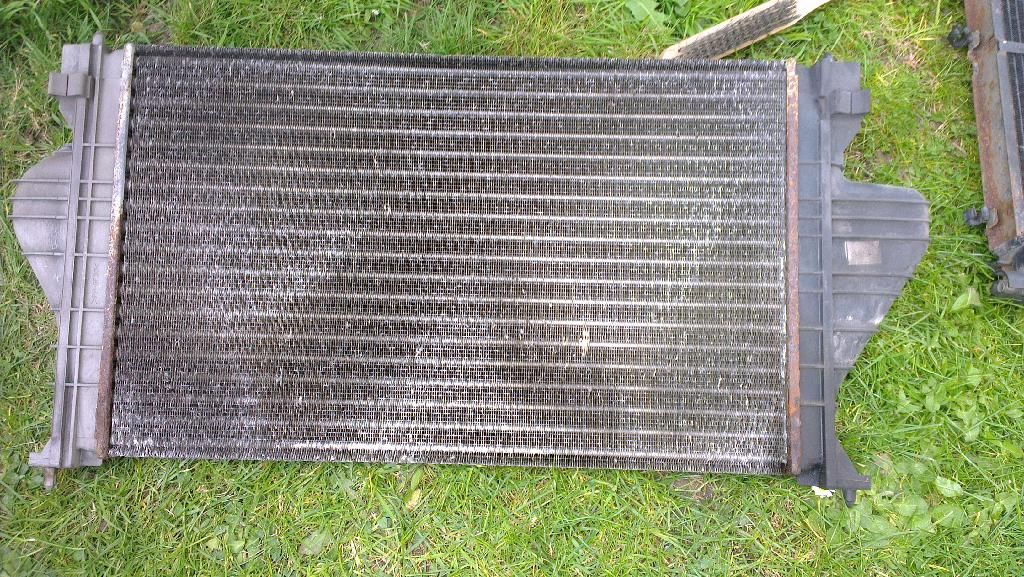
And this is what the rad looked like;
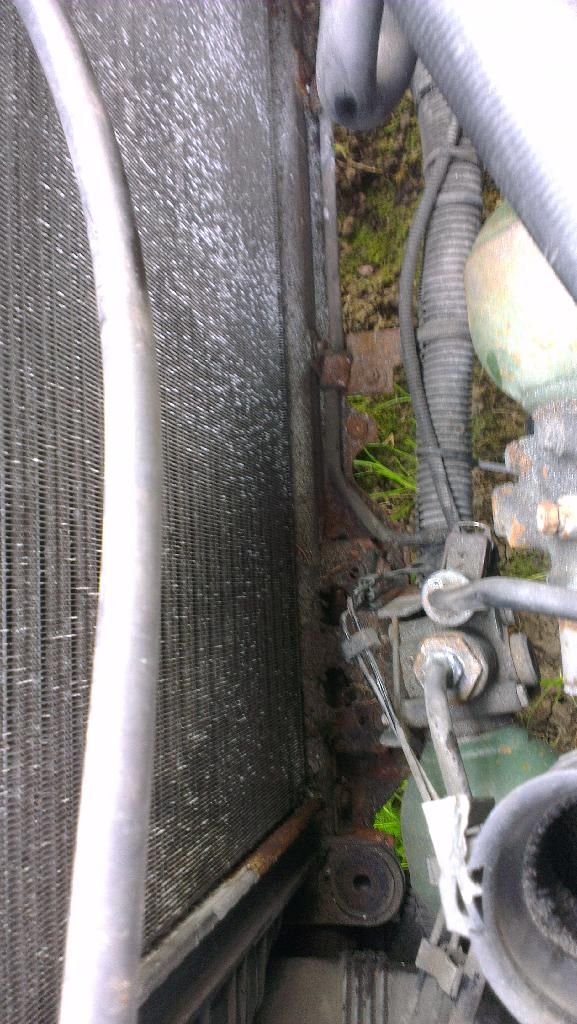
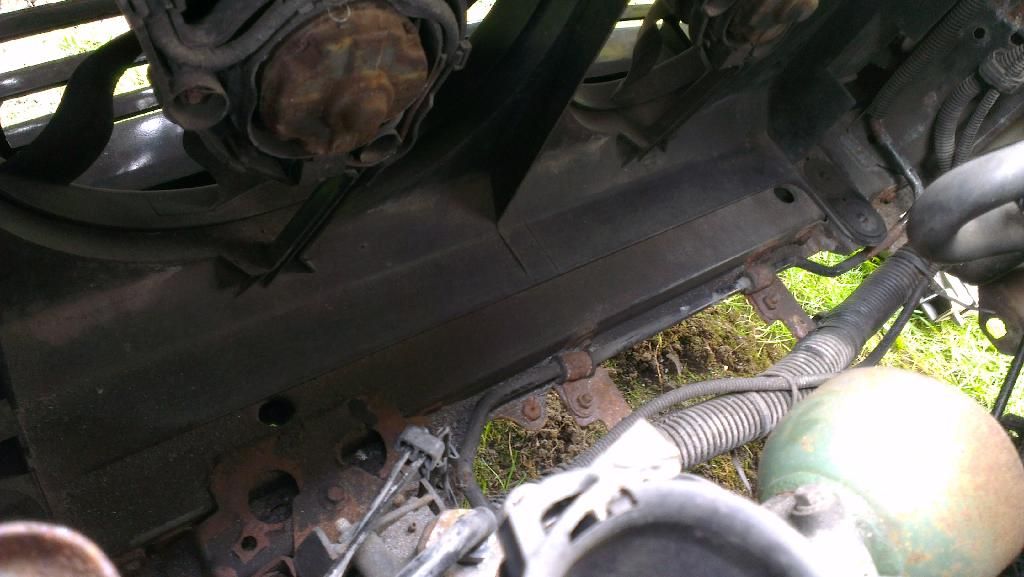
Rather full of jobby under/behind the rad;
Started cleaning it up and realised a fair bit of it was bits of aluminium so whipped the intercooler fully out;
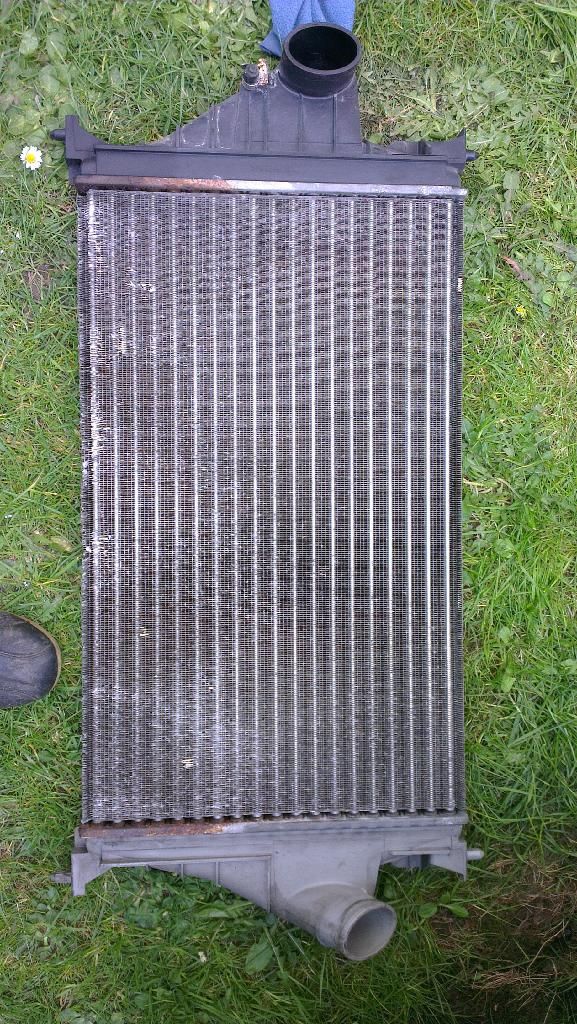
Doesn't look too bad from here so started taking a soft brush to it to clean away the loose crap.
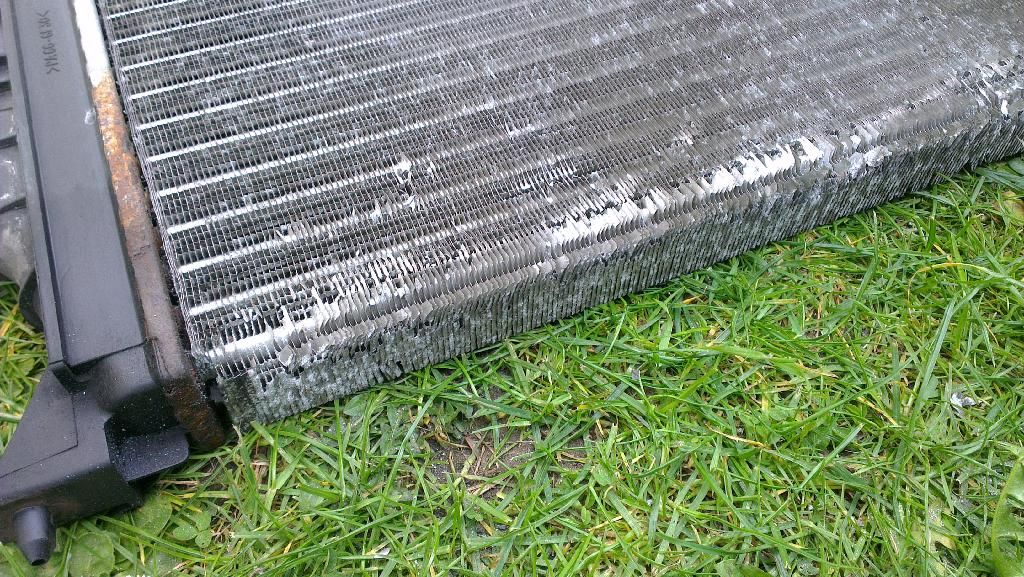
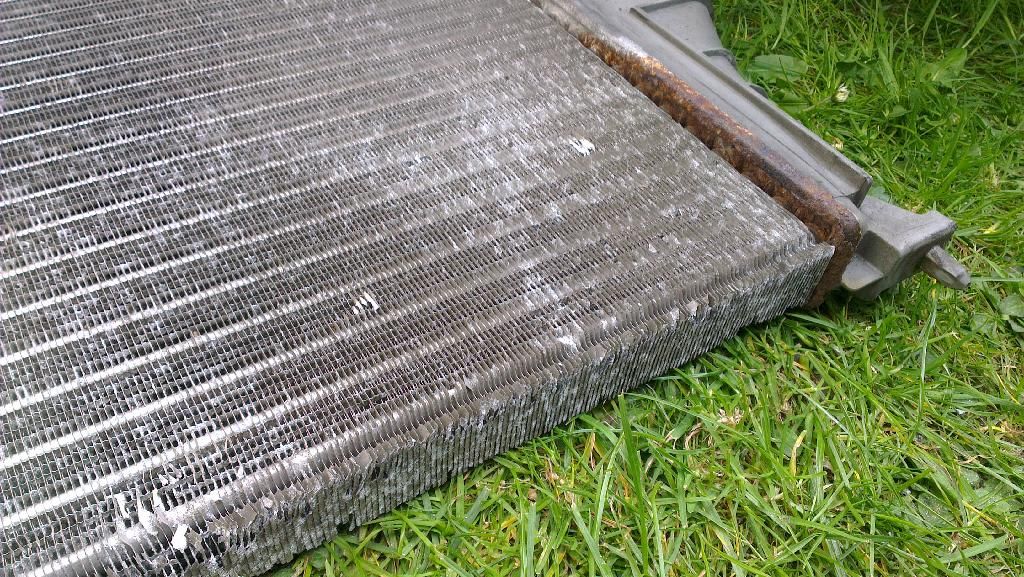

It's perfectly serviceable atm but the bottom is really brittle. When you touch or brush it, bits come off, so all it's going to do is keep disintegrating and cover the new rad in crap and then need changing a year or so down the line (and I can't face taking all this apart again!

) so I'll make a call tomorrow and see how much a new one is.
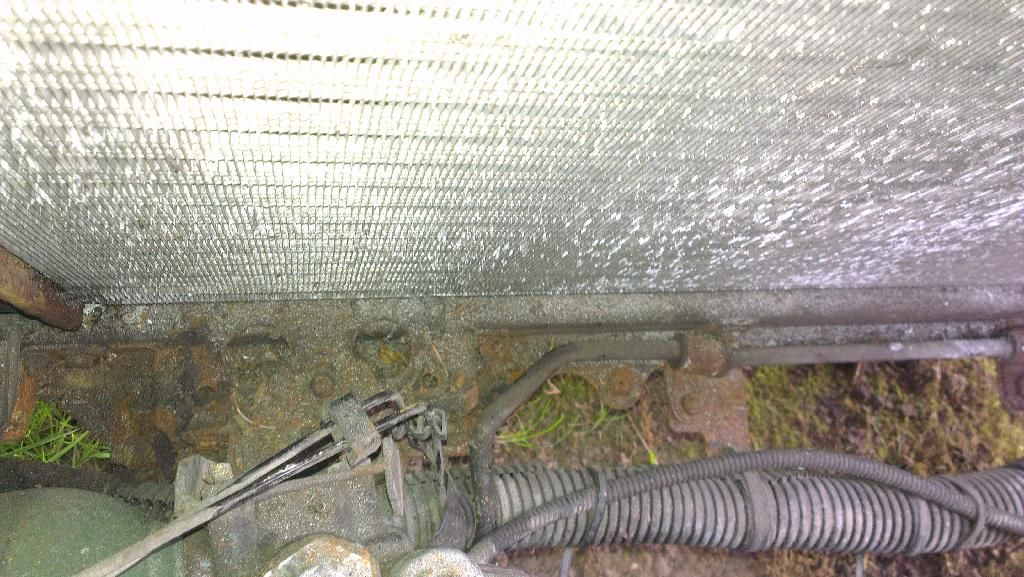
After taking it out, my anality wouldn't let me leave the bottom looking like this;
So I started cleaning it up.
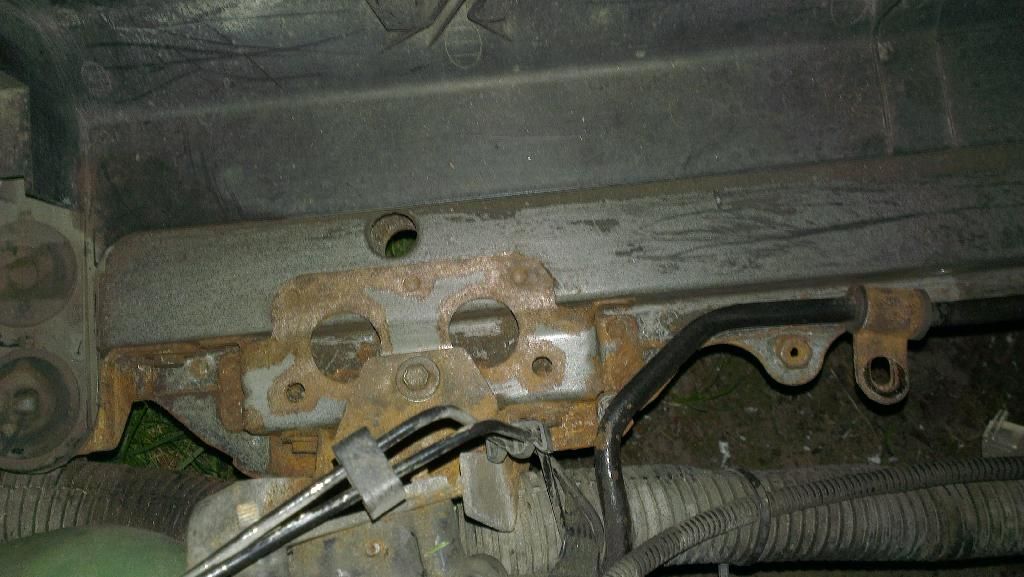
The shell is in absolutely great nick, thanks to being galvanised. The rusty bits are bolted on brackets, that aren't galvanised. It's only surface rust though, so I'll treat them and refit before I finish putting it back together.
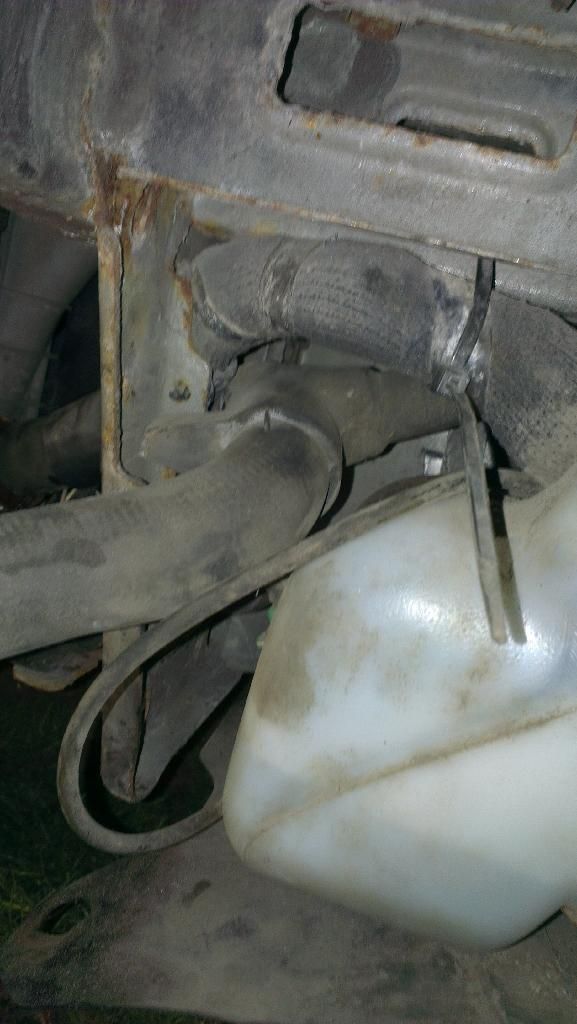
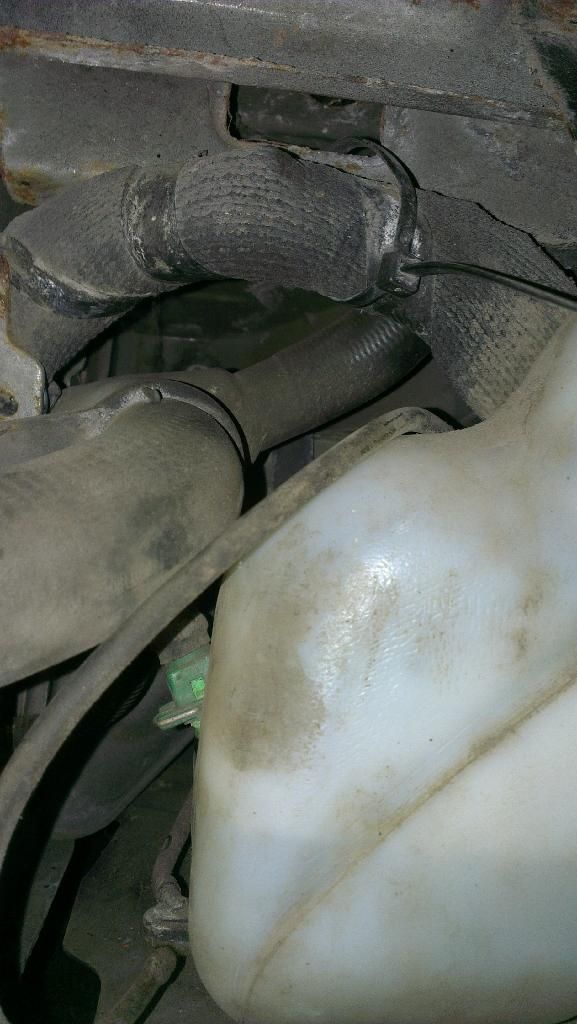
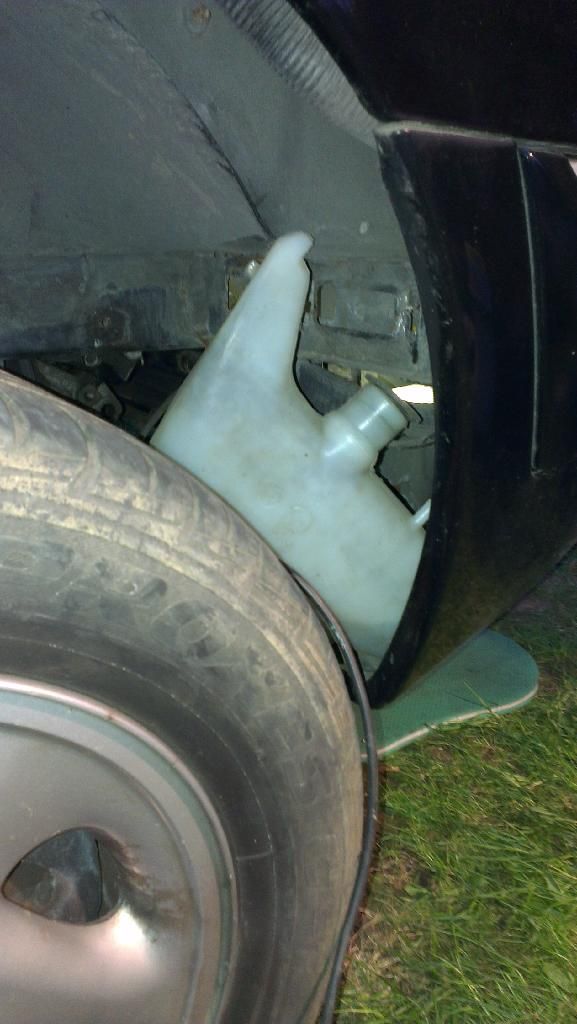
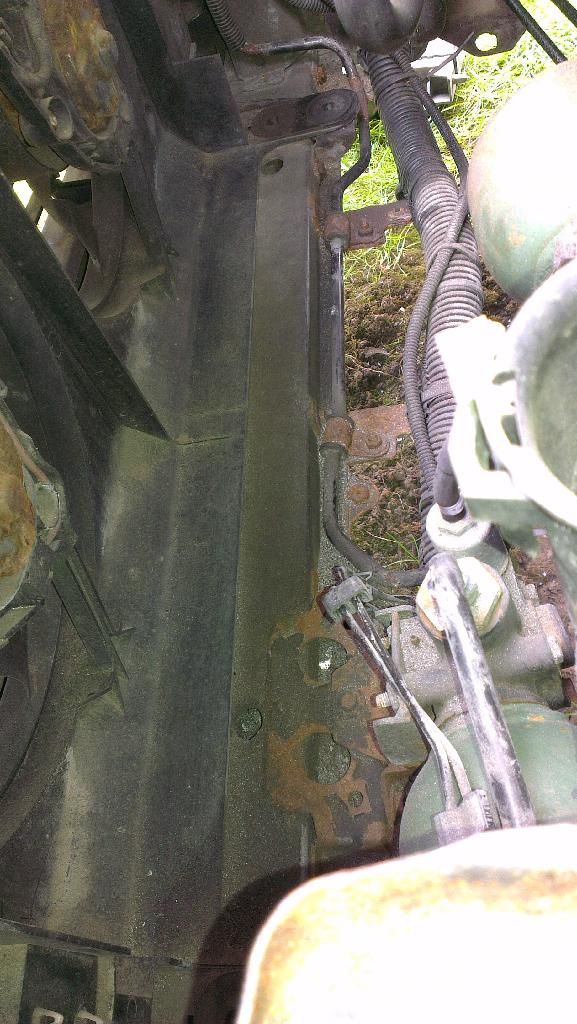
This is where the coolant hose attaches to the bottom of the expansion tank, viewed up from underneath the bumper.
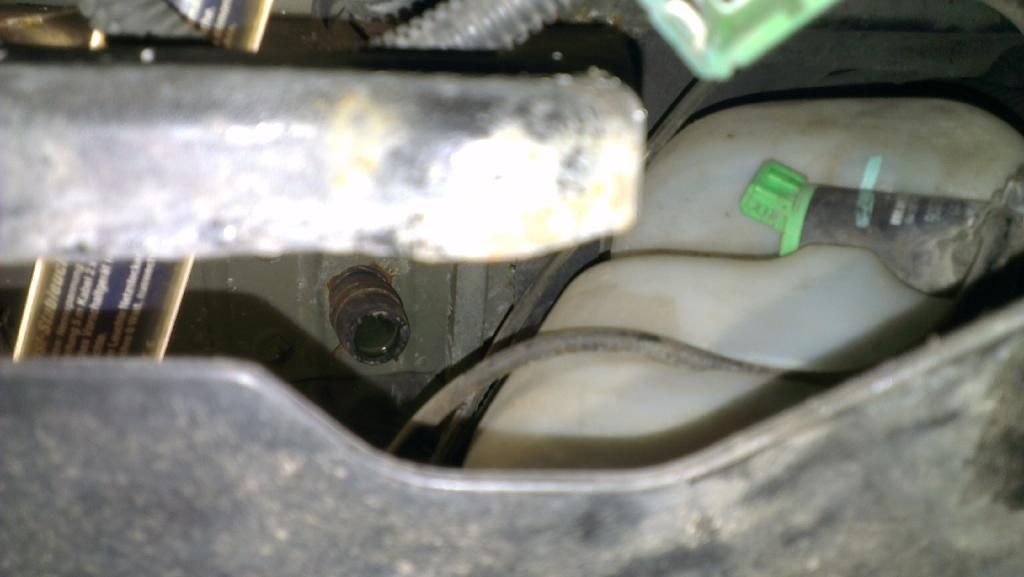
This is after I've chopped the rest of the hose away and shifted the washer tank out of the way (sits underneath the hose) but as you can see, it's a complete dancer to access and to top it all, the bloody squeeze clips are round the furthest away side as well
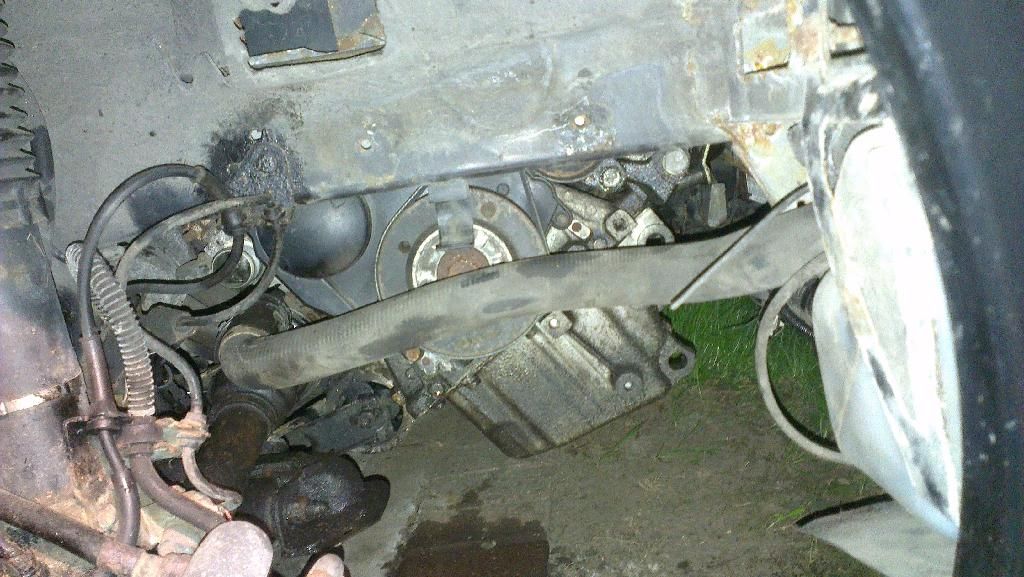
Finally managed the get it off - even after taking the spring clip off I still had to cut the rubber off!
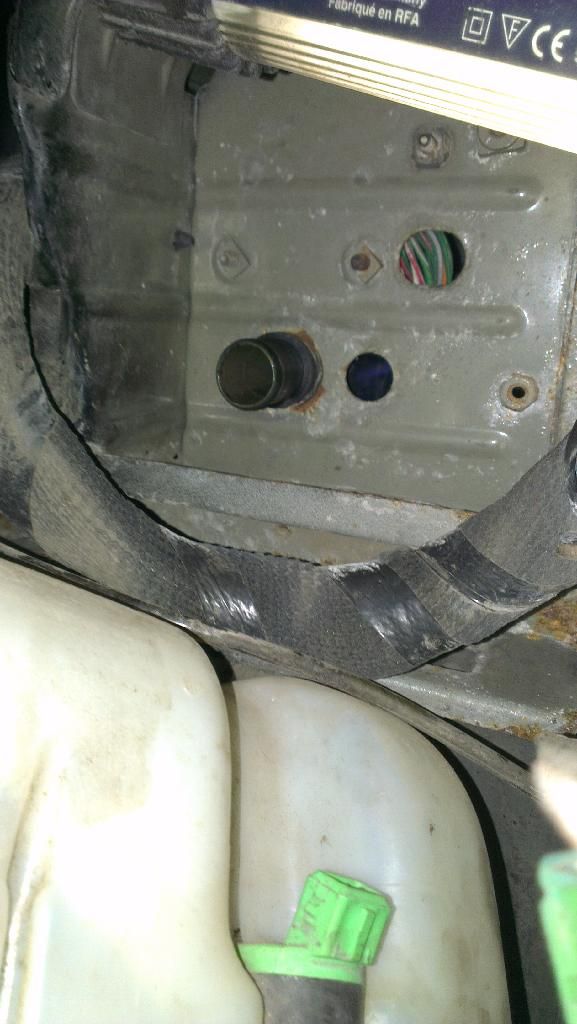
And this is the muffin finally all off;