Then because that had all gone so well (no arm drowned in oil) and I was enjoying lying on my back looking at the back of the engine, I got inspired and decided to fit the rear polybush mount.
Doing this is a far more involved than the front one, as Dave said

Gloves are strongly advised for this job, to help with grip and avoid lots of skin scrapes.
Firstly you do need the car up nice and high on axle stands so you can lie fully under the car from the front, unobstructed. Then remove the centre beam under the engine;
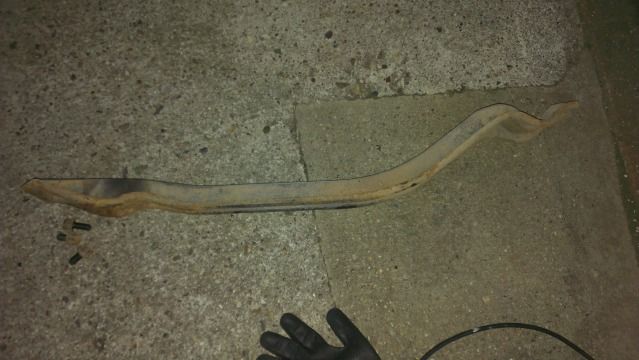
Easily done, six bolts and it's off (pic taken just before I refitted it in the dark lol).
Removing the centre beam is essential to give you access with tools to the rear engine mount bracket;
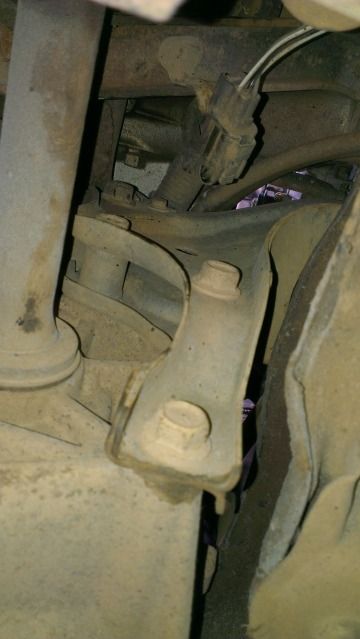
It's the 4 large nuts that you need to remove here. The small 10mm nut at the top holds the engine loom clip, which can stay attached.
Put a jack under the back of the gearbox, with a bit of timber in between and then just take the weight of the engine with it. You can just about see the jack/block of wood in the bottom left of this pic.
You want to avoid point loading the gearcase, which is why you use the timber and why I used a reasonably long piece, to spread it further.
Then undo and remove the 4 bolts you saw earlier. They're pretty tight, so a decent length bar or standard length one with decent extension bar on it will be needed - I use a length of scaffold bar slid over the end.
The bottom 2 are straight forward, the top one is a complete pain in the arse because you have virtually no room to swing the tool (one of those 'one click on the ratchet only' sods). The second from top is a bit of a pain too - you can swing the tool ok, but because it's opposite a bracket on the subframe, you can't undo it very far before the socket and ratchet head get wedged against the bracket and you're stuck. Once you've loosened these 2 with the ratchet, if you can't undo them by hand, then a ratchet spanner is your friend

This is them out - if you lose track, the shortest bolt goes in the bottom fixing.
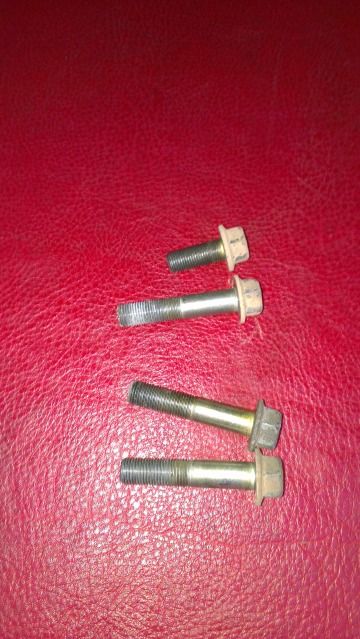
The manual says to renew these bolts. Seems excessive to me and I bet no garage would bother too, so I didn't. (Anyone have experience that says otherwise?)
Once that's done, you move up top.
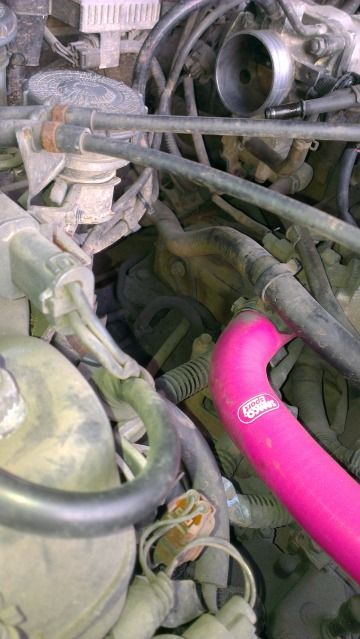
To get access you need to take the inlet plenum off and disconnect/move a couple of the vacuum hoses from the inlet manifold/charcoal canister out of the way and remove the heater hose-thermostat housing hose clip (so you can move the heater hose around). Also advisable to disconnect the plug on the EGR valve and move it out of the way, so you don't catch it with the ratchet.
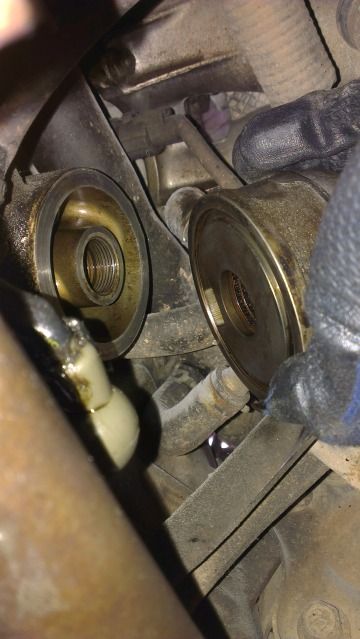
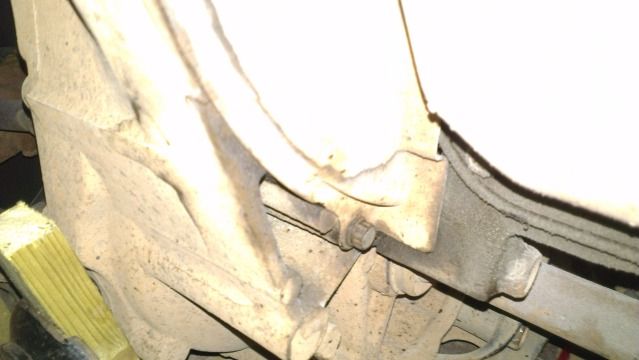
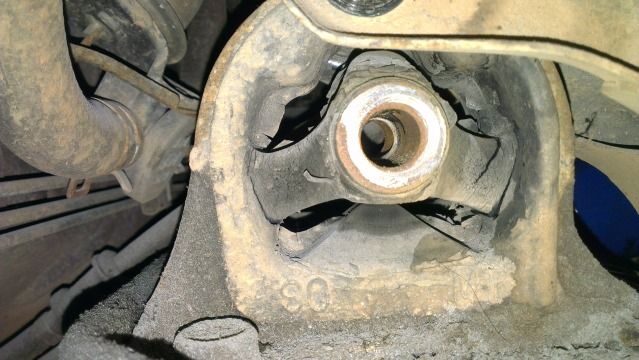
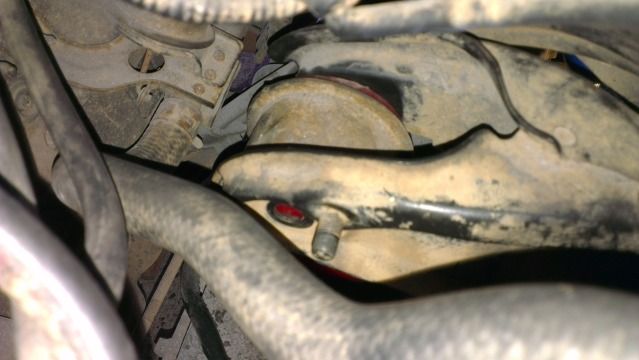
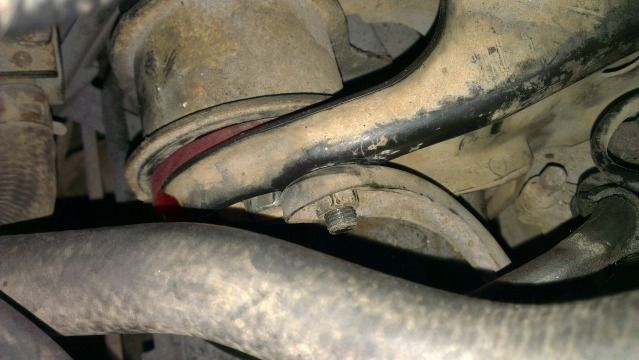
This is what you're interested in. The rear mount and the little stay bar that comes off it.
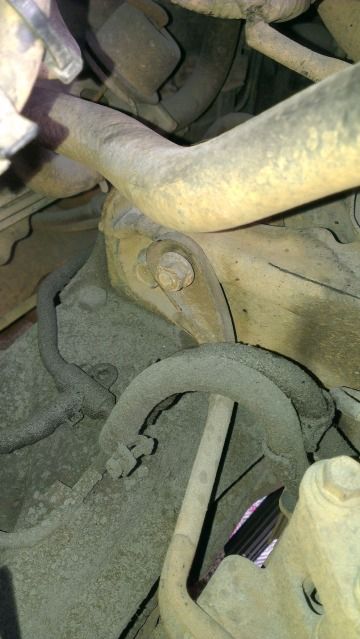
You might be able to see a previous numpty didn't tighten the stay bar nut up at all on mine

Remove the stay bar nut and the bolt from the gearbox and take the stay bar away. Then undo the bolt that runs through the engine mount and lift the mount upwards.
You might need to grab the loom that runs across the back of the engine and lift that to give it some encouragement.
The bracket doesn't lift very much before it fouls on the subframe, so lift the back of the engine a little bit using the jack you have under the gearbox, till you have just enough clearance around the mount;
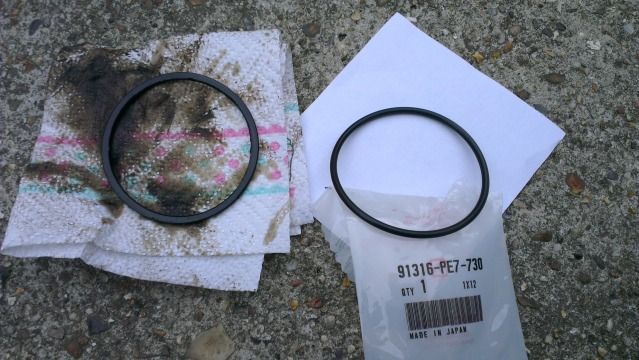
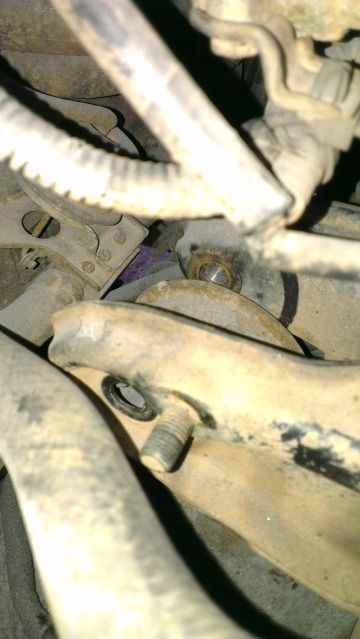
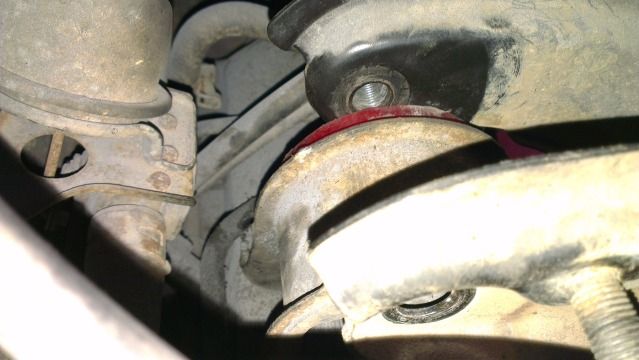
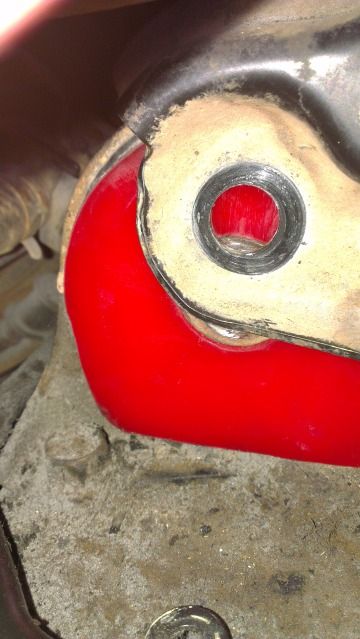
There was some cracking/splitting on the mount on mine, but it's still serviceable.
Grab the new polybush inserts and start with the side furthest away from you (this is the side you can get at least, so it makes sense to do it first).
Lift the bracket as much as you can and push it away from you, then push the insert into the mount. If it's like mine was, the bracket hasn't lifted high enough to let you do it as easily as that and I found it worked best to push the bottom of the insert fully in first, then squash the top of the insert down a bit so it slid under the bracket and into the mount. Grab the side of the mount nearest you with your thumb and squash the insert fully into the mount using your fingers. Make sure it's fully home before you let go of the bracket.
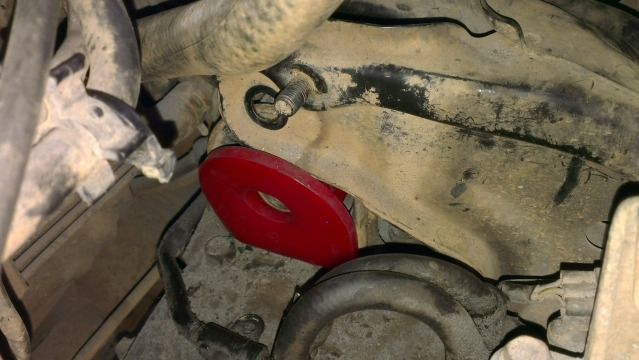
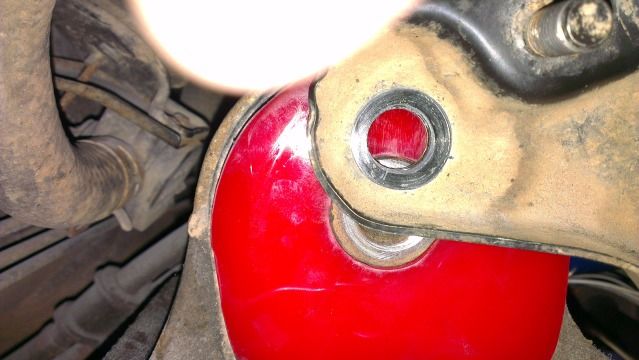
You now have much less freedom of movement in the bracket but at least you're working on the side you have best access to and sight of.
Same principle, lift the bracket and try to squeeze the insert in, starting with pushing the bottom in fully.
If you're lucky it'll go in easily. If it's like mine it won't and unfortunately swearing doesn't help (I tried!)

Don't be tempted to try and squash the top of the insert with a screwdriver/socket extension - they're greasy/oily and the tool WILL slip off and whack your hand... Learn from my mistakes and if you can't get it to go in because the bracket won't go high enough, lift the back of the engine with the jack a bit more to free up more space. Then you will be able to squeeze it in by hand. Again, make sure it is fully pushed home before you lower the bracket.
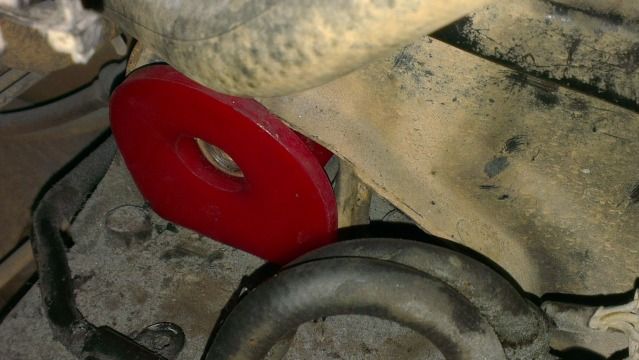
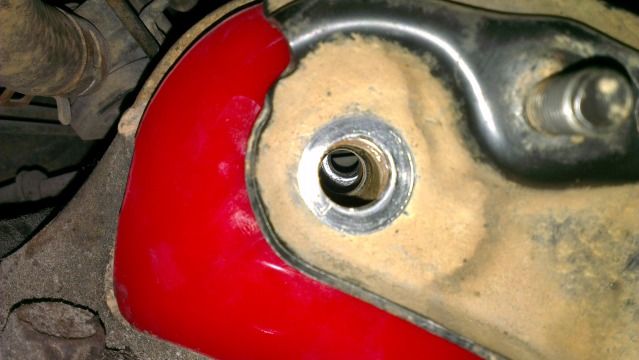
Nice snug fit
Push the bracket down to line up the through holes. Digital camera's are handy here to tell you which way to push the bracket to get it lined up, because you can't get your head down there;
Put the bolt through the hole and tighten it very loosely finger tight, then lower the engine back to where you think it was before and push the bracket back downwards, get under the car and see how all the bolt holes line up with the gearbox. Grab the bracket and move it around or gently lift/lower the gearbox until they line up and then refit the bolts and tighten them to torque as per the manual.
Then back up top, tighten the through bolt, refit the stay bar and tighten to torque (the nut and bolt are different values - check them all in the manual).
As well as the nut not being done up earlier, I also noticed on mine that the bracket for the fuel lines was floating loose.
Bolt sourced and refitted;
The clutch cover was also missing a bolt (top one in the pic further up) so found a fitted one there too
Then it's a matter of refitting the centre beam, torquing that and then refiting all the vacuum hoses/inlet plenum/EGR plug that were disconnected earlier, starting her up and making sure everything is ok. Took me just over 2 hours start-finish, with probably half of that just being on account of how awkward some of the bits are to get at/work on
I noticed a bit more vibration through the pedals while it was cold idling and took it up the road for more of a test. LOVELY and tight when going on/off the throttle

so took it for a bit of a burn on the bypass

As I was pulling up to the roundabout between gear changes, the engine vibration was definitely more noticeable. Pulled up onto the drive at home into warm idle and

Vibration city!!!
The front insert you can fit without any real difference in vibration but you WILL notice the difference once the back insert is fitted!!!
Ok, the warm idle is possibly a bit low on mine at the moment and it dips lower still when lifting off the throttle (biggest problem), so I'm hoping once I sort the idle problem and they new mounts have settled a bit it should be better, but right now it's not at all how you'd want it for a daily.
My advice for a daily if you don't want any added vibration, is fit the front insert and renew the rear mount (OEM).
If you don't mind added vibration, put both inserts in - the drive is much better!