
indigolemon wrote:Nice one! Last thought on the ALB situation, those plugs are two pin. Stick a multimeter in the connector and see if you have infinite resistance on either of the front ones (usually shows as 1 on a digital multimeter). That's how they usually go when they die, and is the likely cause of your ALB light.
Congratulations to vtecmec for winning May/June's Lude Of The Month, with his DIY Turbo BB1 build.
>>> Click Here For Profile <<<

>>> Click Here For Profile <<<
Nathan's '89 CA5 Accord Aerodeck
-
NafemanNathan
- LotM Winner
- Posts: 20144
- Joined: Sun Aug 08, 2010 9:37 pm
- My Generation: 0G
- Location: Yeovil, Somerset
- Has thanked: 8 times
- Been thanked: 124 times
Re: Again, please don't post in this thread. Won't be long l

-
NafemanNathan
- LotM Winner
- Posts: 20144
- Joined: Sun Aug 08, 2010 9:37 pm
- My Generation: 0G
- Location: Yeovil, Somerset
- Has thanked: 8 times
- Been thanked: 124 times
Re: Again, please don't post in this thread. Won't be long l
Ok, cheers bud. Just so happened to purchase a mulitmeter the other day for wiring up the tow-hitch 
-
NafemanNathan
- LotM Winner
- Posts: 20144
- Joined: Sun Aug 08, 2010 9:37 pm
- My Generation: 0G
- Location: Yeovil, Somerset
- Has thanked: 8 times
- Been thanked: 124 times
-
NafemanNathan
- LotM Winner
- Posts: 20144
- Joined: Sun Aug 08, 2010 9:37 pm
- My Generation: 0G
- Location: Yeovil, Somerset
- Has thanked: 8 times
- Been thanked: 124 times
Re: Again, please don't post in this thread. Won't be long l
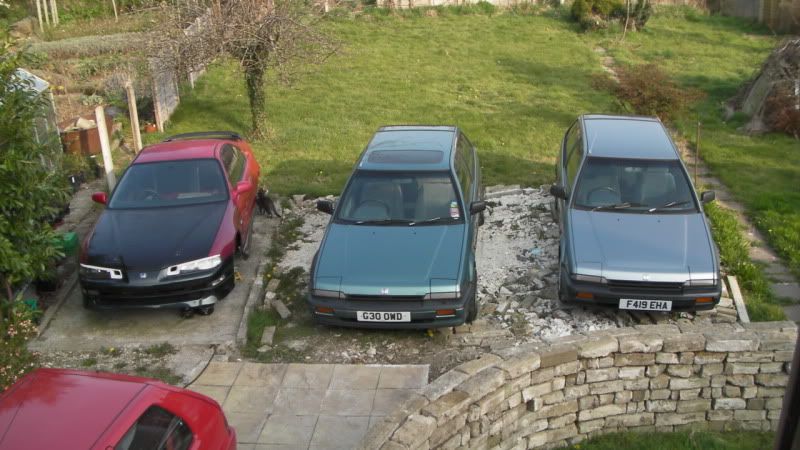
Lude-Dude wrote:your so greedy
I actually fancy one of them, quite rare to find
indigolemon wrote:Greedy get
Mart609 wrote:greedy git!
gimmie 1
Rowan wrote:haha you have a rice paddy!
these cars are fastly becoming old school cool!
Rocky wrote:All cars should have popup headlights
RattyMcClelland wrote:YESRocky wrote:All cars should have popup headlights
YES
YES
rob quilter wrote:+1RattyMcClelland wrote:YESRocky wrote:All cars should have popup headlights
YES
YES
-
NafemanNathan
- LotM Winner
- Posts: 20144
- Joined: Sun Aug 08, 2010 9:37 pm
- My Generation: 0G
- Location: Yeovil, Somerset
- Has thanked: 8 times
- Been thanked: 124 times
Re: Again, please don't post in this thread. Won't be long l
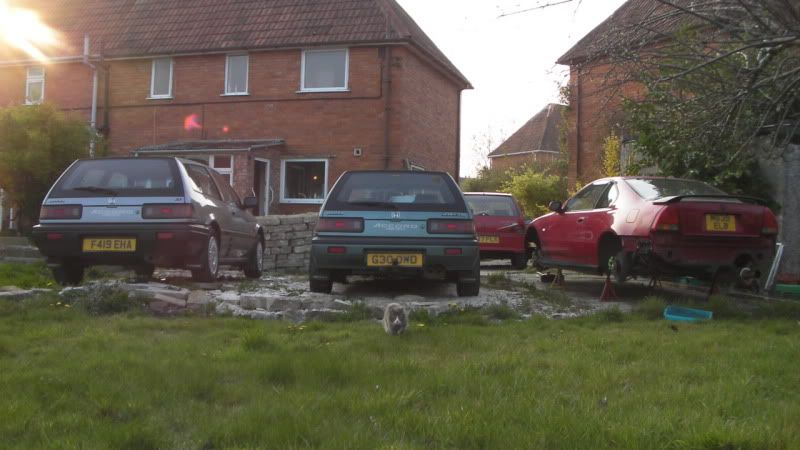
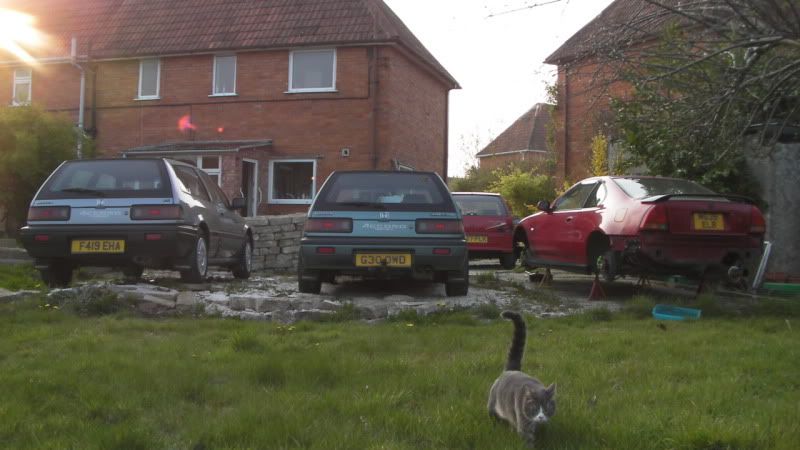
Well it was the dreaded annual check on wednesday (last week) and I finally got her back thursday just gone. So as you may have concluded, she didn't pass first time
She had an emissions leak from the down pipe. (Yep the downpipe I'd recently fitted) Turns out the recesses for the crush ring gaskets were machined too deep and therefore had no effect. So a new downpipe was fitted. The backbox was about to break away from the exhaust pipe, so I had a new on of those fitted. The distribution on the rear calipers was uneven, so both calipers were stripped down, cleaned and rebuilt. The NS rear sill has started corroding through where an existing plate had been welded, so this was cut out and replaced. I'd obviously re-fitted the OEM wheels, as my deep dishes protruded too far, but one of the tyres failed on thread... So I robbed one from the donor
And she passed!
The ABS light still comes on, but my mechanic was kind enough to drive the car right up to the test centre's ramp and turn the ignition off each time, so as the tester wasn't able to drive it far enough for the light to come on
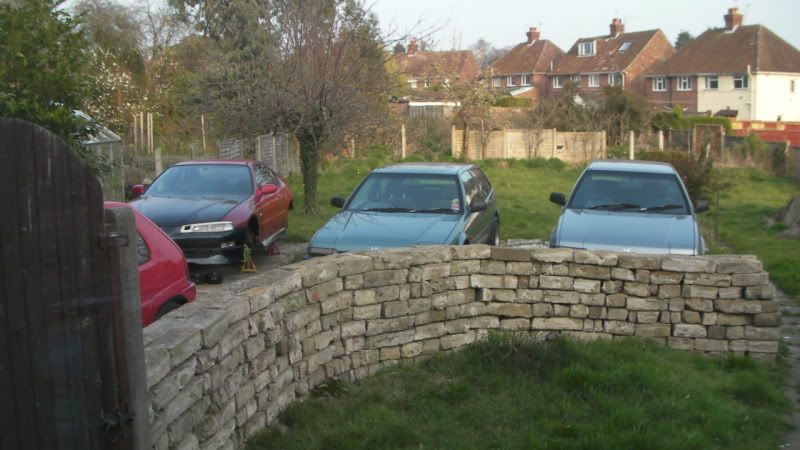
So she's back in the drive and I'm wanting to give her a bit of attention before Japfest next month... Maybe this long weekend
She had an emissions leak from the down pipe. (Yep the downpipe I'd recently fitted) Turns out the recesses for the crush ring gaskets were machined too deep and therefore had no effect. So a new downpipe was fitted. The backbox was about to break away from the exhaust pipe, so I had a new on of those fitted. The distribution on the rear calipers was uneven, so both calipers were stripped down, cleaned and rebuilt. The NS rear sill has started corroding through where an existing plate had been welded, so this was cut out and replaced. I'd obviously re-fitted the OEM wheels, as my deep dishes protruded too far, but one of the tyres failed on thread... So I robbed one from the donor
And she passed!
The ABS light still comes on, but my mechanic was kind enough to drive the car right up to the test centre's ramp and turn the ignition off each time, so as the tester wasn't able to drive it far enough for the light to come on
So she's back in the drive and I'm wanting to give her a bit of attention before Japfest next month... Maybe this long weekend
-
NafemanNathan
- LotM Winner
- Posts: 20144
- Joined: Sun Aug 08, 2010 9:37 pm
- My Generation: 0G
- Location: Yeovil, Somerset
- Has thanked: 8 times
- Been thanked: 124 times
(PUK) Bumpers, Seats & A Few Other Bits Swapped & A Good Cle
Well I managed to allocate myself some time to play with the Aerodeck over the Easter weekend. I started off with "retrofying" the wagon even more ...
I swapped the front and rear bumpers over from the silver DX (It's the completely basic/no frills edition). The rear bumper on my blue EX had had a previous owner drill a hole in the side to fix it up when it had dropped. Where as it would have been a whole lot easier to simply re-fix it using the proper fixing mounts and screws that had just come undone ](*,) Anyway the bumpers from the DX are basic dark grey so in swapping the rear over meant I also had to swap the front to match to
The rear bumper was a simple swap. I actually used one of each cars two mounting brackets as both had one that had been squashed somehow.
The front bumper could have been simpler. Cutting the holes in the much better conditioned new one for the headlight washer jets was fairly straight forward, but removing the lip from the blue bumper was a complete pain in the ass! They're exactly the same fixing as on the lude, so you know how bad they get
Then after the bumpers I decided to swap the electric aerials over. My current one was bent and thus would retract or extend. The grey one struggles a little on the last 6cm but is fine otherwise. Anyway, it fits down into the A pillar and comes out and connects into a unit in the driver's foot well, behind the fusebox... behind the relays and all the cables... behind the foot pedals, in an area you can't even really focus a light on where you have to invert yourself upside down on the driver's seat laid flat just to give yourself a polio handed grasp on being able to thread the "always wanting to coil up" cable into the mechanism. Honestly it took a good 2 or so hours just to keep trying different methods. This was all not even knowing that it was going to even work! ... But it did
Then I swapped over the boot carpets as the original one was quite tatty. Which also then led me to swap over the hardboard spare wheel cover as the DX's was in perfect condition and the EX's was battered, had corners missing, was stained and everything. I also swapped over the OEM tool kits as the DX's was complete and the spare wheel clamping bolt as the EX's was seizing.
The parcel shelf had had a pivot point snapped off, so I swapped the pivots over from the DX's, and also one of the pivot retaining clips had snapped, so I swapped those over to.
I was missing the NS rear speaker mounting frame as well, so I had that away from the DX to.
Whilst I was in the boot and obviously cleaning away I swapped the boot lights over. It looked light someone had poured coke in the EX's and then thrown fluff at it!
Then a simple removal of the rear wiper pivot bolt cap and placement on the EX finished off the back end.
I'd also swapped one of the rear mud guards over when fitting the rear bumper, as the previous one was a little scuffed.
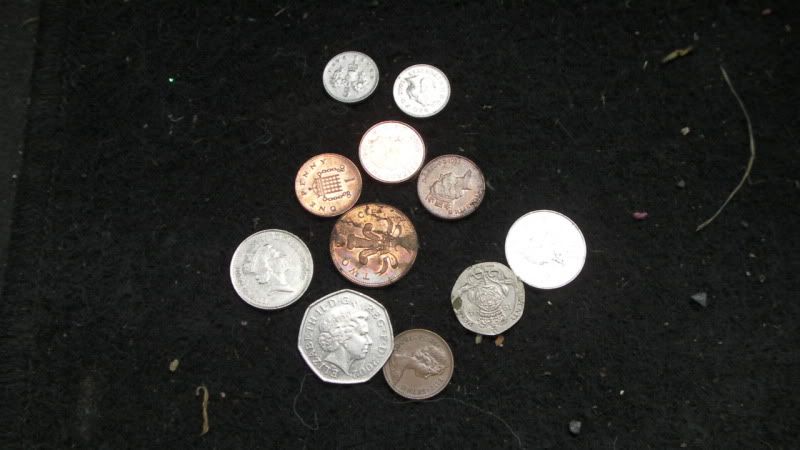
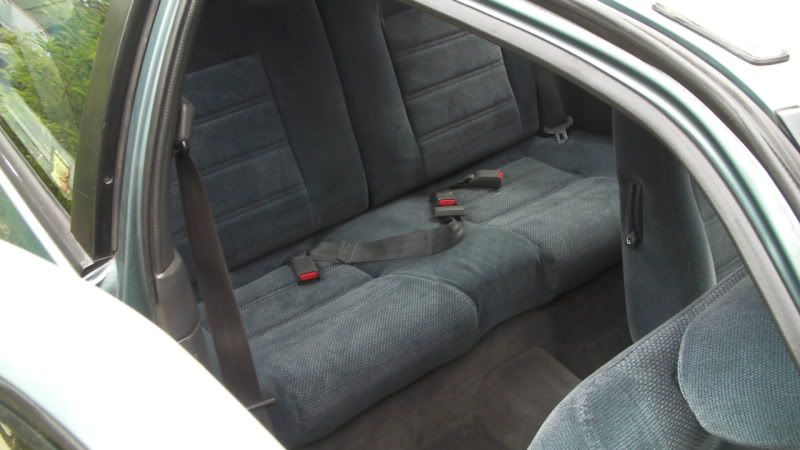
Now being this had been the first time I'd cleaned the interior I thought I best check down the backseat. I knew the previous owner to me had had kids. I'd already found umpteen of their McDonalds toys in the back side pockets And one quick look decided it for me... The back seat was coming out!
Look what I found!...

This picture really doesn't do it justice, but it was a good 6cm high
It was made worth my while though ...
Now as the rear bench was out I thought I may as well take this opportunity to swap the seats over as well. The interior of the blue EX is Grey and the interior of the grey DX is blue! They both work well together, but I thought it would be nice to introduce a bit of colur into the inside of the EX. The new boot carpet was now blue afterall I knew the balsters on the front seats were in much better condtion in the lesser mileage DX as well.
So I swapped in the blue bench. Oh and as simple as they are to remove and replace, not know the method does add a considerable amount of time to the process
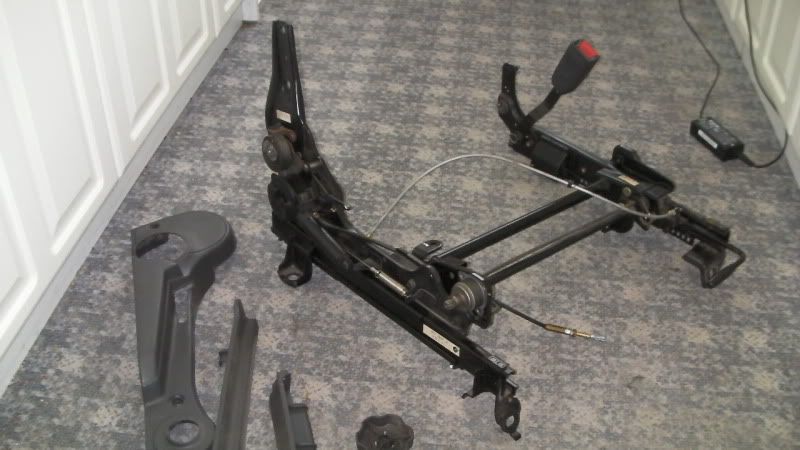
Rear bench in and I move to the driver's seat. Unbolting and removing from both cars is pretty straight forward, but making a DX's driver's seat fit in an EX?... Ain't gonna happen I didn't even check to see if the mounting point were the same... As I'd already noticed that where as the seatbelt in the DX anchors to the chassis, in the EX it mounts to the seat! That's ok, the cushions look pretty much the same, so I proceeded to remove them. Again, easier said and done. I actually had to remove the "stitching rings" in order to lift the cover high enough on the back of the seat to get to the fixing bolts. The seat base came off a lot easier. Then I was left with this from the EX's seat...
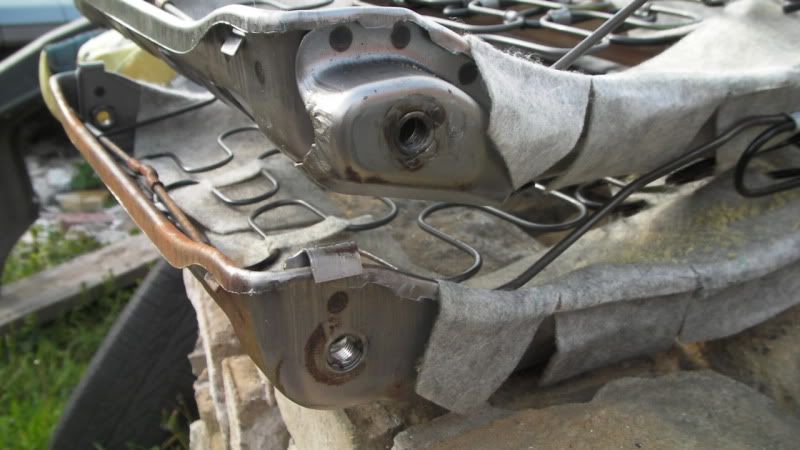
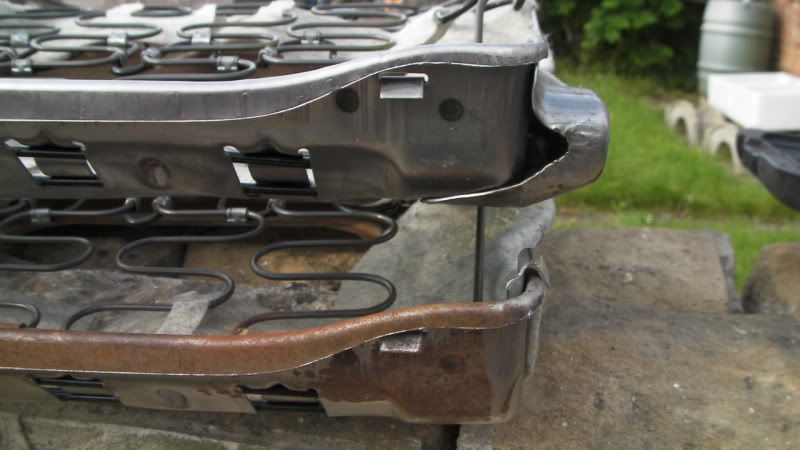
I did the same to the DX's and then went to reverse the proceedure. Again the back was no problem (just as fiddly as removal) but then it was the turn of seat base to stick a finger in my eye! The difference between the EX and DX seat are in the mechanisms. Obviously there's more mechanisms in the EX, and this results in... Not the seat rails being wider, but the seat base being narrower #-o
So, the wider blue DX seat base wouldn't fit in the narrower EX's rail. So...
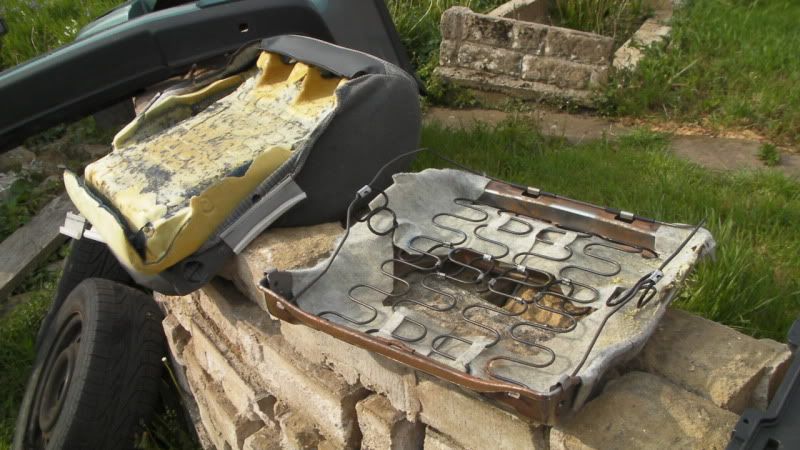
Off come the covers and pads and swap them over I do.
You can see here how both the seats differ...
I wasn't looking forward to doing all the same again to the passenger seat, but at least this time I knew exactly what to do. But as it turns out, the passenger seat was the same basic seat in both. Phew!
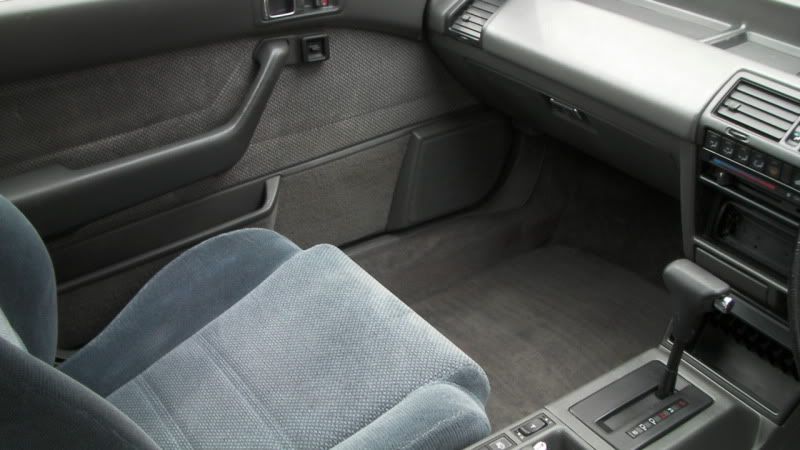
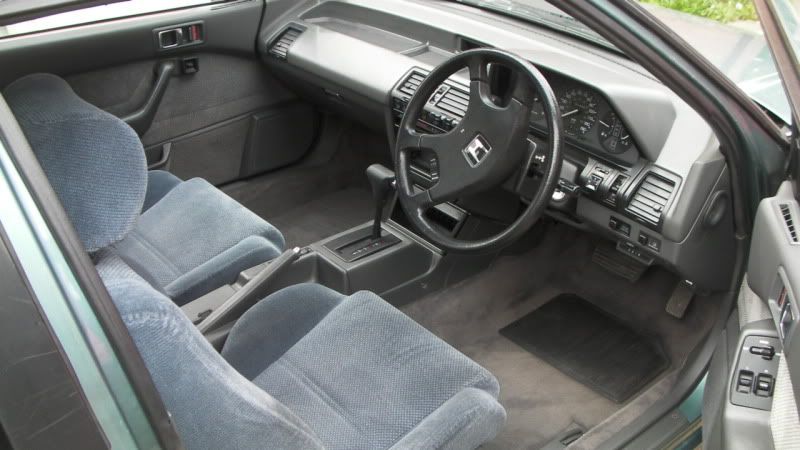
And pictures! After a good hover and clean (Although the pictures don't seem to have come out as blue as the blue is ) ...
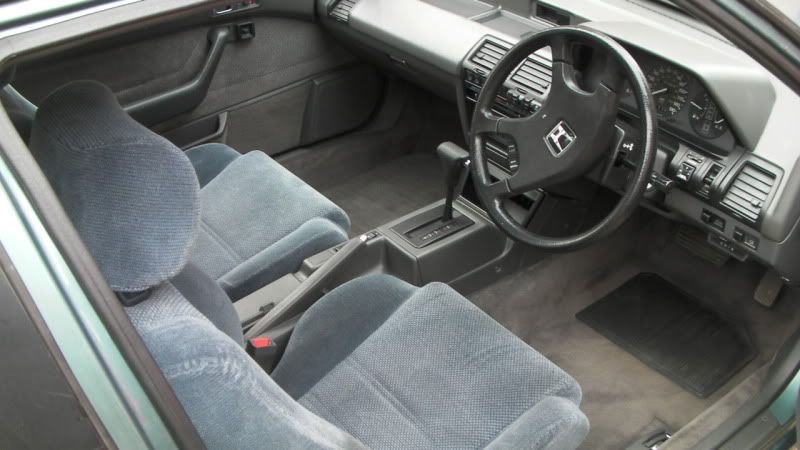

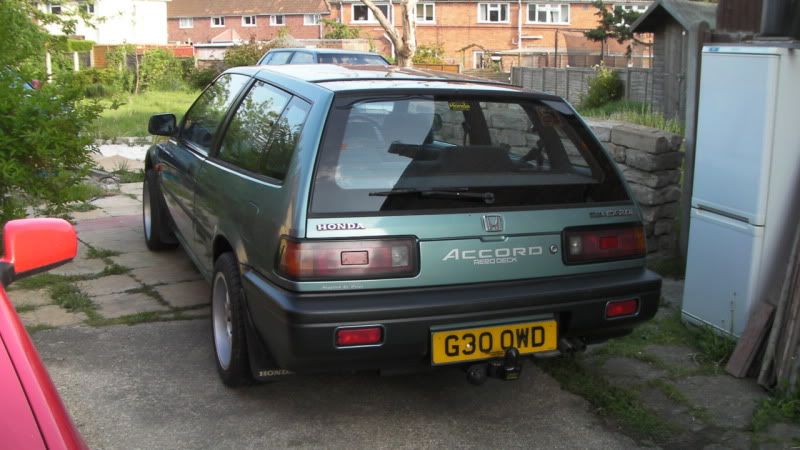
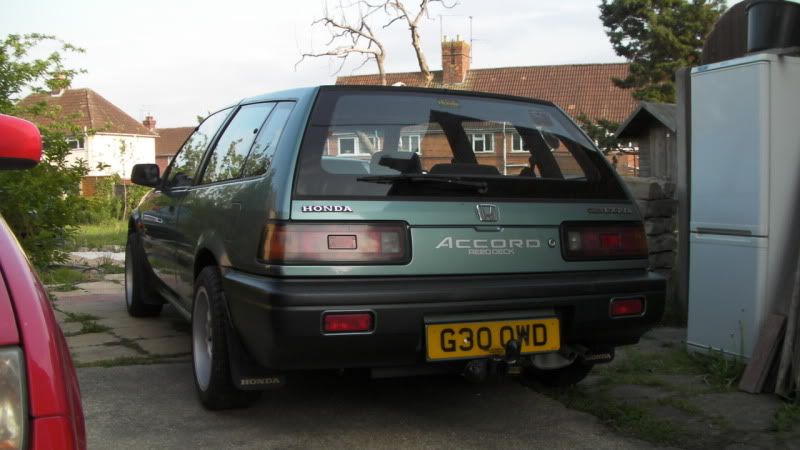
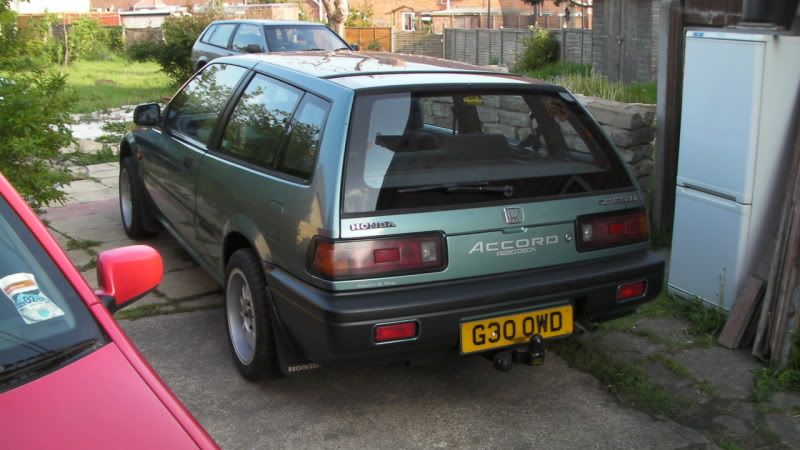
And pictures of the outside ...
You can see where I swapped over the blue fog light surrounds, so they need a lick of dark grey, along with the number plate board...
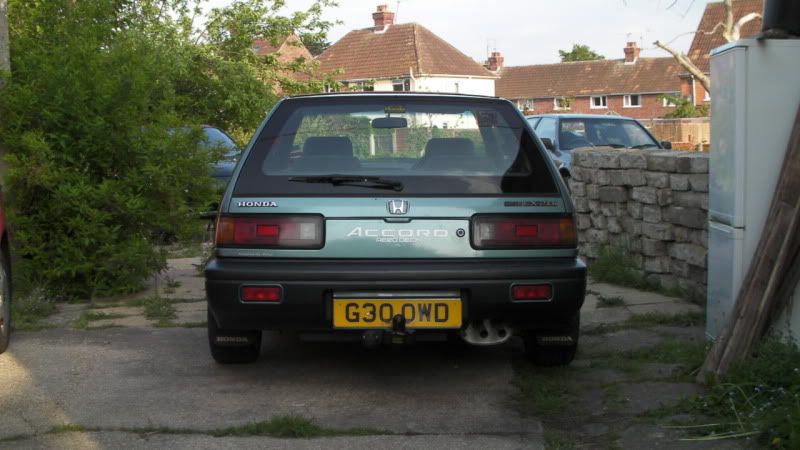
And I also trimmed down the offset-lettered, wonky-holed number plate, which then allowed me to drill new holes and pick up on the OEM fixing points and leave the bumper completely unmolested ...
...
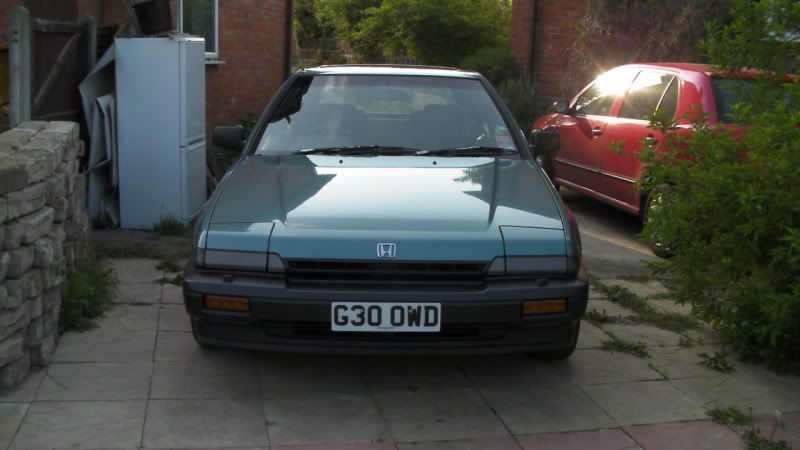
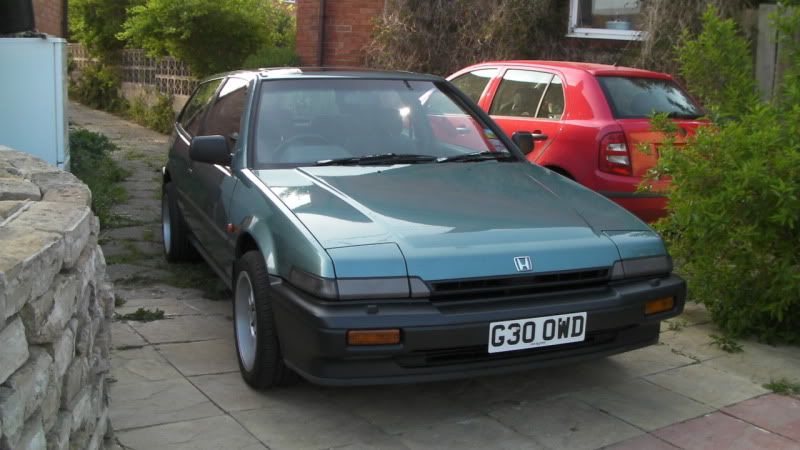
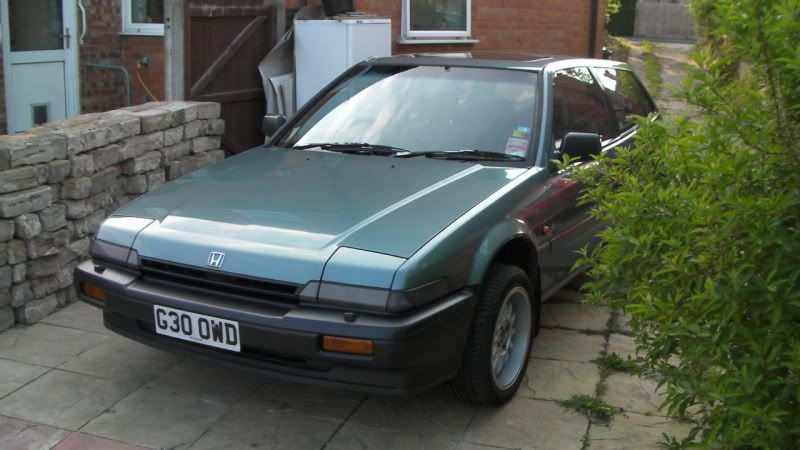

I actually prefer the grey bumpers quite a bit. May even continue the grey line below the side trim eventually
And it felt so good to be able to tinker after so long to!
EDIT: Also, I robbed an unbroken bonnet prop retaining clip and an OEM rad cap from the DX to
I swapped the front and rear bumpers over from the silver DX (It's the completely basic/no frills edition). The rear bumper on my blue EX had had a previous owner drill a hole in the side to fix it up when it had dropped. Where as it would have been a whole lot easier to simply re-fix it using the proper fixing mounts and screws that had just come undone ](*,) Anyway the bumpers from the DX are basic dark grey so in swapping the rear over meant I also had to swap the front to match to
The rear bumper was a simple swap. I actually used one of each cars two mounting brackets as both had one that had been squashed somehow.
The front bumper could have been simpler. Cutting the holes in the much better conditioned new one for the headlight washer jets was fairly straight forward, but removing the lip from the blue bumper was a complete pain in the ass! They're exactly the same fixing as on the lude, so you know how bad they get
Then after the bumpers I decided to swap the electric aerials over. My current one was bent and thus would retract or extend. The grey one struggles a little on the last 6cm but is fine otherwise. Anyway, it fits down into the A pillar and comes out and connects into a unit in the driver's foot well, behind the fusebox... behind the relays and all the cables... behind the foot pedals, in an area you can't even really focus a light on where you have to invert yourself upside down on the driver's seat laid flat just to give yourself a polio handed grasp on being able to thread the "always wanting to coil up" cable into the mechanism. Honestly it took a good 2 or so hours just to keep trying different methods. This was all not even knowing that it was going to even work!
Then I swapped over the boot carpets as the original one was quite tatty. Which also then led me to swap over the hardboard spare wheel cover as the DX's was in perfect condition and the EX's was battered, had corners missing, was stained and everything. I also swapped over the OEM tool kits as the DX's was complete and the spare wheel clamping bolt as the EX's was seizing.
The parcel shelf had had a pivot point snapped off, so I swapped the pivots over from the DX's, and also one of the pivot retaining clips had snapped, so I swapped those over to.
I was missing the NS rear speaker mounting frame as well, so I had that away from the DX to.
Whilst I was in the boot and obviously cleaning away I swapped the boot lights over. It looked light someone had poured coke in the EX's and then thrown fluff at it!
Then a simple removal of the rear wiper pivot bolt cap and placement on the EX finished off the back end.
I'd also swapped one of the rear mud guards over when fitting the rear bumper, as the previous one was a little scuffed.
Now being this had been the first time I'd cleaned the interior I thought I best check down the backseat. I knew the previous owner to me had had kids. I'd already found umpteen of their McDonalds toys in the back side pockets
Look what I found!...
This picture really doesn't do it justice, but it was a good 6cm high
It was made worth my while though
Now as the rear bench was out I thought I may as well take this opportunity to swap the seats over as well. The interior of the blue EX is Grey and the interior of the grey DX is blue! They both work well together, but I thought it would be nice to introduce a bit of colur into the inside of the EX. The new boot carpet was now blue afterall
So I swapped in the blue bench. Oh and as simple as they are to remove and replace, not know the method does add a considerable amount of time to the process
Rear bench in and I move to the driver's seat. Unbolting and removing from both cars is pretty straight forward, but making a DX's driver's seat fit in an EX?... Ain't gonna happen
I did the same to the DX's and then went to reverse the proceedure. Again the back was no problem (just as fiddly as removal) but then it was the turn of seat base to stick a finger in my eye! The difference between the EX and DX seat are in the mechanisms. Obviously there's more mechanisms in the EX, and this results in... Not the seat rails being wider, but the seat base being narrower #-o
So, the wider blue DX seat base wouldn't fit in the narrower EX's rail. So...
Off come the covers and pads and swap them over I do.
You can see here how both the seats differ...
I wasn't looking forward to doing all the same again to the passenger seat, but at least this time I knew exactly what to do. But as it turns out, the passenger seat was the same basic seat in both. Phew!
And pictures! After a good hover and clean
And pictures of the outside
You can see where I swapped over the blue fog light surrounds, so they need a lick of dark grey, along with the number plate board...
And I also trimmed down the offset-lettered, wonky-holed number plate, which then allowed me to drill new holes and pick up on the OEM fixing points and leave the bumper completely unmolested
I actually prefer the grey bumpers quite a bit. May even continue the grey line below the side trim eventually
And it felt so good to be able to tinker after so long to!
EDIT: Also, I robbed an unbroken bonnet prop retaining clip and an OEM rad cap from the DX to
-
NafemanNathan
- LotM Winner
- Posts: 20144
- Joined: Sun Aug 08, 2010 9:37 pm
- My Generation: 0G
- Location: Yeovil, Somerset
- Has thanked: 8 times
- Been thanked: 124 times
Re: Again, please don't post in this thread. Won't be long l
indigolemon wrote:Still totally loving this car man
Are there blue door cards too?
Pushki77 wrote:Coming along very nicely! Good work! [smilie=hate-cool.gif]
-
NafemanNathan
- LotM Winner
- Posts: 20144
- Joined: Sun Aug 08, 2010 9:37 pm
- My Generation: 0G
- Location: Yeovil, Somerset
- Has thanked: 8 times
- Been thanked: 124 times
Re: Again, please don't post in this thread. Won't be long l
There areindigolemon wrote:Still totally loving this car man
Are there blue door cards too?
-
NafemanNathan
- LotM Winner
- Posts: 20144
- Joined: Sun Aug 08, 2010 9:37 pm
- My Generation: 0G
- Location: Yeovil, Somerset
- Has thanked: 8 times
- Been thanked: 124 times
Re: Again, please don't post in this thread. Won't be long l
RattyMcClelland wrote:Just amazing. Old skool cars rawk.
-
NafemanNathan
- LotM Winner
- Posts: 20144
- Joined: Sun Aug 08, 2010 9:37 pm
- My Generation: 0G
- Location: Yeovil, Somerset
- Has thanked: 8 times
- Been thanked: 124 times
Re: Again, please don't post in this thread. Won't be long l
Cheers Pushki and Ratty... I think What the hell is Rawk?!