Congratulations to vtecmec for winning May/June's Lude Of The Month, with his DIY Turbo BB1 build.

>>> Click Here For Profile <<<

Image

Sol-Lude's Build

Tell us all about your Lude, you know you want to ...
User avatar
sol-lude
Posts: 1032
Joined: Wed Jul 17, 2013 1:48 pm
My Generation: 4G
PSN GamerTag: Lude_666
Location: Kirriemuir
Has thanked: 10 times
Been thanked: 18 times

Re: 2nd lude build - New parts, shed load of rust & lower se

Post by sol-lude » Sun Apr 09, 2017 10:14 pm

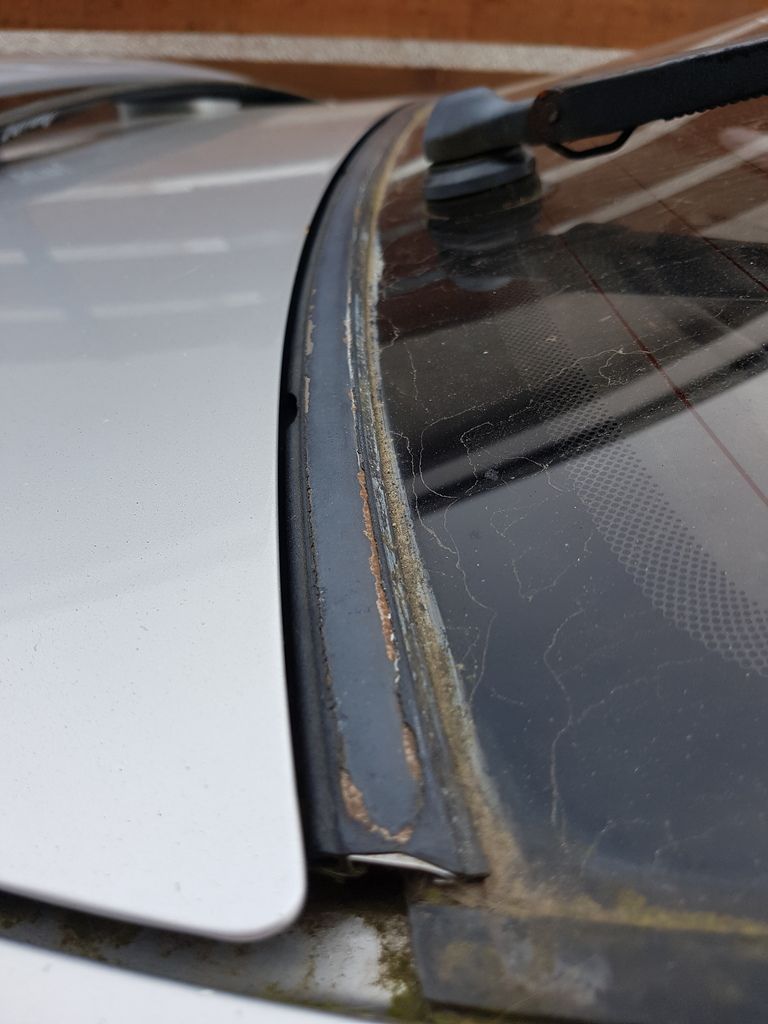
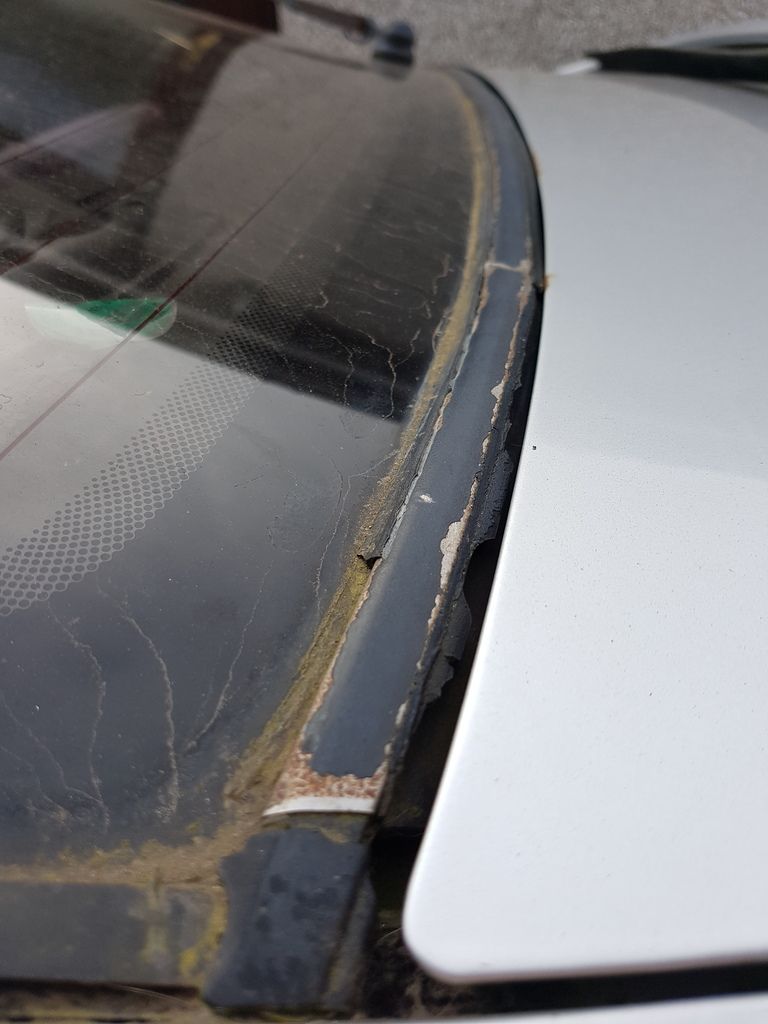
So today i decided its time to do the lower rear window seal and a bit of a write up. A simple and not so time consuming job but a necessary evil for some.

Image
Image
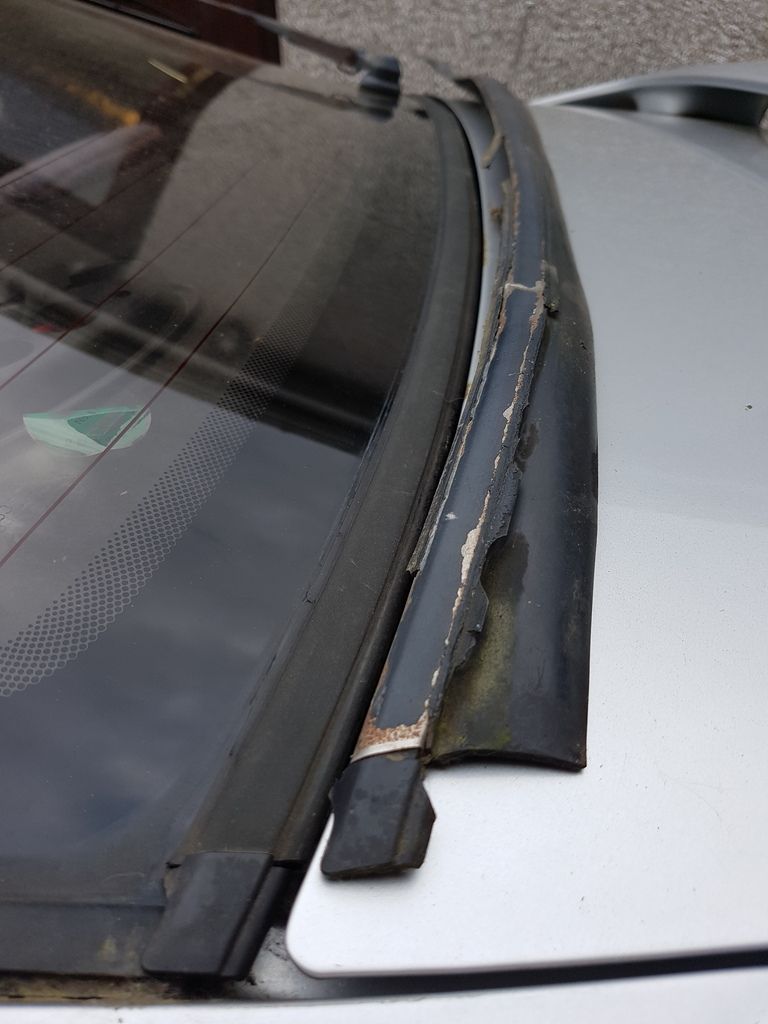
This was how mine looked and was letting in water which probably lead to some of the rust haha
Image
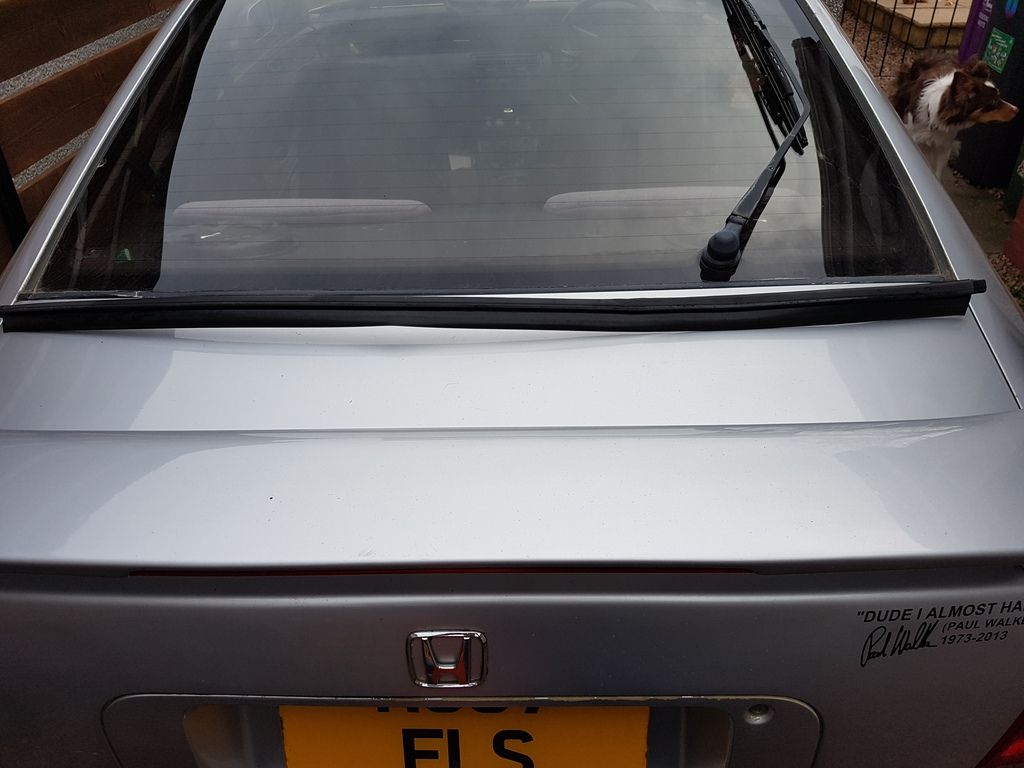
New one before i put it on.

Image
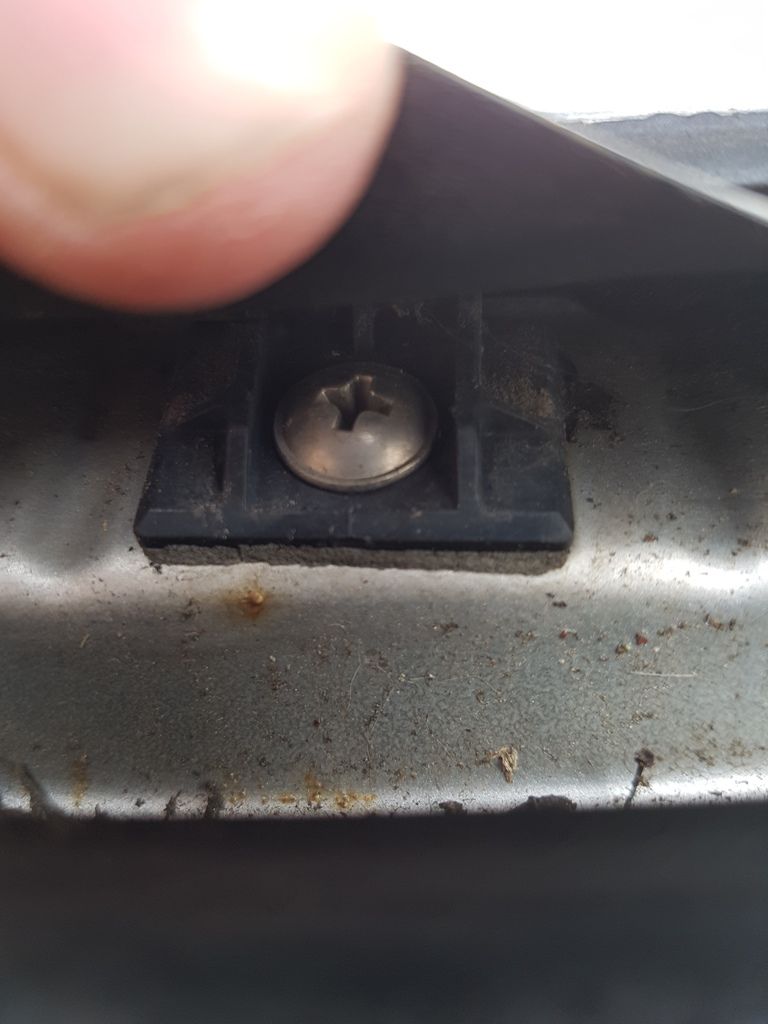
Firstly its a case of opening the boot and lifting up the lower part of rubber which will show the screws shown above. Undo all 7 of these.
Image
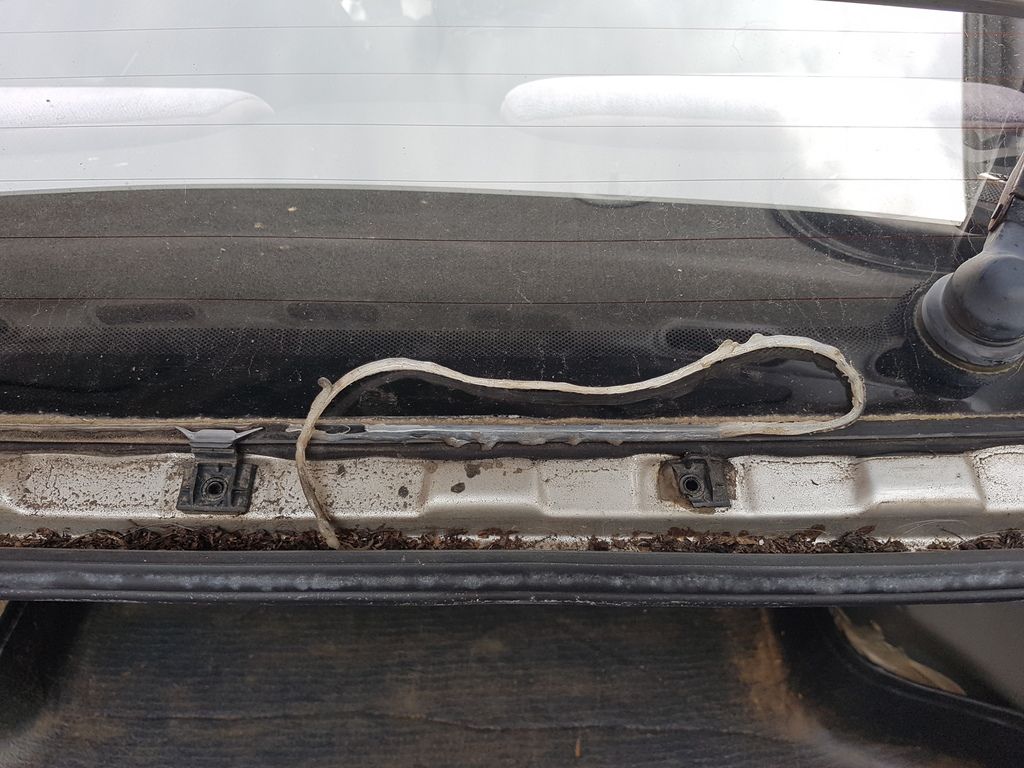
Now mines was caked in silicone so i had to clean this up.
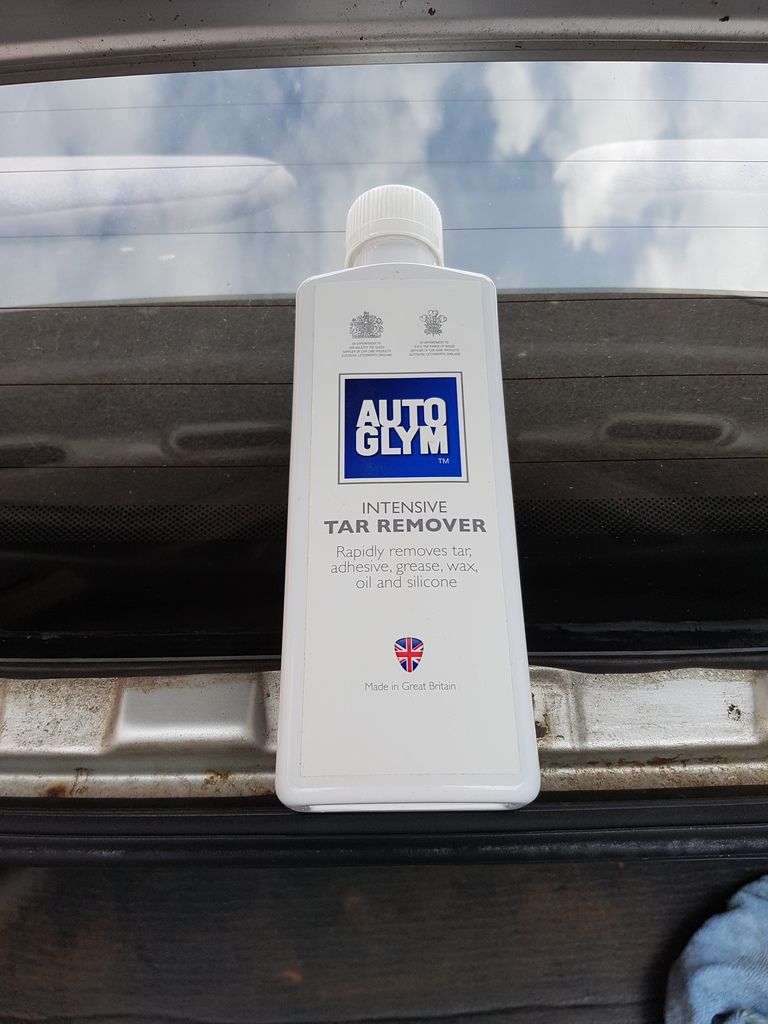
Image
Tar remover helped with this along with a stanley blade.

Next comes the fiddly bit that requires coaxing and sliding. If you have spare clips and not looking to save the rear strip. A little brute force doesnt go a miss.

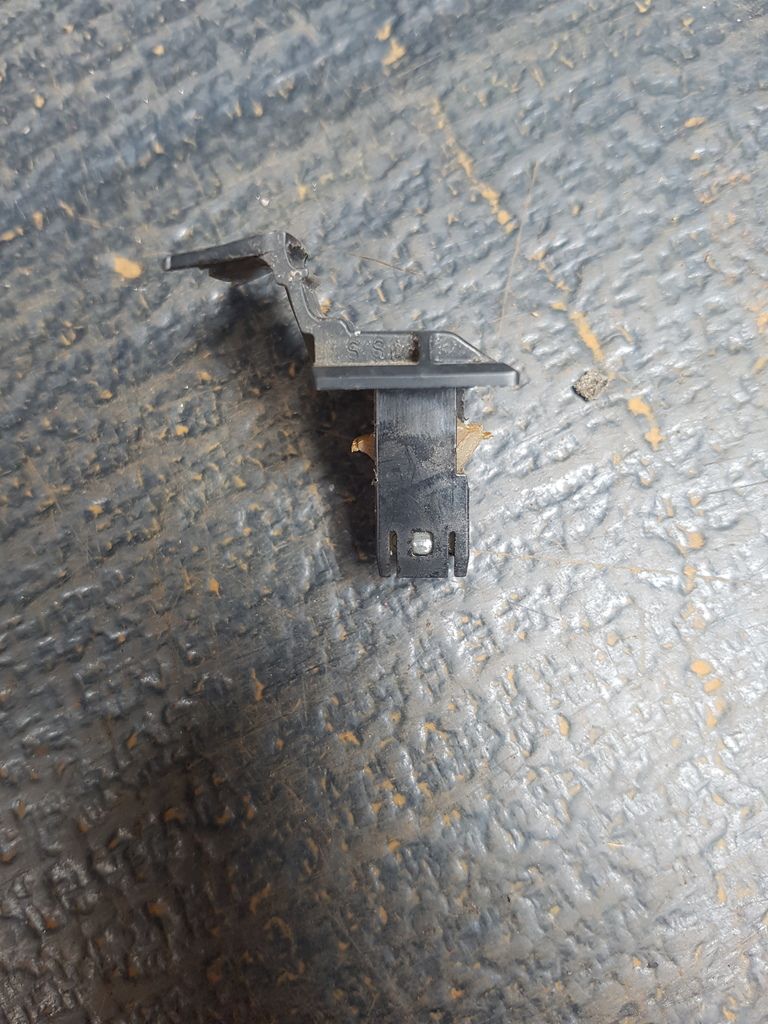
Once you have the strip off you will find most if not all the clipsy are all still in place. You will need paitience and a small screwdriver. Beware the metal it will likely bend if you are too forceful.
Image

This is a side view of the clips as you will see an edge on either side that requires coaxing.
Image
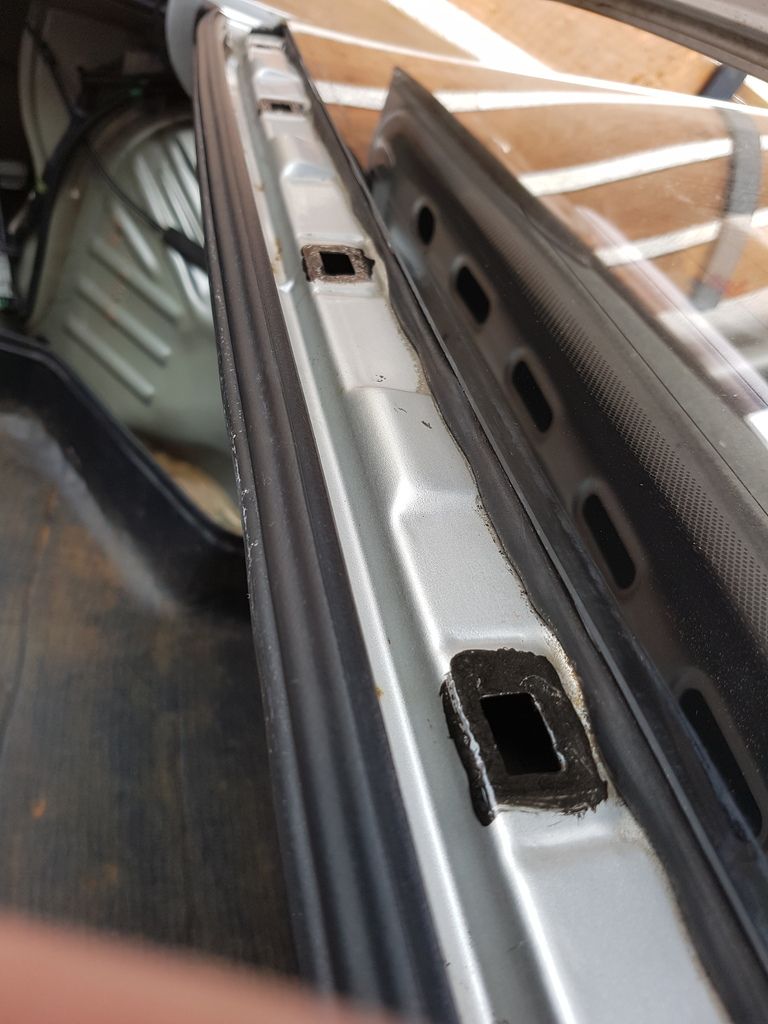
After a clean up and cleaned the metal i treated the clip holders and put a small coat of hammerite black to seal the edge of the metal.

Again the next part is fiddly and i found that if you re-slot the clips back in to the seal before attaching to the car this helps.
I then put double sided tape around the flat side of the clips. (Sorry i forgot to take a picture of this.

But whilst the paint was still a bit tacky i sat the seal and clips in the holes and pushed each in place.
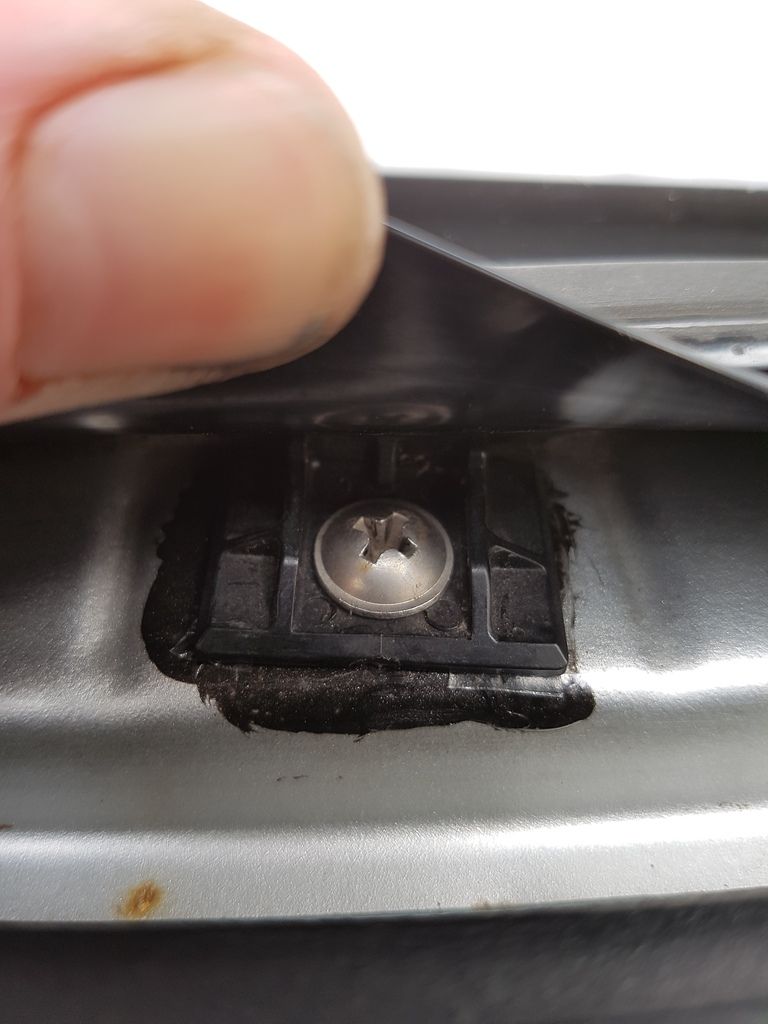
Image
I then screwed each in place as above till tight.
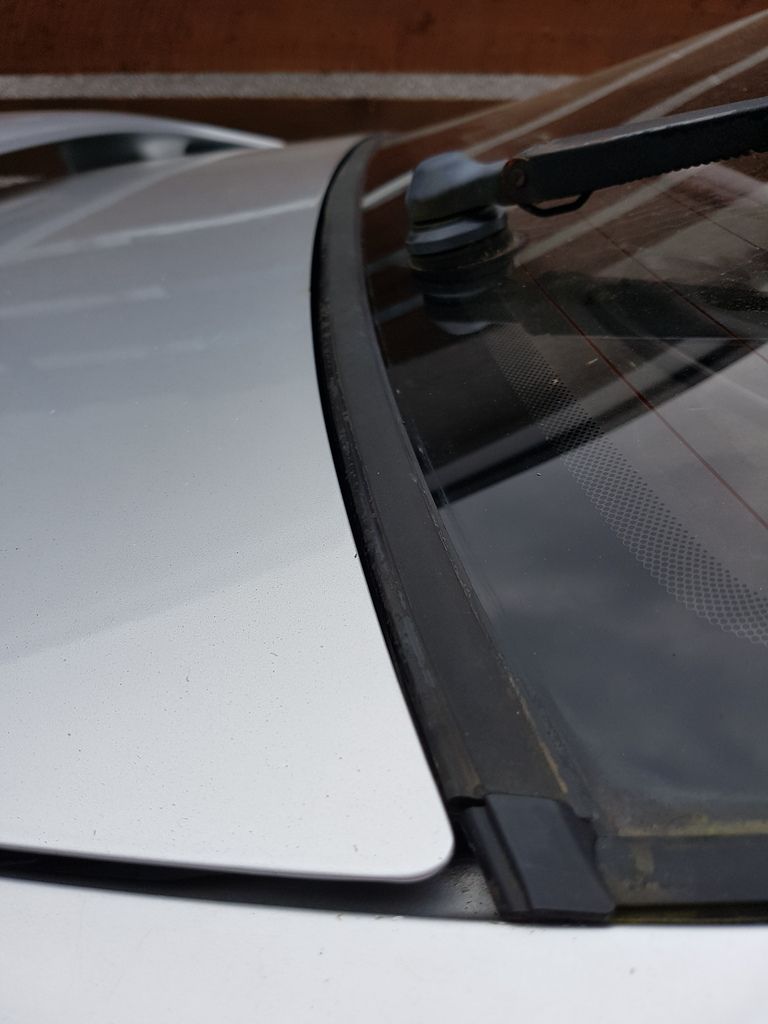
Image
New seal in place and looking good.

Image
Old vs New
Last edited by sol-lude on Fri Aug 04, 2017 8:34 am, edited 1 time in total.

User avatar
sol-lude
Posts: 1032
Joined: Wed Jul 17, 2013 1:48 pm
My Generation: 4G
PSN GamerTag: Lude_666
Location: Kirriemuir
Has thanked: 10 times
Been thanked: 18 times

2nd lude build: The stripping continues

Post by sol-lude » Mon Apr 24, 2017 9:28 pm

So grabbed a quick hour before the sun set and the snow starts tonight.
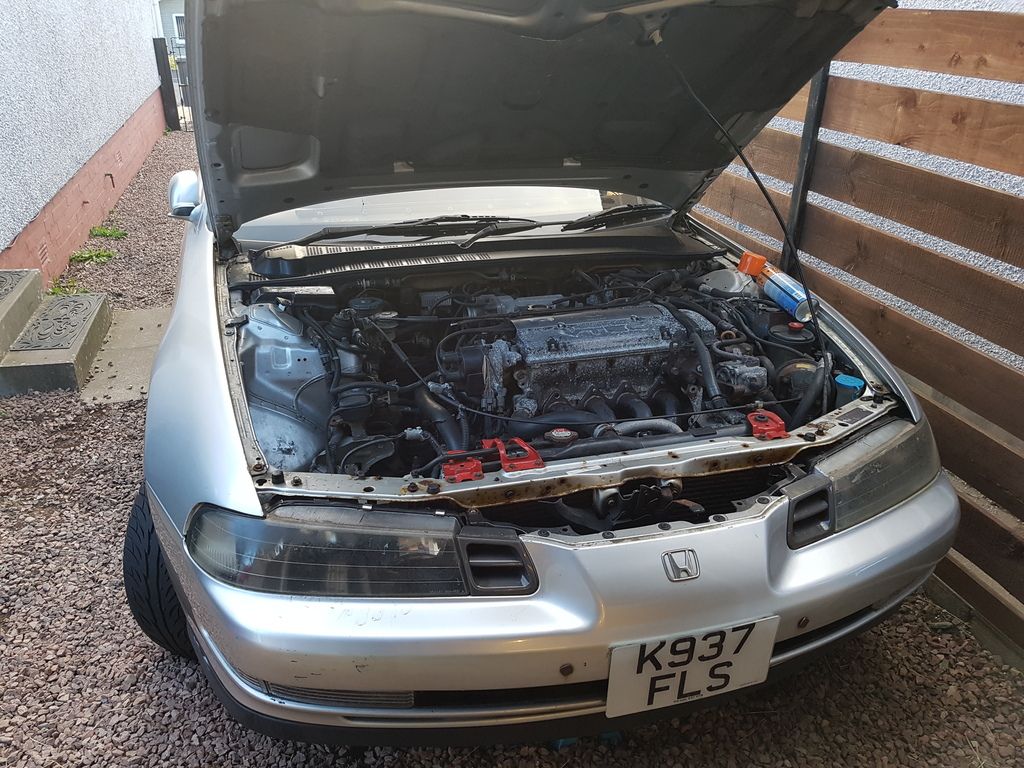
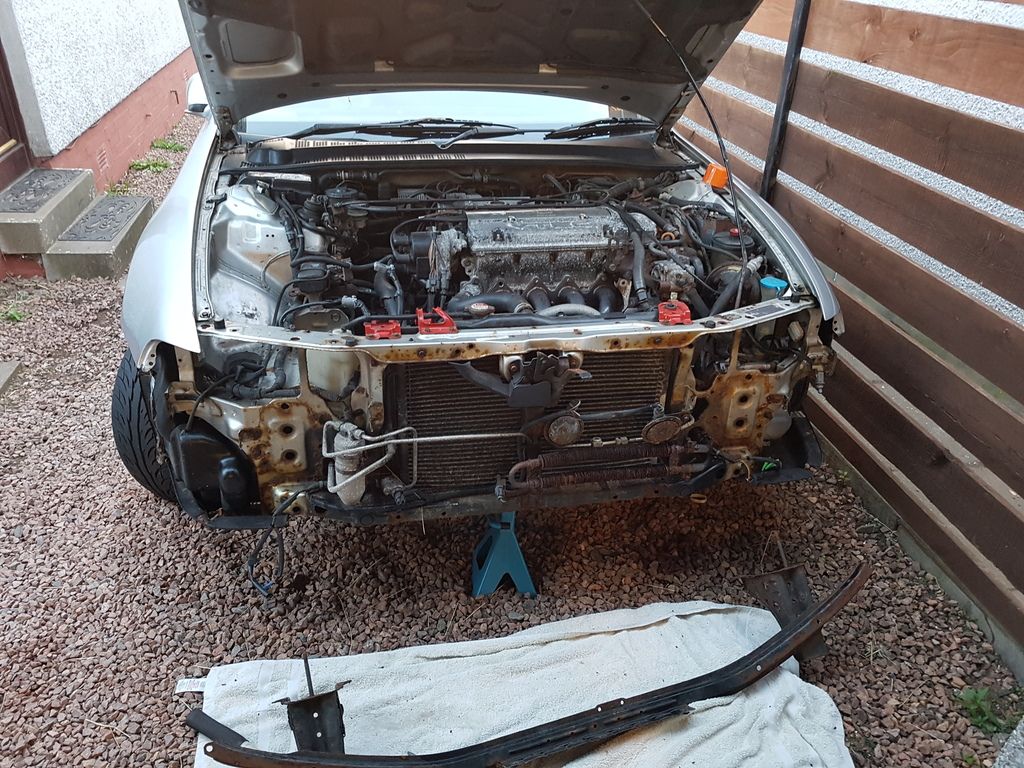
Aim was to get the headlights out to get them cleaned up and can start getting rid of the rust on the front end.

Image

Some rusty rust Image[/url]

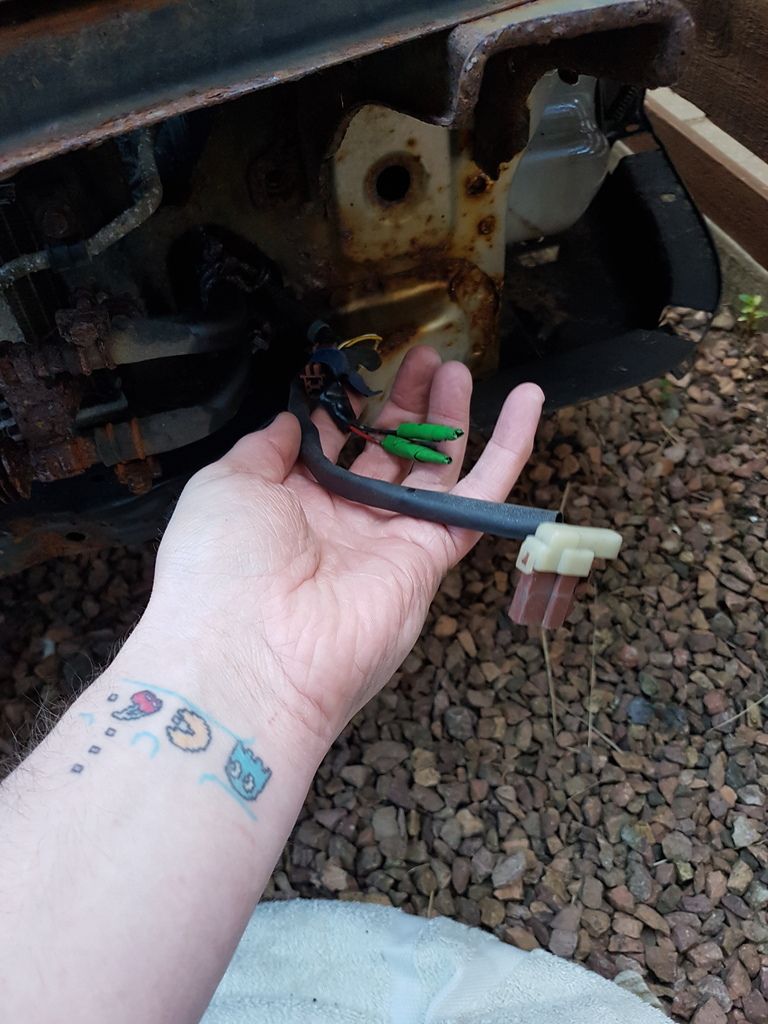
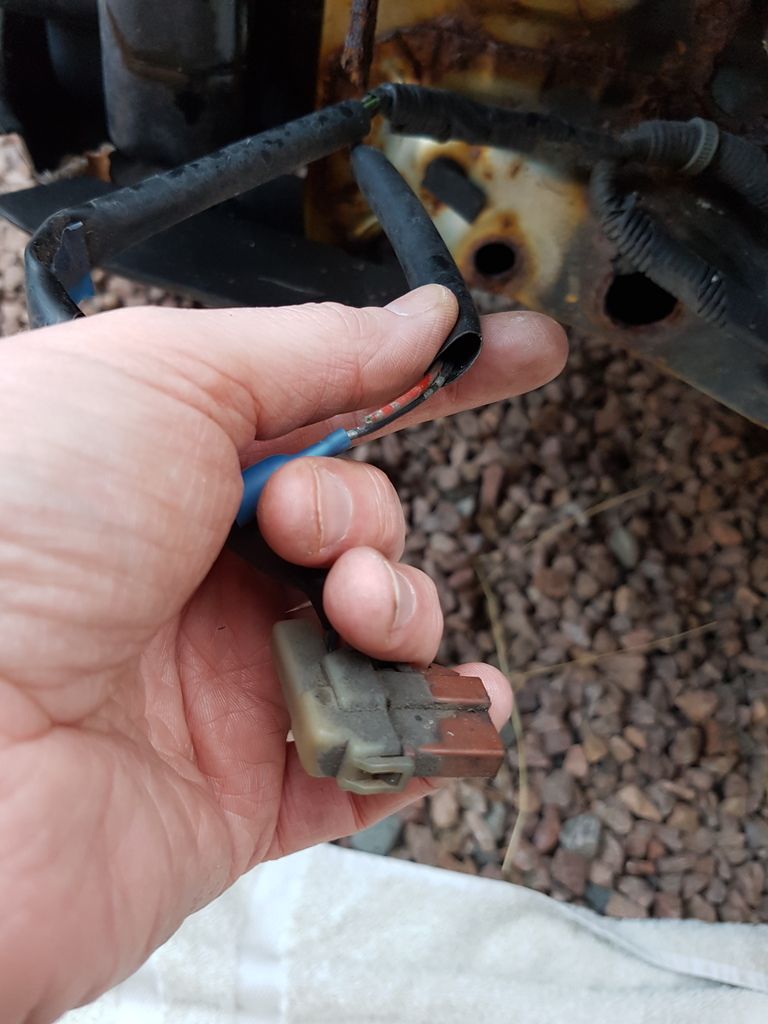
Does anyone know what these wires in the green tape are? Are they the wires that are required for fogs?
Image
Other side
Image

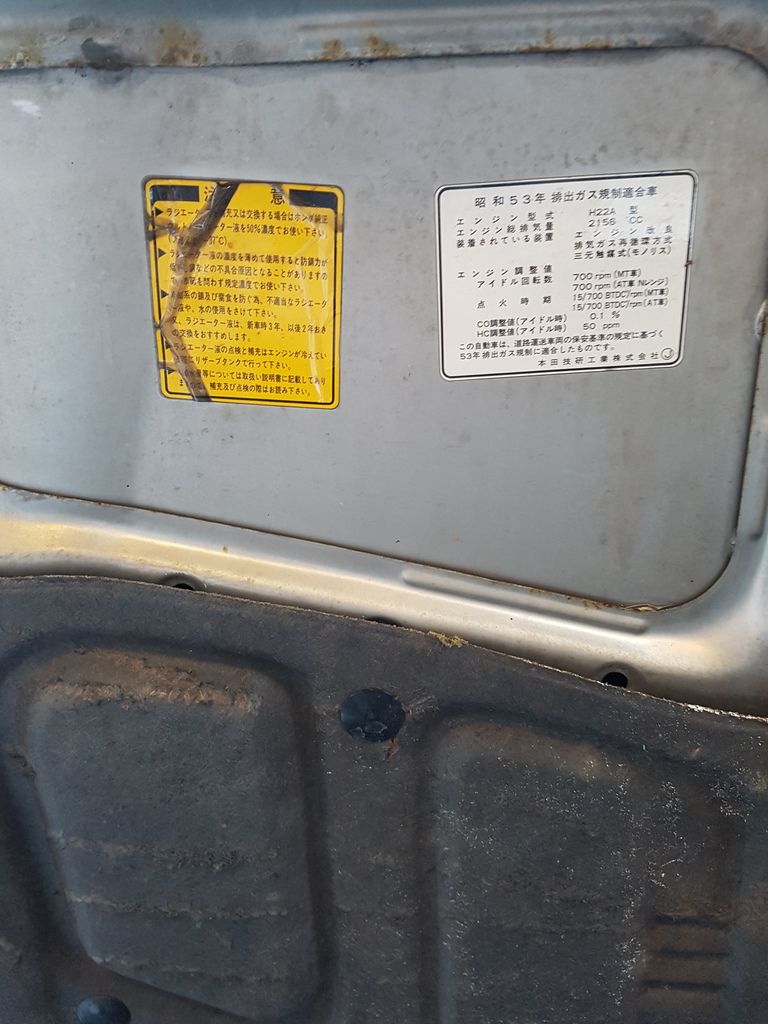
And what do you think the chances are of replacement stickers after stripping down and cleaning up.
Image
Image

Partial nudity - beware
Image
Last edited by sol-lude on Fri Aug 04, 2017 8:36 am, edited 1 time in total.

User avatar
lewie fraser
Posts: 348
Joined: Fri May 10, 2013 6:50 pm
My Generation: 4G
Location: Blairgowrie Perthshire

Post by lewie fraser » Mon Apr 24, 2017 10:15 pm

its never good finding rust lurking around but just keep at it mate and once it's done you ll feel very content with the prelude.are you replacing the arches?

The rust on the front subframe dosnt look too bad

User avatar
sol-lude
Posts: 1032
Joined: Wed Jul 17, 2013 1:48 pm
My Generation: 4G
PSN GamerTag: Lude_666
Location: Kirriemuir
Has thanked: 10 times
Been thanked: 18 times

Re: 2nd lude build: update lots of rust and new parts

Post by sol-lude » Mon Apr 24, 2017 10:28 pm

From subframe isn't all that bad if I'm honest. More of just an over all clean up needed.
Yeah I'll be replacing the arches and sills I have the arches sitting ready just need to cut, clean, bend and weld...thats what j keep telling myself haha

User avatar
paul bristol uk
Moderator
Posts: 1896
Joined: Wed Aug 04, 2010 11:51 pm
My Generation: 4G
Location: In a world of my own

Post by paul bristol uk » Mon Apr 24, 2017 11:55 pm

Wires are for fog lights unless anyone else knows otherwise.
I have kleptomania,
But when it gets bad,
I take something for it.

User avatar
sol-lude
Posts: 1032
Joined: Wed Jul 17, 2013 1:48 pm
My Generation: 4G
PSN GamerTag: Lude_666
Location: Kirriemuir
Has thanked: 10 times
Been thanked: 18 times

Re: 2nd lude build: update lots of rust and new parts

Post by sol-lude » Tue Apr 25, 2017 1:03 pm

paul bristol uk wrote:Wires are for fog lights unless anyone else knows otherwise.
cheers mate, will need to find out if it has the continued wiring through to the cabin and then source some fogs...

User avatar
sol-lude
Posts: 1032
Joined: Wed Jul 17, 2013 1:48 pm
My Generation: 4G
PSN GamerTag: Lude_666
Location: Kirriemuir
Has thanked: 10 times
Been thanked: 18 times

Re: 2nd lude build: sunroof mod done

Post by sol-lude » Wed May 10, 2017 9:56 pm

So I was due to do this with a mate at the weekend but ended up catching up and having a bit of a play in his FN2 type R.

I did get round to finishing it up tonight

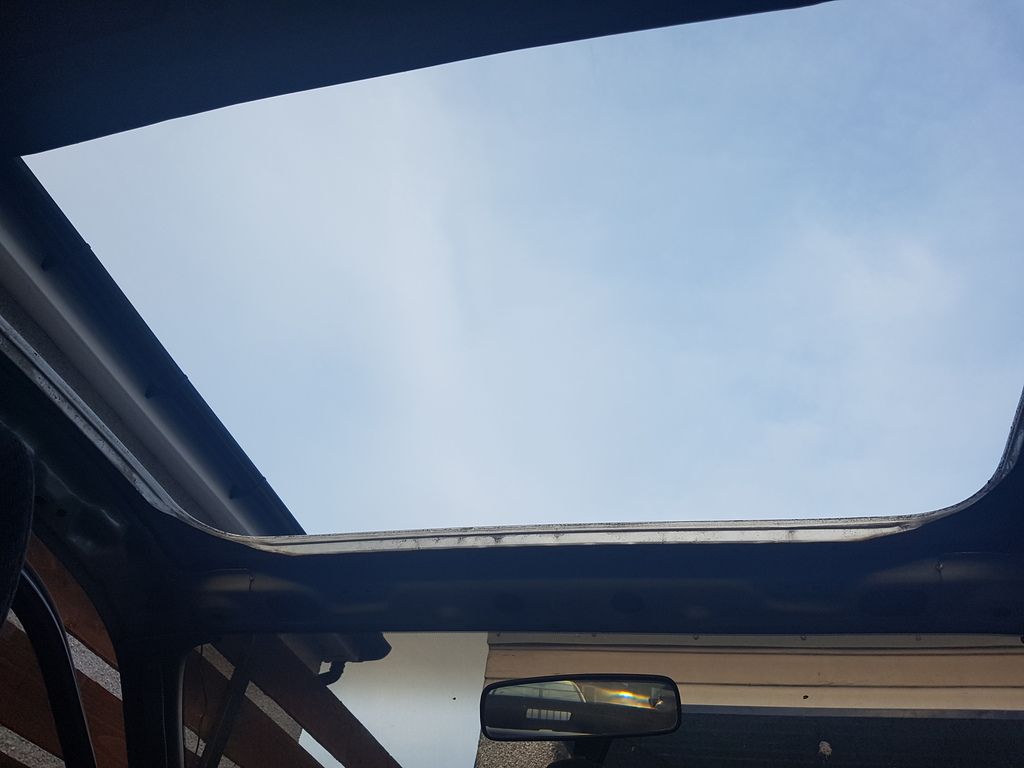
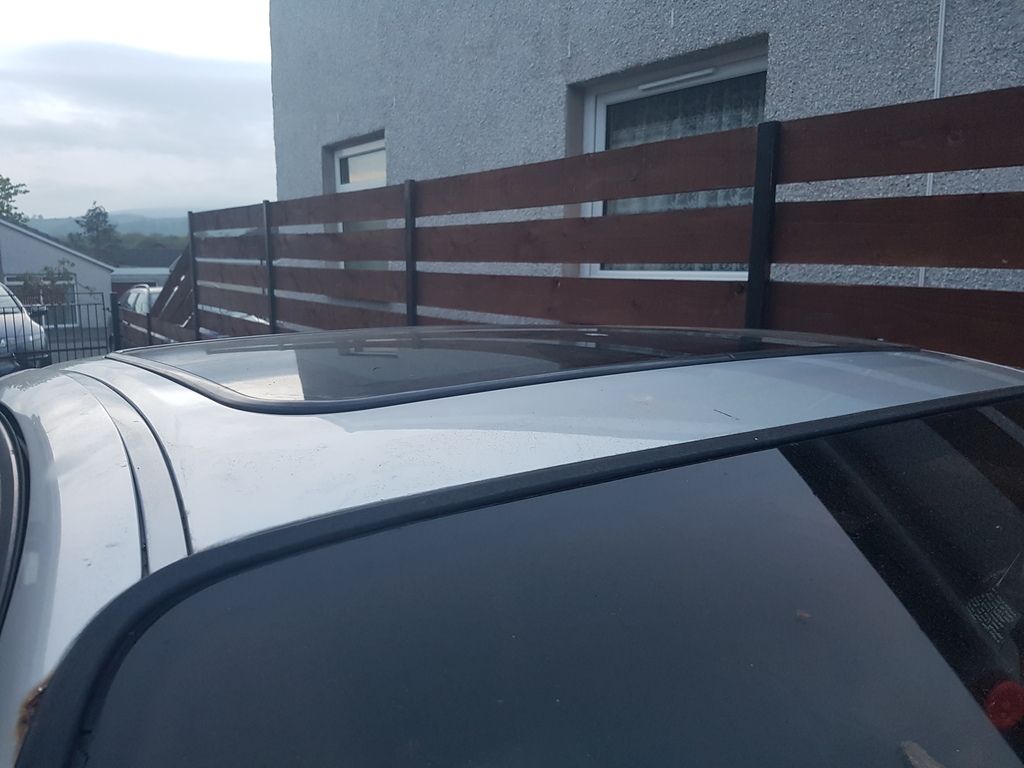
Before a very rusty (although didn't look it) metal sunroof.
Image

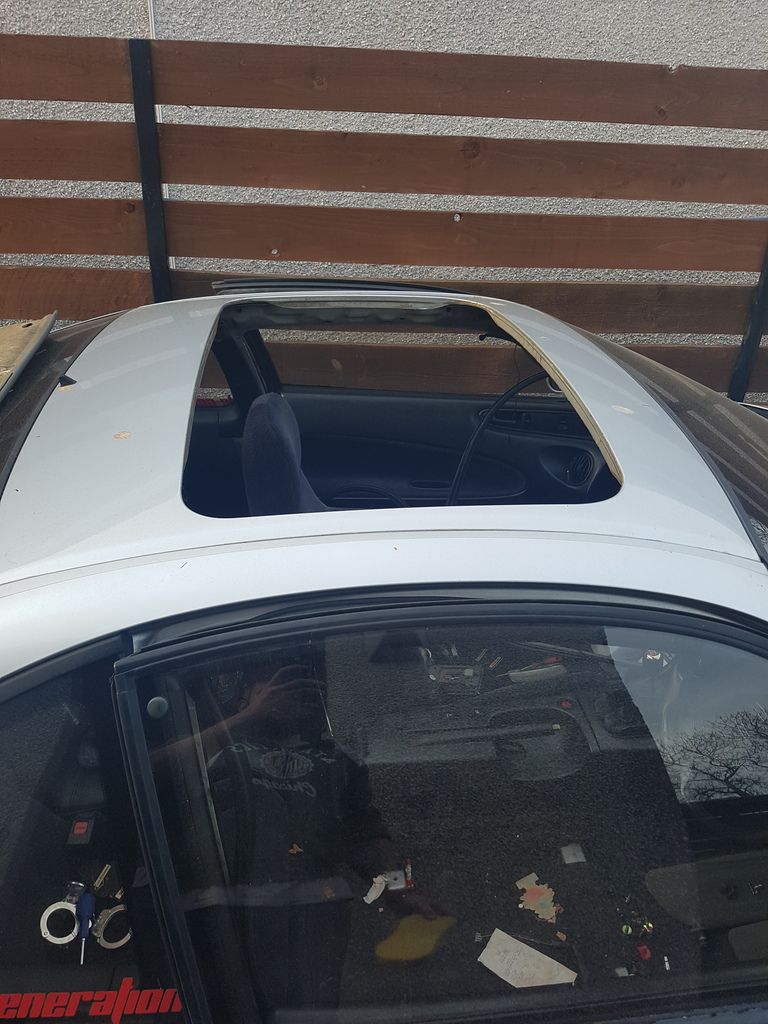
Now that's a sunroof
Image
Image
The handcuffs are erm well, they were for a costume in a sponsored jailbreak...no honest...

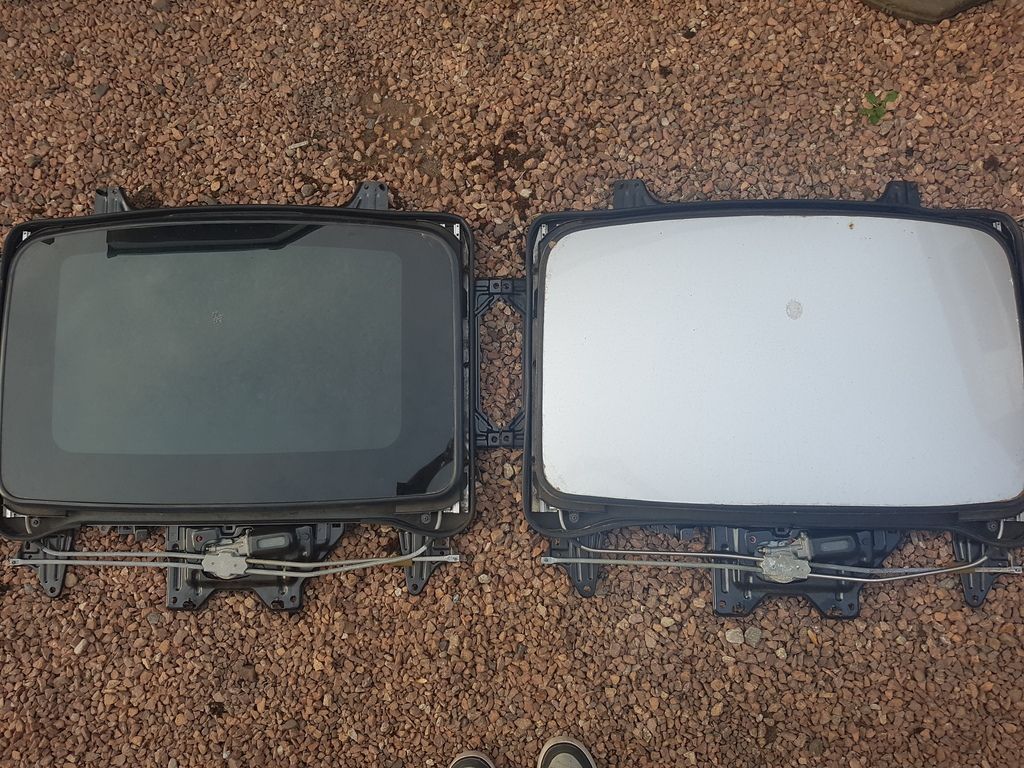
Both roofs side by side
Image

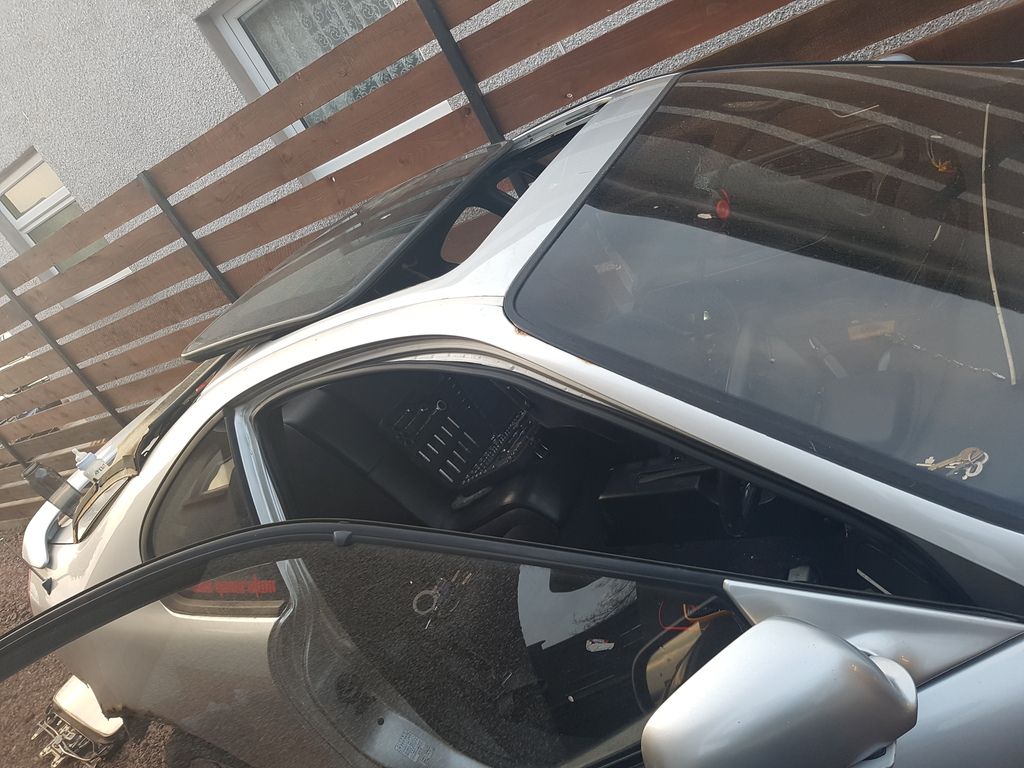
In and working - love it
Image

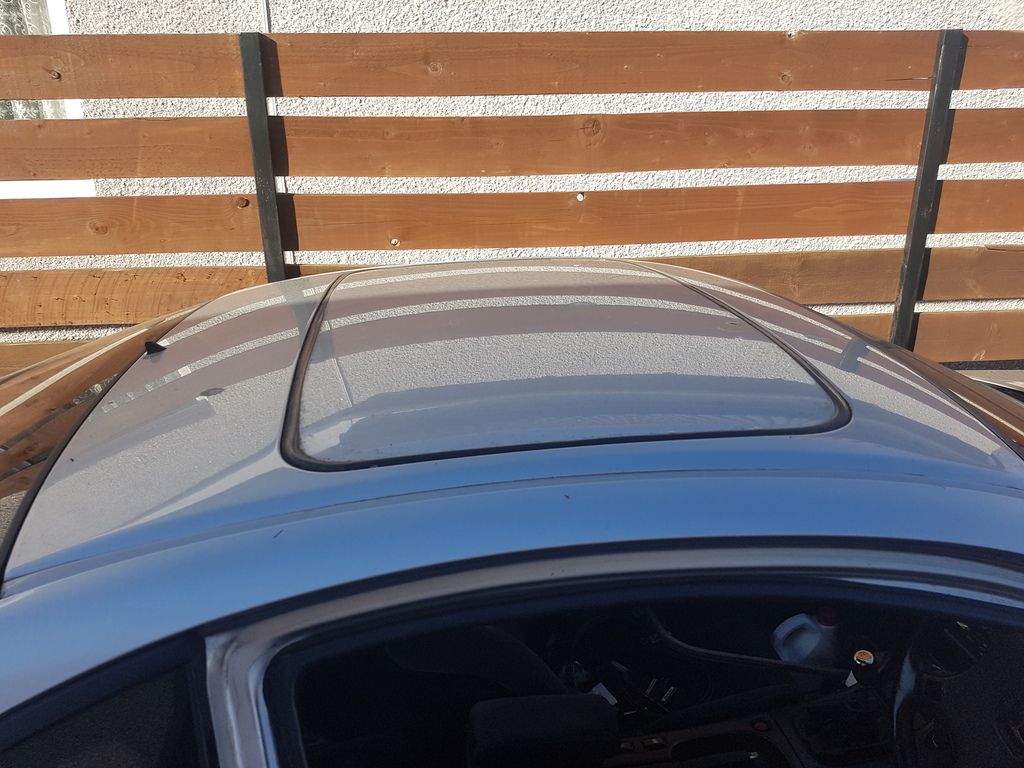
Seems to sit a little high has anyone had this issue before and can it be adjusted?
Image
Last edited by sol-lude on Fri Aug 04, 2017 8:37 am, edited 1 time in total.

User avatar
sol-lude
Posts: 1032
Joined: Wed Jul 17, 2013 1:48 pm
My Generation: 4G
PSN GamerTag: Lude_666
Location: Kirriemuir
Has thanked: 10 times
Been thanked: 18 times

Re: 2nd lude build: update lots of rust and new parts

Post by sol-lude » Wed May 10, 2017 10:07 pm

Also how do I link my build into my signature?

User avatar
Drax
Moderator
Posts: 6343
Joined: Wed Dec 22, 2010 4:05 pm
My Generation: 4G
Location: Wrexham, North Wales
Has thanked: 24 times
Been thanked: 431 times

Post by Drax » Wed May 10, 2017 10:49 pm

brilliant work here sol-lude fair play 8-) 8-)

to link your build into your signature, just go to the first page of your build then copy the url from the top of the web page, then go to My Profile at the top of LG page, then choose My Control Panel, then select the Profile tab and choose Edit Signature.

Paste the url here, then highlight it all and click the URL option above the writing. then click SUMBIT at the bottom. sorted.

sunroof swap wise, maybe this guide can help?
http://www.ludegeneration.co.uk/honda-p ... t4533.html
2.2 JDM DOHC SI-VTEC LSD TCS 4WS ABS BB1 MANUAL 1992
Image
FOR PAUL

User avatar
wurlycorner
Ye are glad to be dead, RIGHT?
Posts: 21503
Joined: Sat May 19, 2012 3:33 pm
My Generation: 4G
Location: Chelmsford, Essex
Has thanked: 2498 times
Been thanked: 312 times

Post by wurlycorner » Wed May 10, 2017 10:59 pm

Well done for tackling this.
That is quite a bit of rust on those rear quarters, yep. All repairable though yes - just needs quite a bit of work.

Those connectors would be for fogs, as others have said. Looks like they have been hacked about a bit though.

The 5g sunroof does sit a bit high in a 4g, but there are several here that have done it and some have adjusted it down a bit. Can't remember all the owners that have fitted it, but @vtecmec is one of them...

Some of the underbonnet stickers are still listed as available new from honda 8-)

Post Reply

Return to “Lude Profiles”